Thermocookery

menu icon
go to homepage
  • About Me
  • Recipes
  • Collaborate

subscribe
search icon
Homepage link
  • About Me
  • Recipes
  • Collaborate

×
Home » Recipes » Desserts

Fresh Cherry Pie Crumb Bars

By: kseniaprints · Updated: May 22, 2026 · This post may contain affiliate links.

  • Facebook
  • Flipboard
Jump to Recipe Print Recipe

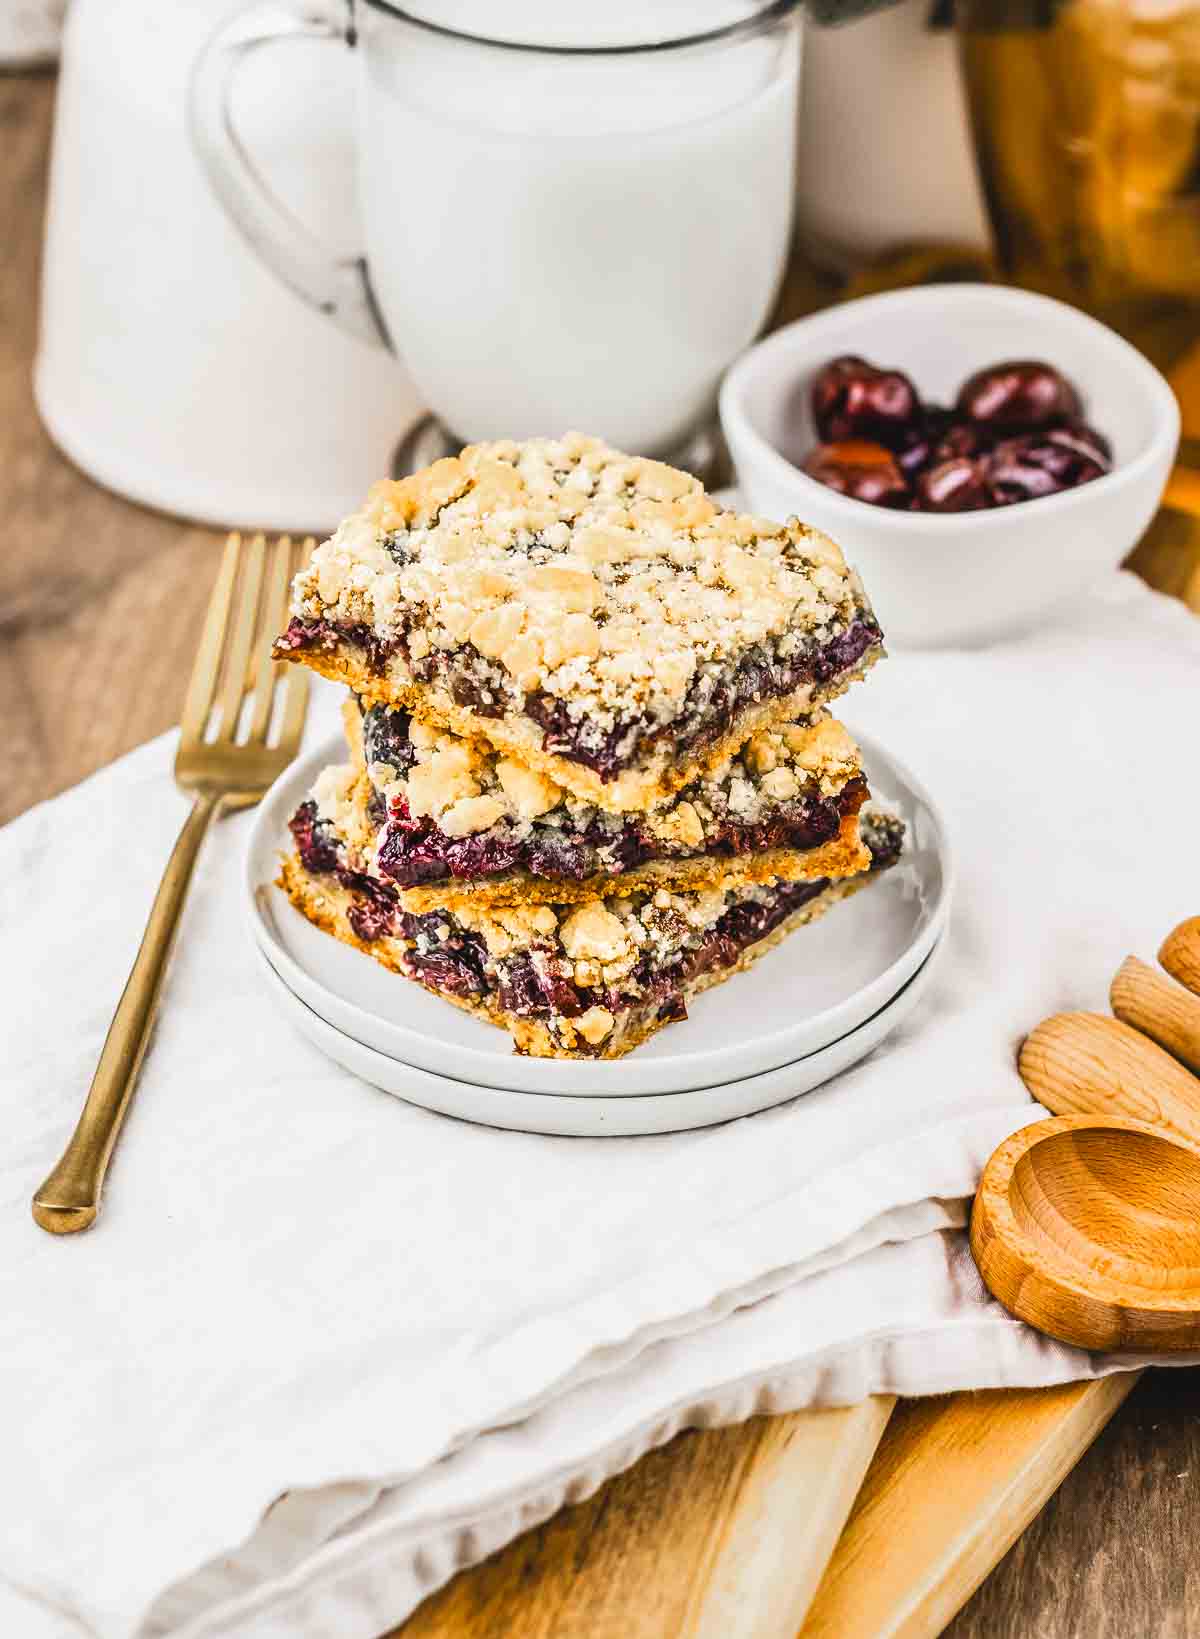
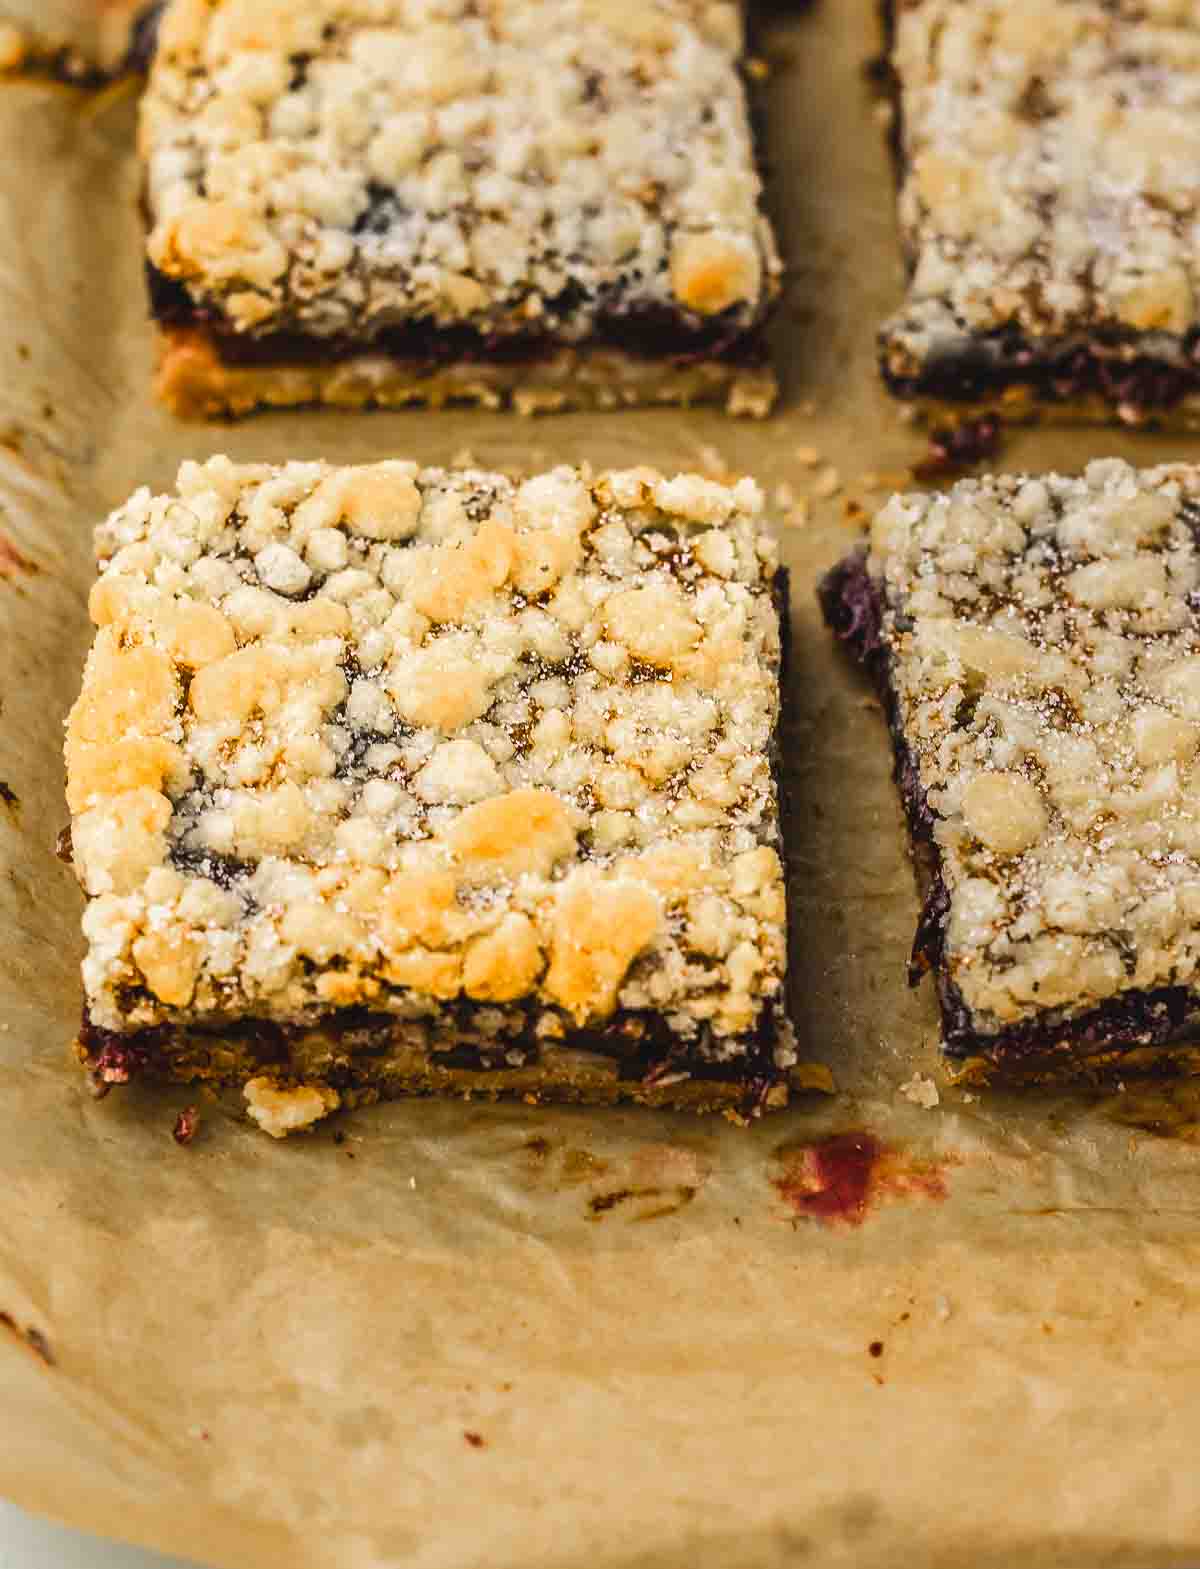
Fresh cherries have a short window and these bars are the best thing to make while they're around. Jammy cherry filling, a buttery crumb that works as both the base and the topping, and none of the fuss that comes with an actual pie.

Cherry pie crumb bars are what cherry pie wants to be when it stops trying so hard: same flavor, no rolling, no crimping, no pie dish. Just one bowl, a baking pan, and about 25 minutes in the oven.

Three crumbly Cherry Pie Crumb Bars stacked on a white plate, with a fork and measuring spoons nearby on a napkin—perfect for anyone searching for their next favorite recipe.

Spring is when fresh cherries finally show up looking like themselves again, plump, glossy, and sweet. I first tasted these at a garden picnic, brought over by a friend in a glass container bundled up in a kitchen towel like she was smuggling treasure. Turns out she kind of was.

They disappeared so fast she eventually confessed she'd hidden a few extra squares back in her kitchen for herself. I asked for the recipe before the picnic was even over, and have been making my own version ever since. That same season, I started making my own cherry syrup to keep in the fridge, because once cherries are on your mind, it's hard to stop at just one thing.

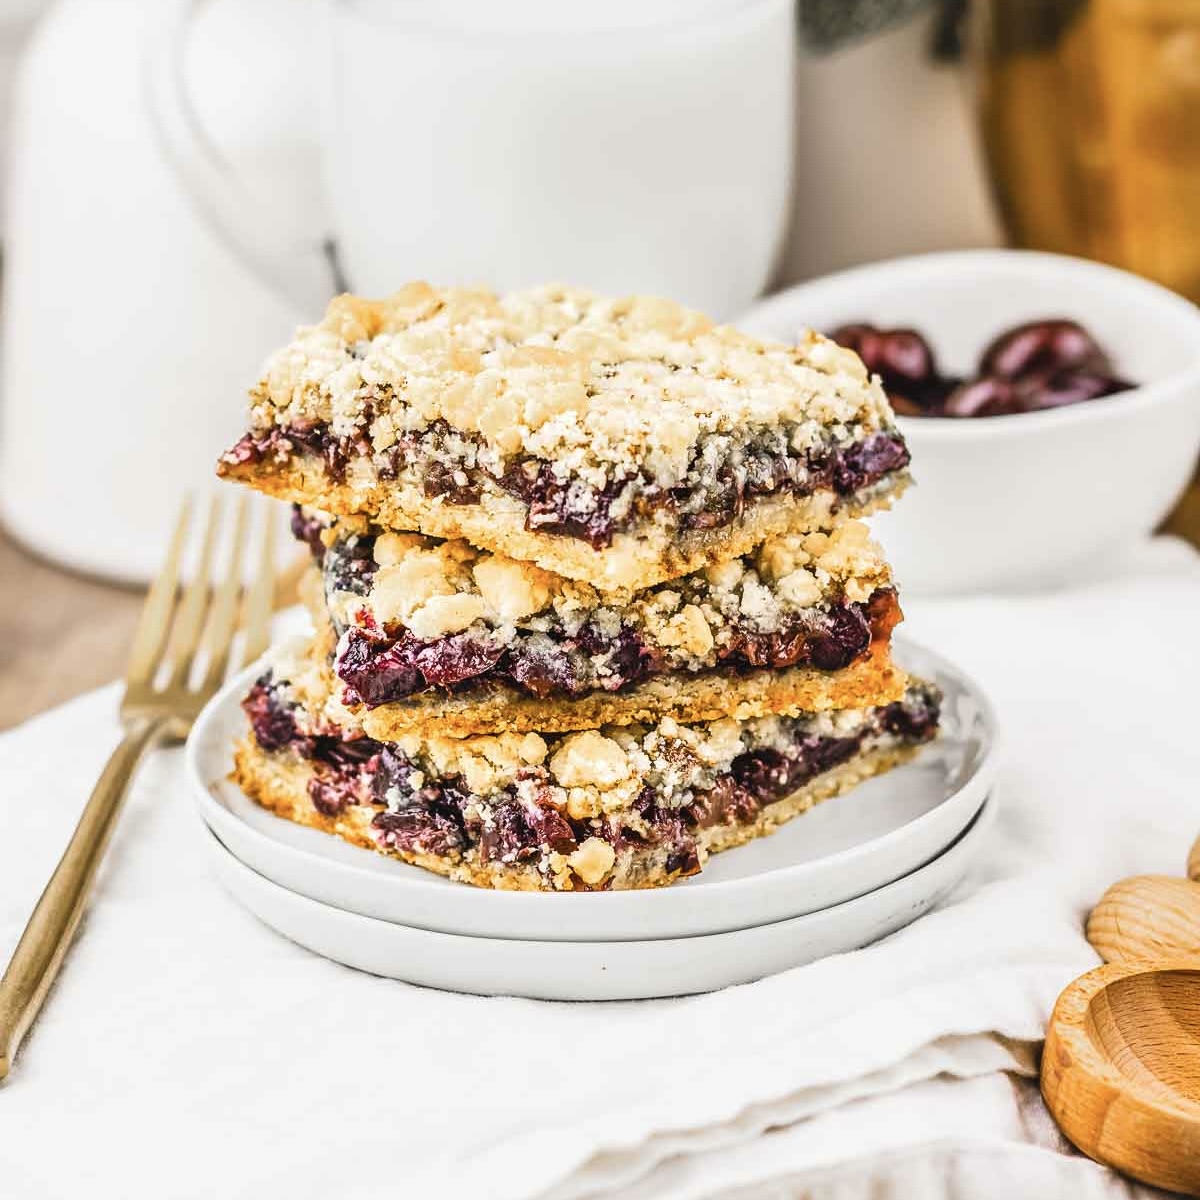
Fresh cherries get pitted and chopped small so they melt into a jammy, sweet-tart filling, and the same buttery crumb mixture pulls double duty as both the crust underneath and the topping on top. If you want something even more low-effort with that same cherry filling energy, my cherry pie casserole is the one to bookmark for the holidays.

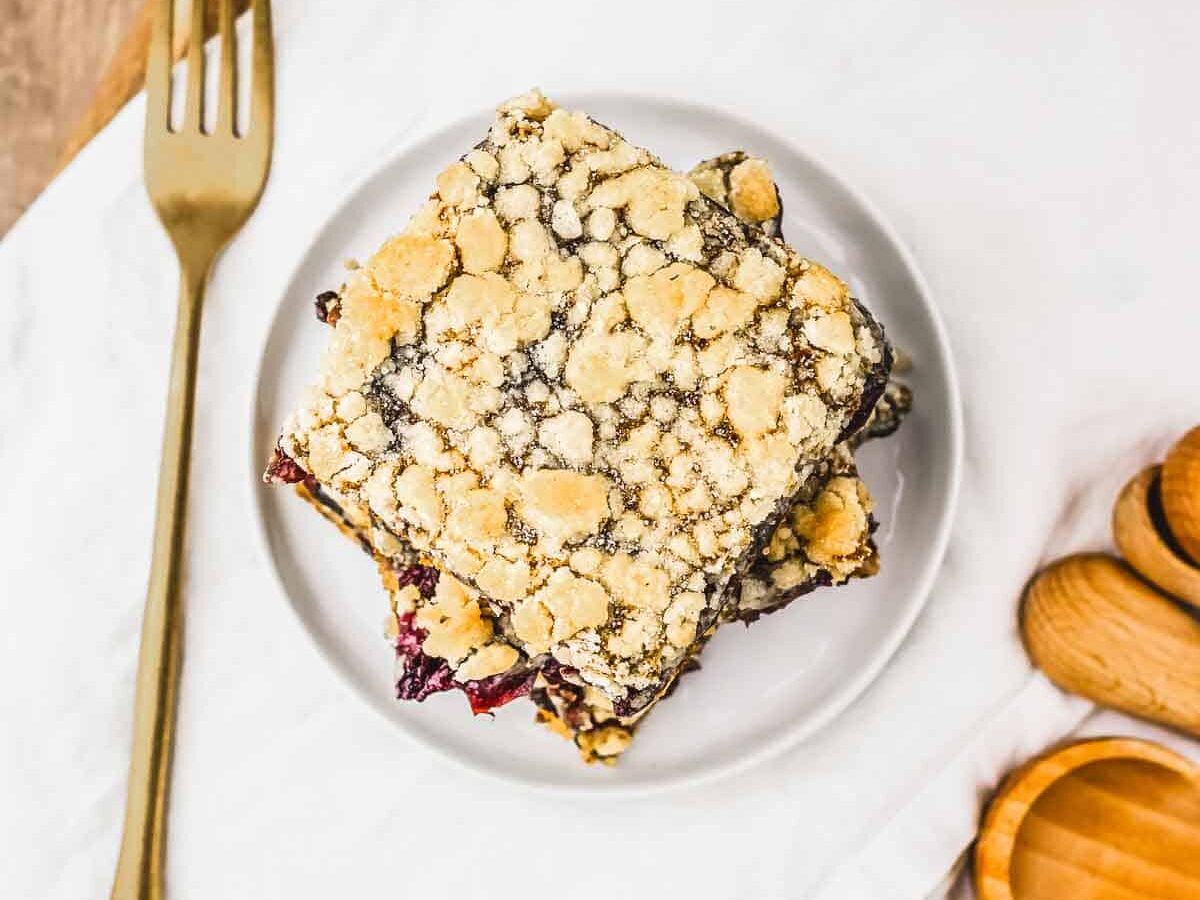
The couch on a Friday night is my personal favorite spot to eat these bars. A still-warm square with a scoop of vanilla ice cream is basically a handheld cherry pie à la mode, and honestly, that's reason enough.

Three cherry crumble bars stacked on a plate with a fork, bowl of cherries, and milk in the background—these delicious crumb bars taste just like classic Cherry Pie in every bite.

They taste like you fussed over them for hours, when really you just stirred, pressed, sprinkled, and baked. And when I have more cherries than I know what to do with, my cherry cobbler is always the next thing out of the oven.

Ingredients

Bowls of cherries, flour, sugar, cornstarch, milk, baking powder, salt, and a stick of salted butter on a counter—everything you need for a delicious Cherry Pie or Crumb Bars recipe.

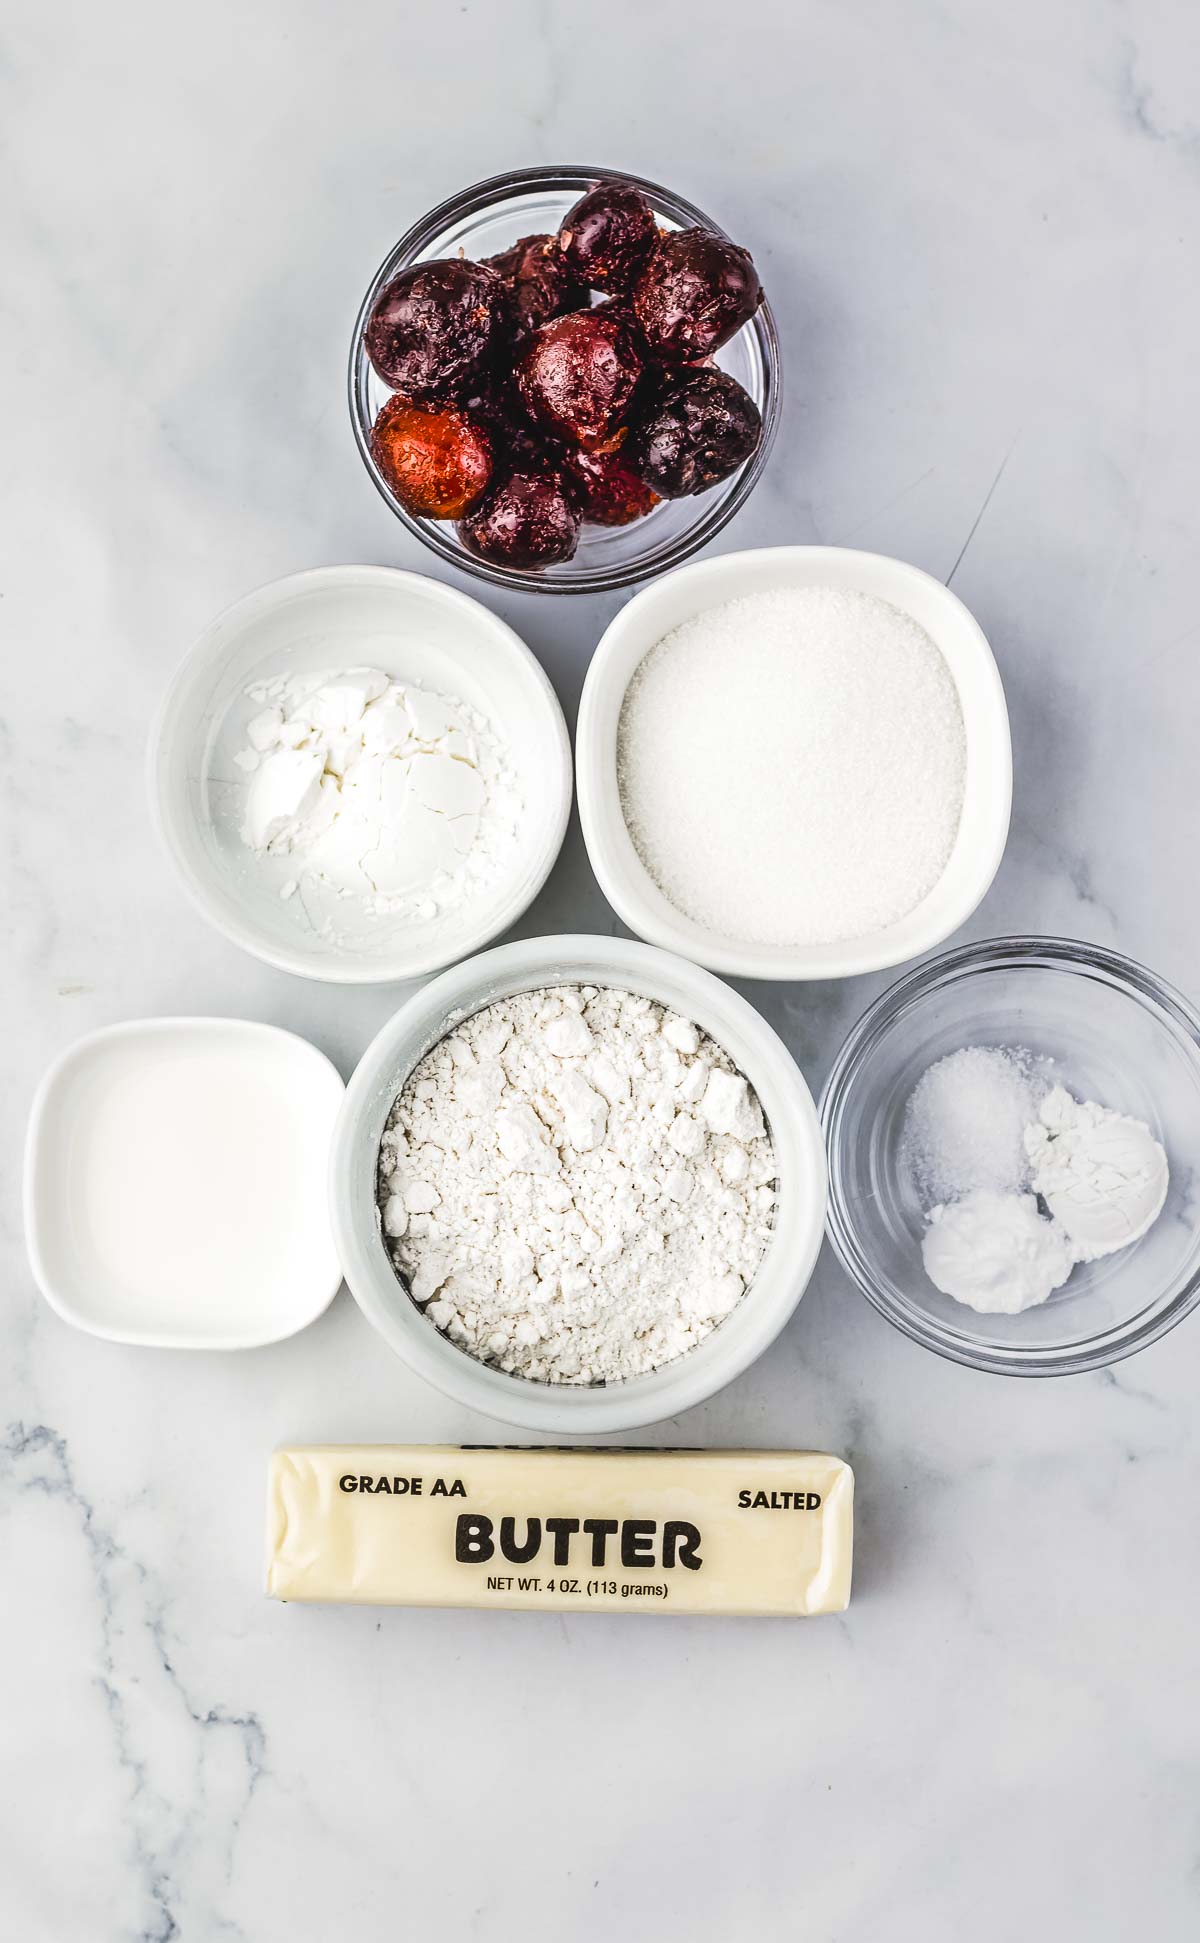
Fresh cherries are the main ingredient here, giving the bars their juicy filling and sweet-tart flavor. Pitting and slicing them helps them cook down evenly so you get cherry flavor in every bite.

See the recipe card for exact quantities.

Top Tips for Cherry Pie Crumb Bars 

Press the base firmly: The bottom layer should be compact and even so the bars hold together after baking.

Use canned or frozen cherries if needed: Drain them well and chop them so the filling spreads evenly.

Stir the filling again: If the cherries release juice while sitting, stir before adding to keep the cornstarch evenly mixed.

How to Make Cherry Pie Crumb Bars?

Three stacked crumb bars on a white plate, with a gold fork and wooden utensils beside them—this recipe is perfect for anyone craving a cherry pie-inspired treat.

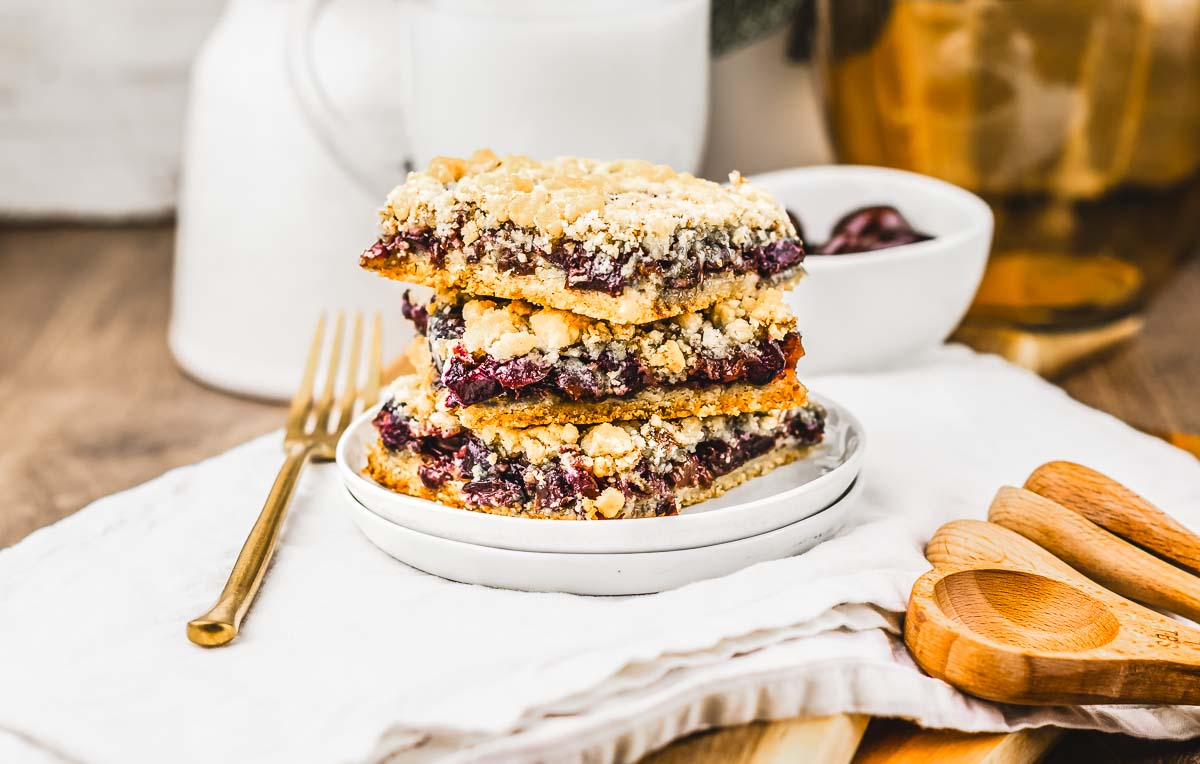
These bars have a soft cherry filling with a crumbly crust and topping, so they feel like cherry pie in an easier sliceable form.

Prepare the pan and cherry filling

Halved cherries and a pile of white flour in a glass mixing bowl on a light surface, ready to be transformed into a delicious cherry pie or crumb bars recipe.
Coat the cherries in cornstarch.
Chopped cherries with juice in a clear glass bowl on a white surface—perfect for your next Cherry Pie or Crumb Bars recipe.
Add lemon juice.
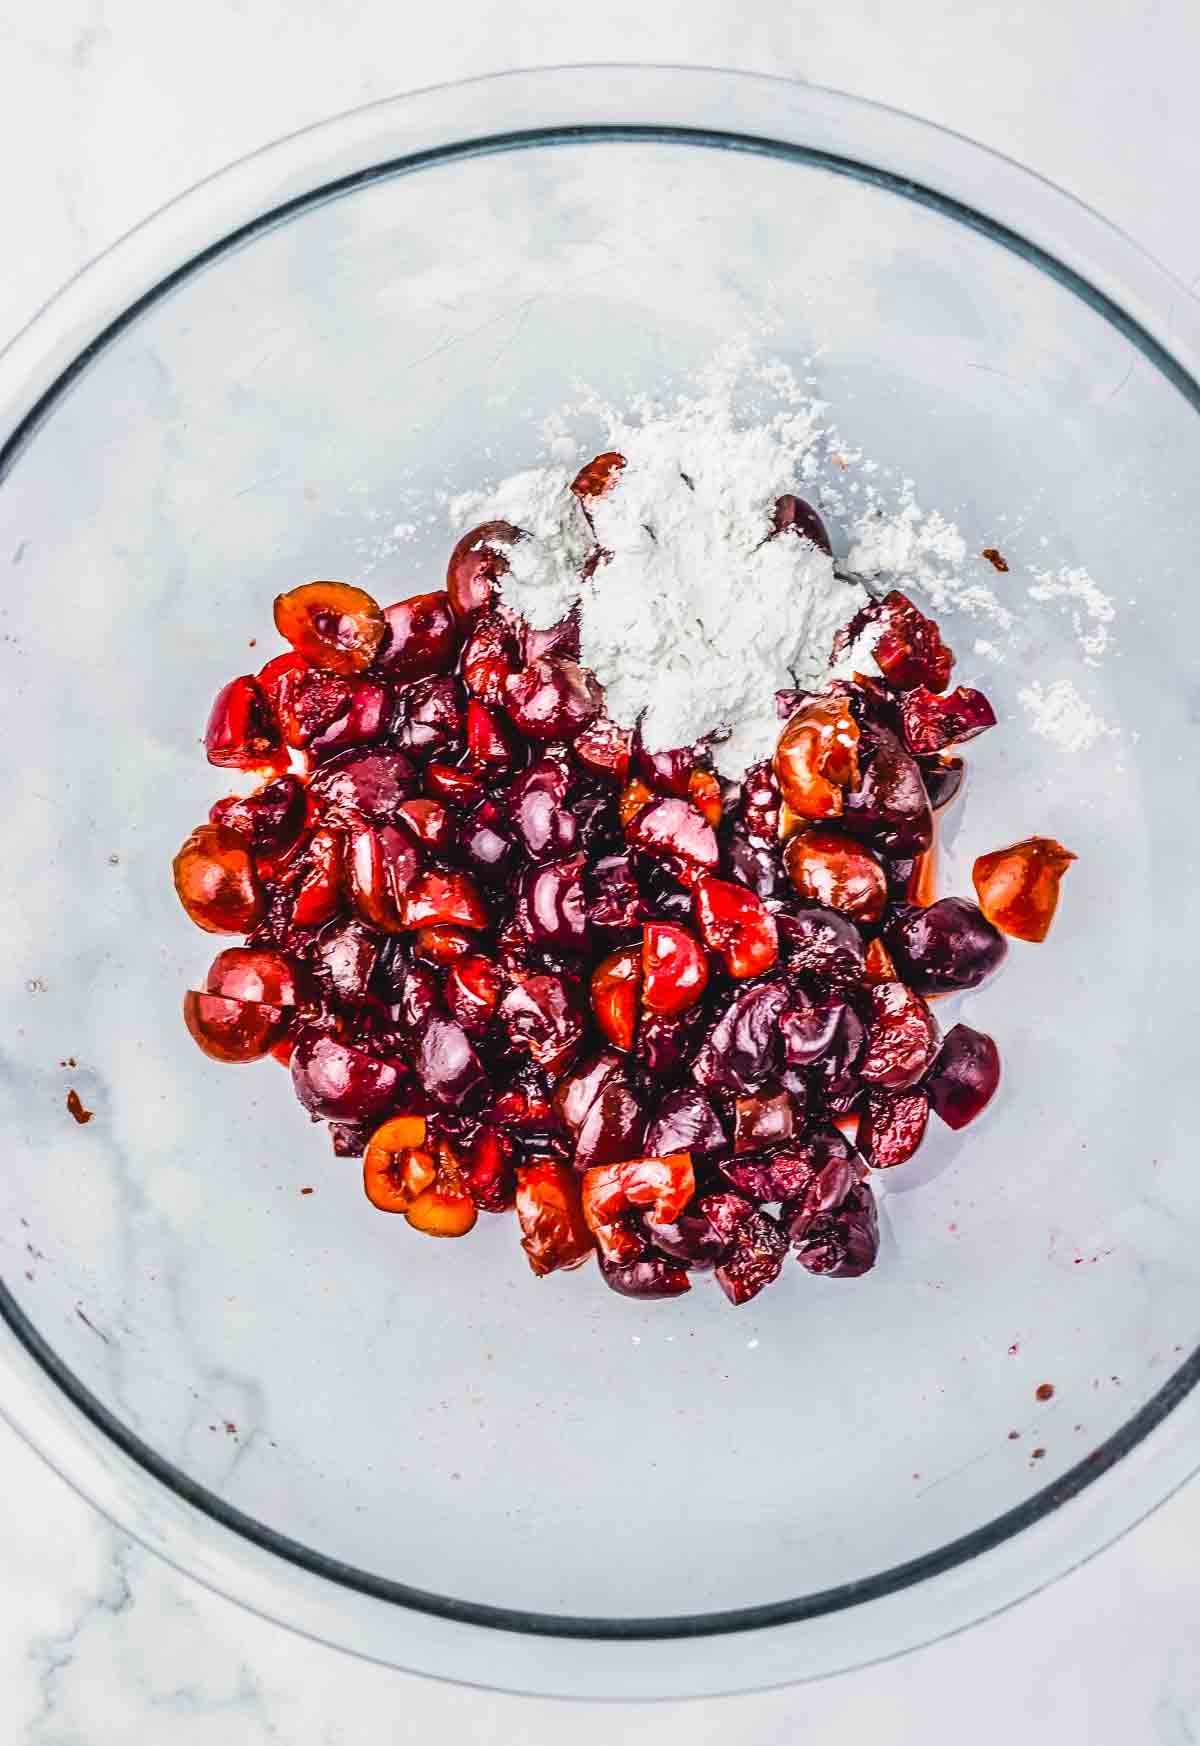
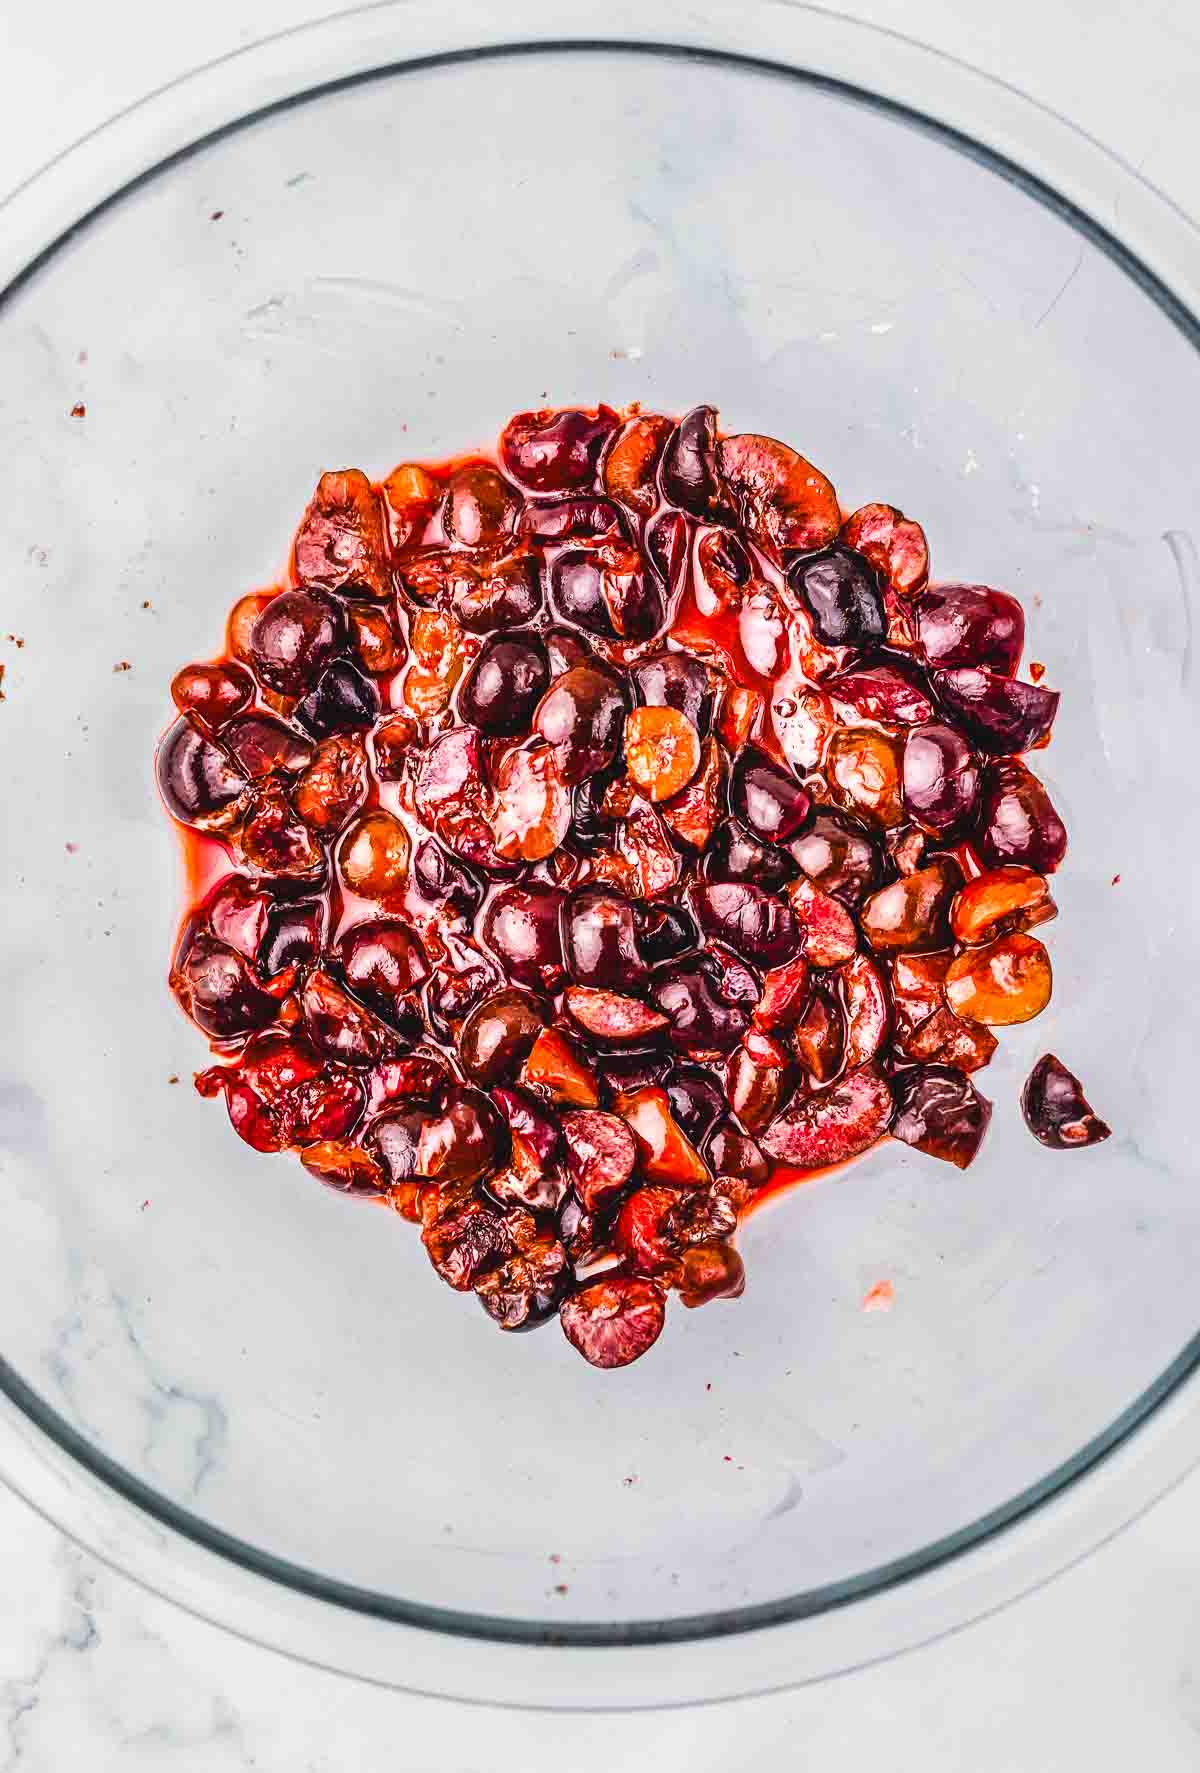
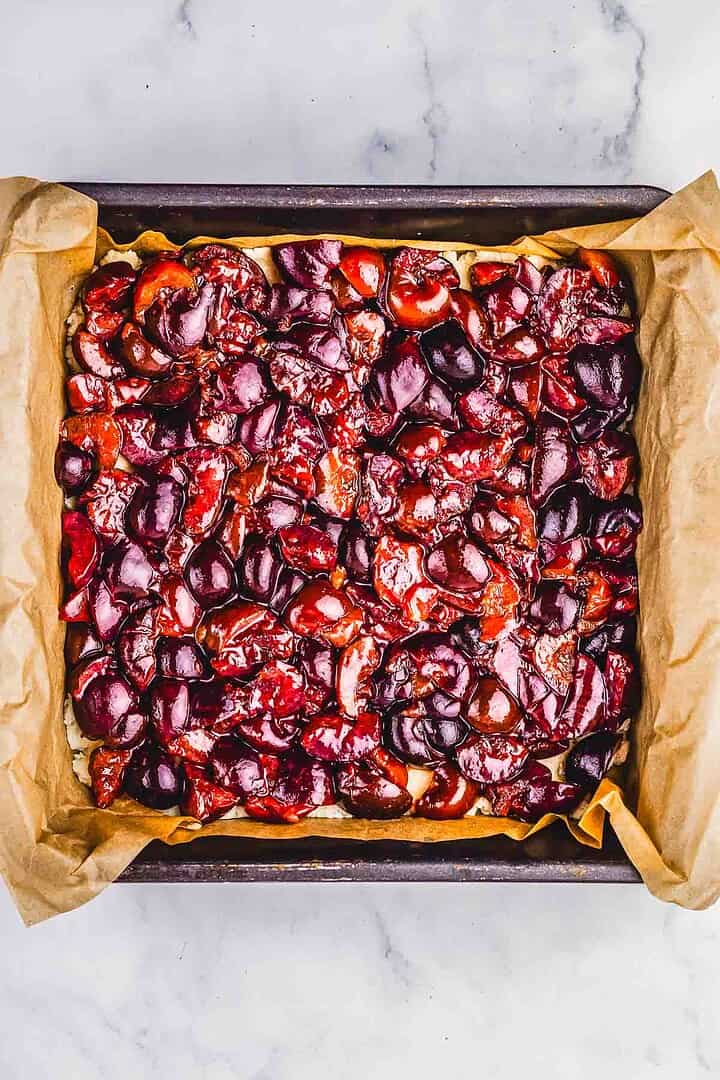
  • Stir until the cherries are evenly coated and no dry pockets of cornstarch remain, since this helps the filling thicken evenly as it bakes.

Want to save this?

Just enter your email and get it sent to your inbox! Plus you'll get new recipes from us every week.

Make the crumb mixture

A black bowl with sugar and gelatin powder on a white marble surface, perfect for your next cherry pie recipe.
Mix butter and sugar.
Black mixing bowl with melted butter and a pile of flour on a light marble countertop, ready for mixing up your favorite Crumb Bars recipe.
Add dry ingredients.
A black bowl filled with crumbly pie dough mixture, perfect for a Cherry Pie or Crumb Bars recipe, sits on a white marble surface.
Mix until crumbs form.

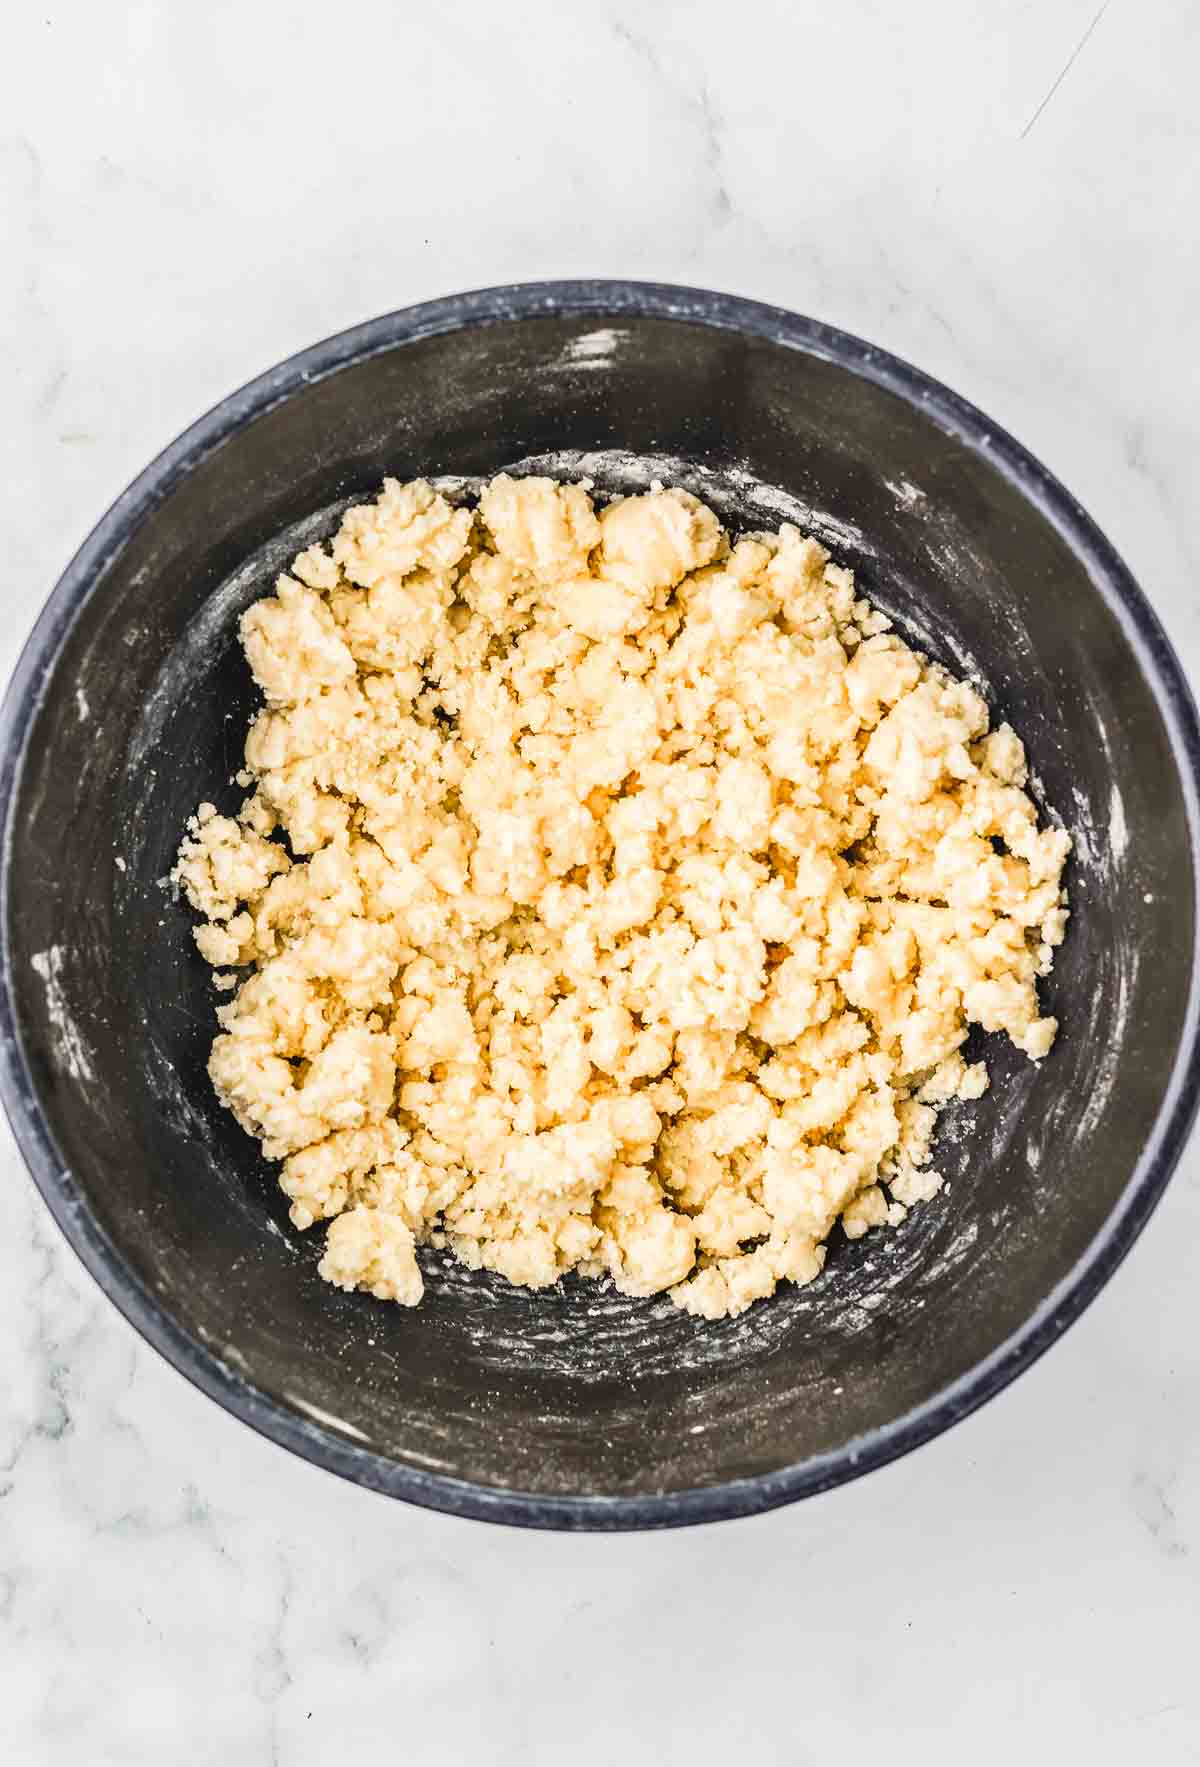
Mix the butter, sugar, and dry ingredients until the mixture turns crumbly. Don't overwork the dough - having big chunks is perfectly OK.

Build the bars

Unbaked crumbly dough for cherry pie crumb bars is pressed into a parchment-lined square baking pan on a marble surface, ready to start this delicious recipe.
Add the first crust layer.
A square baking pan lined with parchment paper, filled with glossy roasted cherries on top of a crumb bar base—perfect for a homemade cherry pie recipe.
Add the cherry filling.
Unbaked cherry pie crumb bars in a parchment-lined square baking pan rest on a marble surface, ready for the next step in your favorite recipe.
Add crumb toppings.
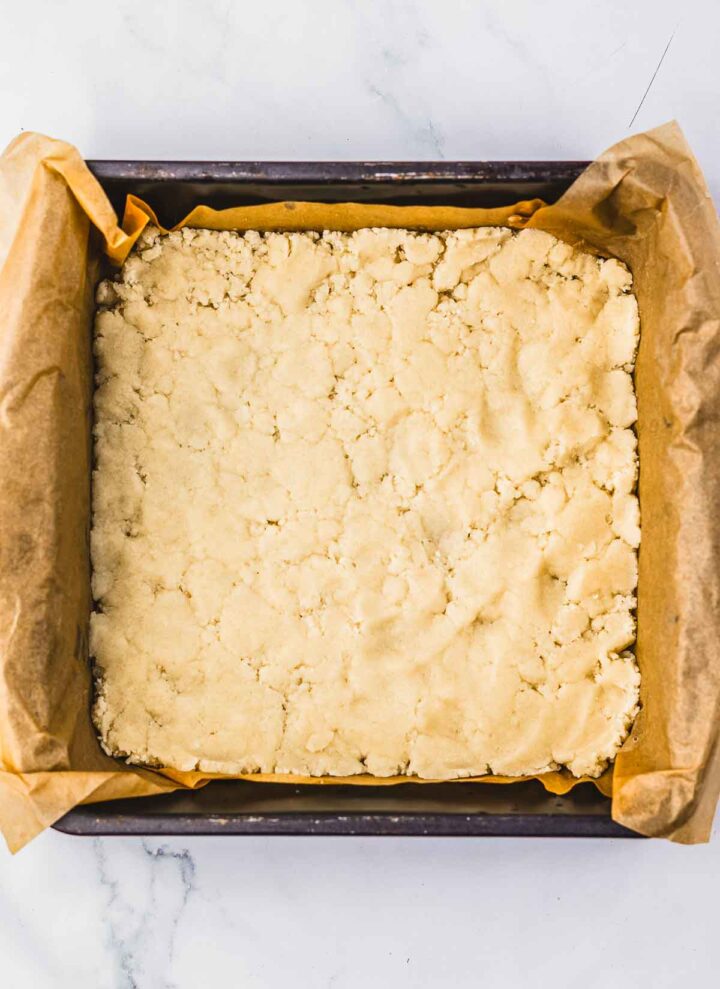
  • Press the crumbs into the bottom of the pan to create an even layer.
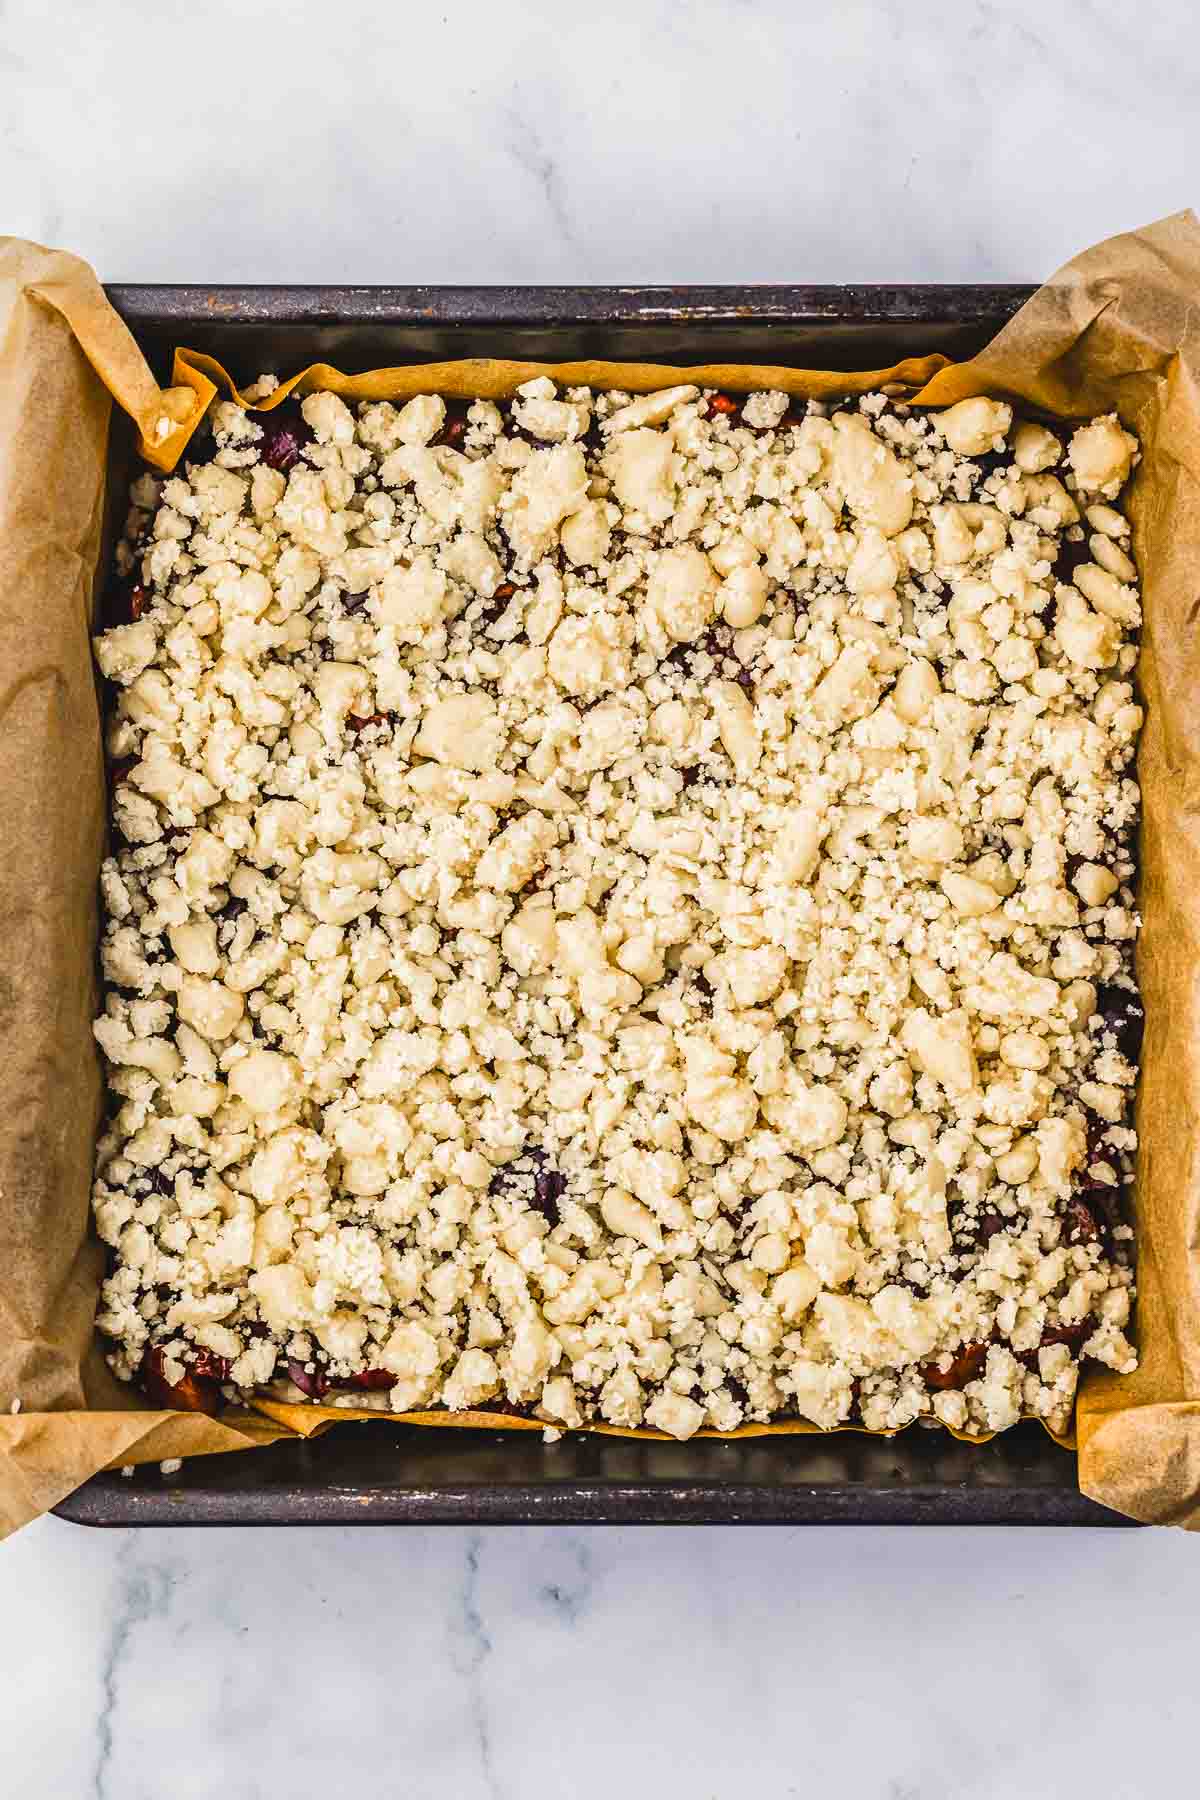
  • Keep the topping loose and crumbly instead of pressing it down.

Bake the bars

A square pan lined with parchment paper holds golden, crumbly cherry pie crumb bars—an irresistible dessert recipe.
Bake until the topping is lightly golden and the filling has thickened.
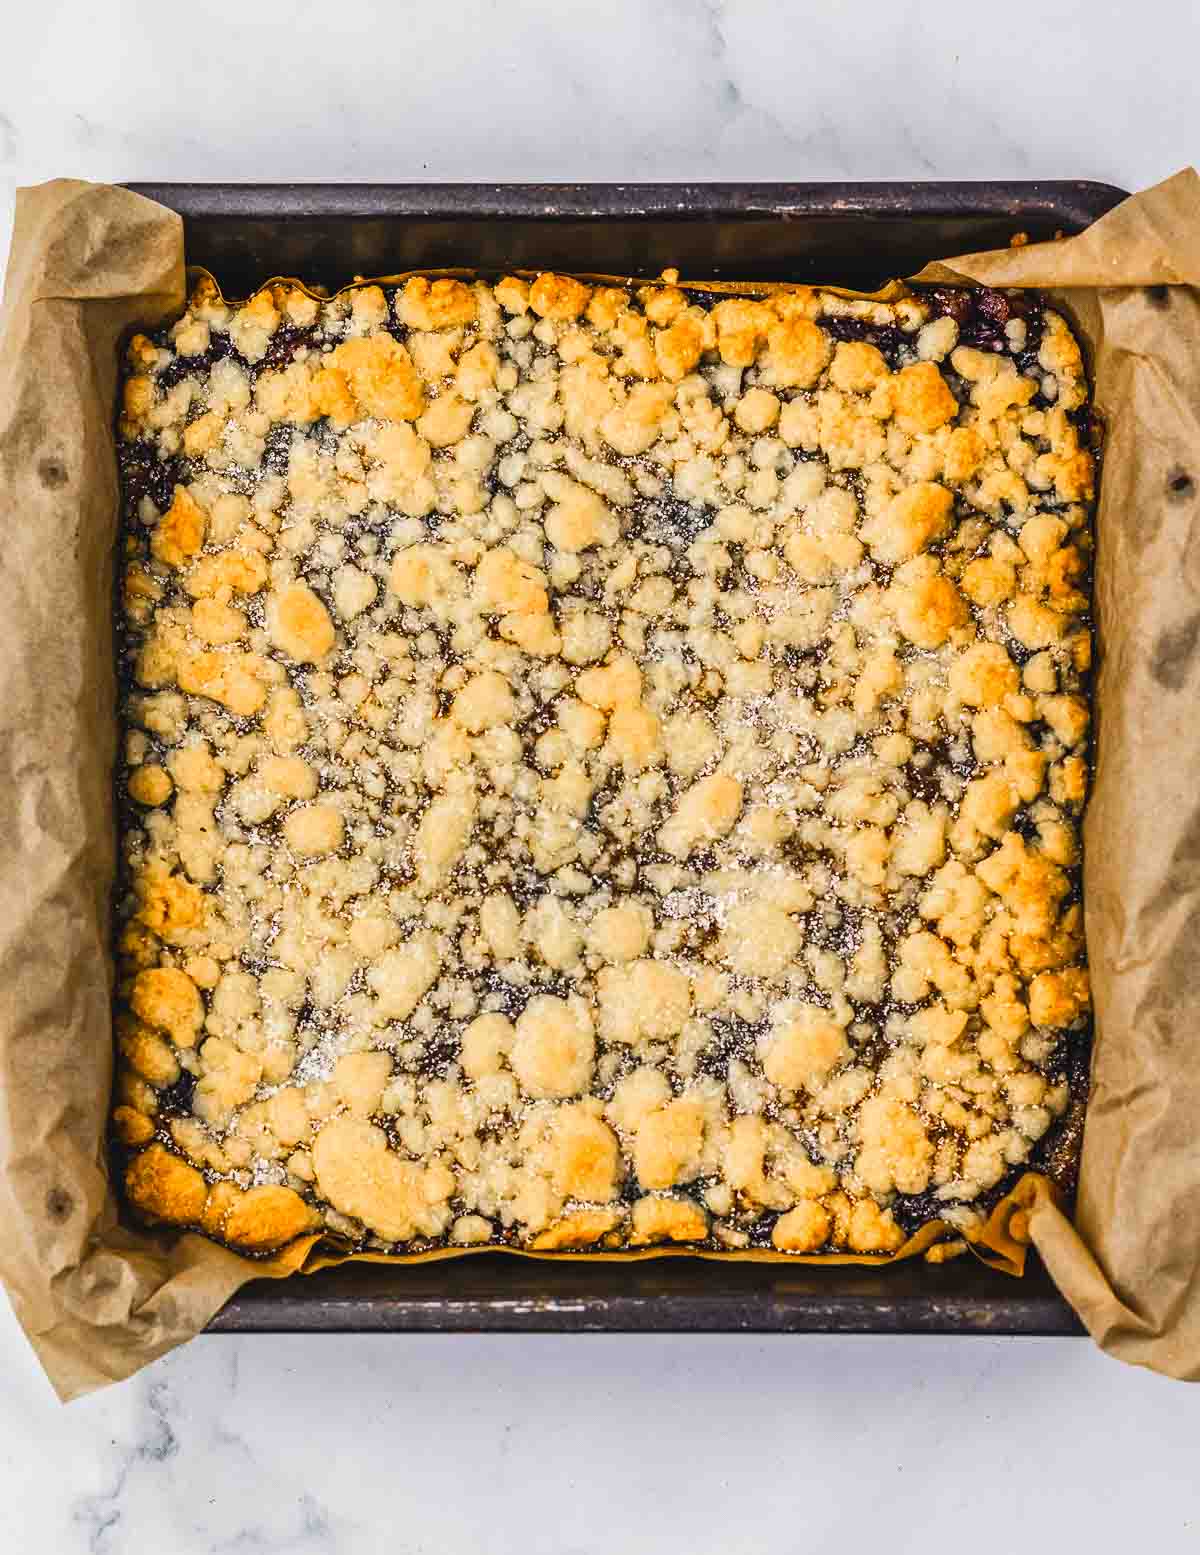
  • Bake the bars in an oven preheated for 375 F for 25 minutes.
  • If the center still looks very wet, bake for a few more minutes before removing.

Cool and slice

Close-up of crumb bars with a golden topping on parchment paper, reminiscent of a homemade cherry pie recipe.
Let the bars cool before cutting.
  • Wait a bit for the bars to cool, about 10 minutes, before removing them from the pan and slicing evenly. Using a hot knife will help you achieve clean, neat cuts.
  • If you cut them too early, the filling may run and the crust can crumble.

Storage

A crumbly square dessert bar—just like classic crumb bars—rests on a white plate beside a fork, with a bowl of dark cherries and a glass of milk, making it look like the perfect treat from a cherry pie recipe.

Store cherry pie crumb bars in an airtight container in the fridge for up to 2–3 days. Let them cool completely before storing so the crumb topping does not turn soggy.

Serve chilled, or let them sit at room temperature for a few minutes before serving if you prefer a softer texture.

Recipe

Tried and loved this recipe? Please leave a 5-star review below! Your reviews mean a lot to me, so if you've got any questions, please let me know in a comment.

Three crumbly cherry pie bars stacked on a white plate, with a fork and a bowl of cherries in the background—a delicious recipe perfect for dessert lovers.

Cherry Pie Crumb Bars 

Buttery cherry pie crumb bars with sweet cherries and a jammy filling. An easy dessert with crumb topping and pie flavor.
No ratings yet
Print Pin Rate
Course: Dessert, Snacks
Cuisine: American
Keyword: cherry pie crumb bars
Prep Time: 10 minutes minutes
Cook Time: 25 minutes minutes
Total Time: 35 minutes minutes
Servings: 6 servings
Calories: 364kcal
Author: Ksenia Prints

Ingredients

  • 2 cups fresh cherries pitted and sliced into small slices
  • 1 tablespoon lemon juice
  • 1 tablespoon cornstarch
  • ½ cup sugar
  • ½ cup unsalted butter melted
  • ¼ teaspoon salt
  • ½ teaspoon baking powder
  • ½ teaspoon baking soda
  • 1 ½ cups flour
  • 2 tablespoon sugar

Instructions

  • Preheat the oven to 375°F and line an 8×8-inch baking dish with parchment paper.
  • In a large bowl, combine the cherries, lemon juice, and cornstarch. Stir until the cherries are fully coated.
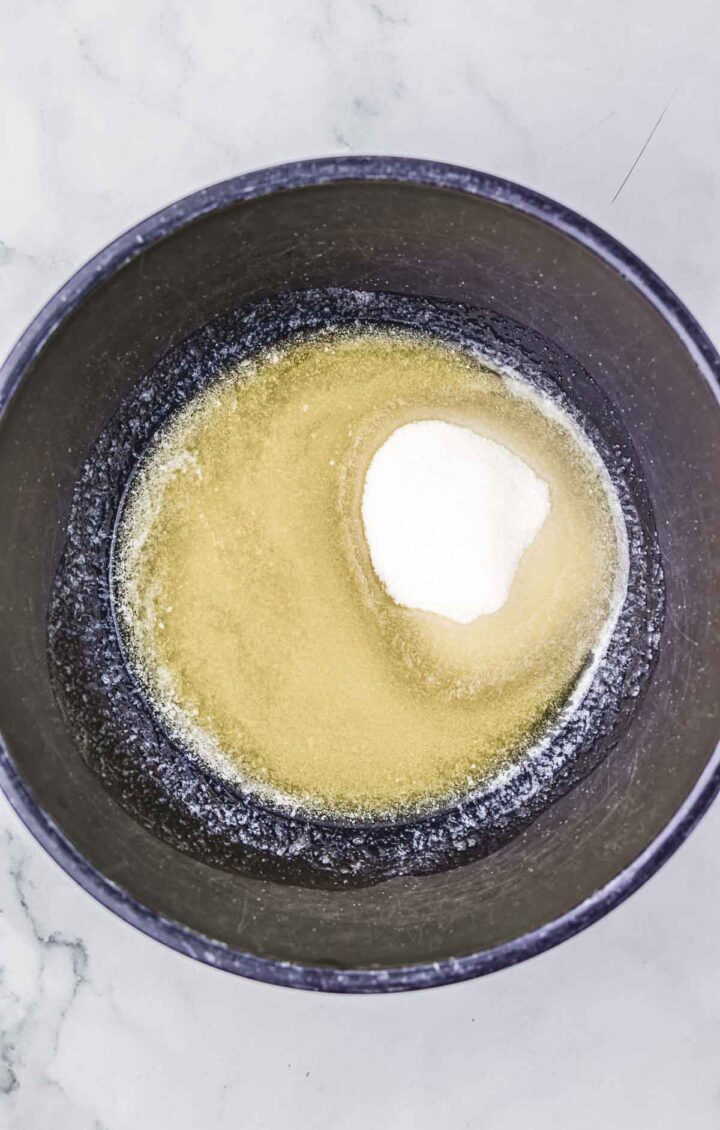
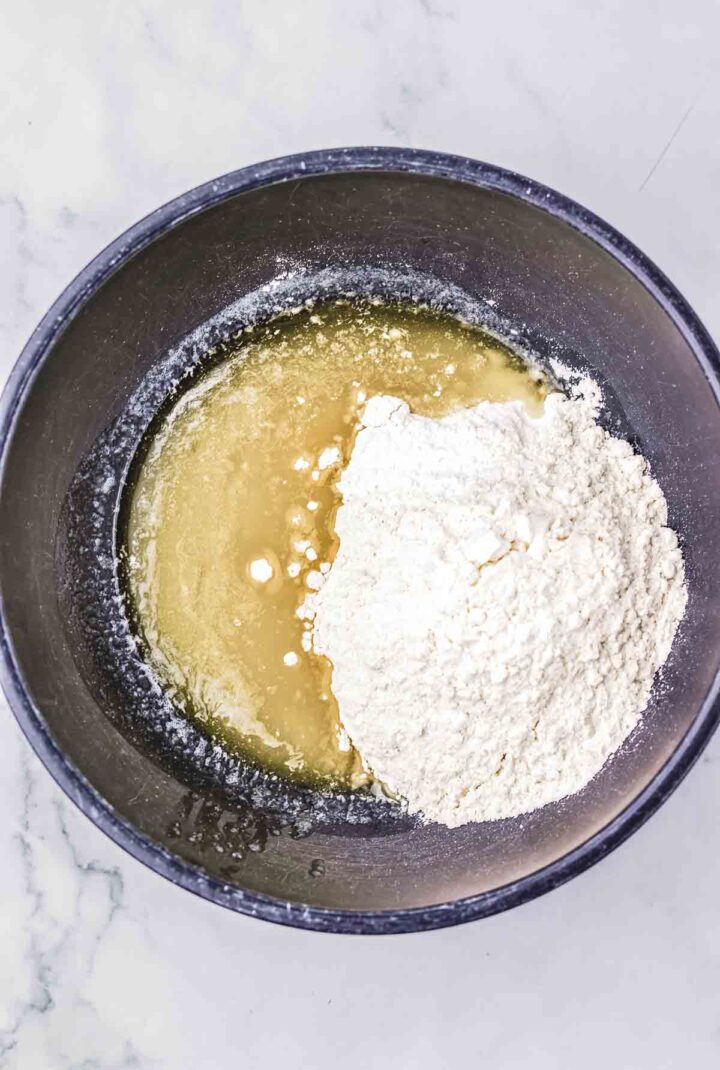
  • In a separate bowl, stir together the melted butter and sugar. Add the salt, baking powder, baking soda, and flour. Mix until a crumb mixture forms.
  • Press about ¼ of the crumb mixture evenly into the bottom of the prepared baking dish.
  • Spread the cherry mixture evenly over the crust layer.
  • Sprinkle the remaining crumb mixture evenly over the cherries.
  • Bake for 25 minutes, or until the top is golden brown.
  • Sprinkle 2 tablespoons sugar over the top. Let cool completely before slicing and serving.

Nutrition

Calories: 364kcal | Carbohydrates: 53g | Protein: 4g | Fat: 16g | Saturated Fat: 10g | Polyunsaturated Fat: 1g | Monounsaturated Fat: 4g | Trans Fat: 1g | Cholesterol: 41mg | Sodium: 226mg | Potassium: 143mg | Fiber: 2g | Sugar: 27g | Vitamin A: 502IU | Vitamin C: 4mg | Calcium: 35mg | Iron: 2mg

More Desserts

  • A slice of banana pudding poke cake topped with whipped cream and a banana slice on a white plate.
    Vintage No Egg Banana Cream Poke Cake Recipe 
  • A slice of Raspberry Lemon Cheesecake with yellow topping and fresh raspberries on a white plate—perfect for trying a new recipe.
    Instant Pot Raspberry Lemon Cheesecake Recipe
  • Sliced loaf of banana bread with a crumbly streusel topping on a wooden cutting board, showcasing the perfect blend of moist banana bread and sweet, crunchy streusel topping.
    Banana Bread with Streusel Topping
  • A close-up of a decadent Hot Chocolate Cobbler with ice cream, marshmallows, and a gold spoon on a white plate.
    Hot Chocolate Cobbler Recipe
  • Facebook
  • Flipboard

Leave a Reply

Your email address will not be published. Required fields are marked *

Recipe Rating


This site uses Akismet to reduce spam. Learn how your comment data is processed.

Woman smelling food on stove

Hello! I am Ksenia, a cook and blogger passionate about comfort food that warms the heart.

More about me →

Footer

↑ back to top

About

  • About me
  • Privacy Policy

Newsletter

  • Sign Up! for emails and updates

Contact

  • Contact
  • Services
  • FAQ

As an Amazon Associate I earn from qualifying purchases.

This site is owned and operated by Prints Media. Copyright © 2025 Thermocookery. All rights reserved.

Rate This Recipe

Your vote:


A rating is required
A name is required
An email is required