
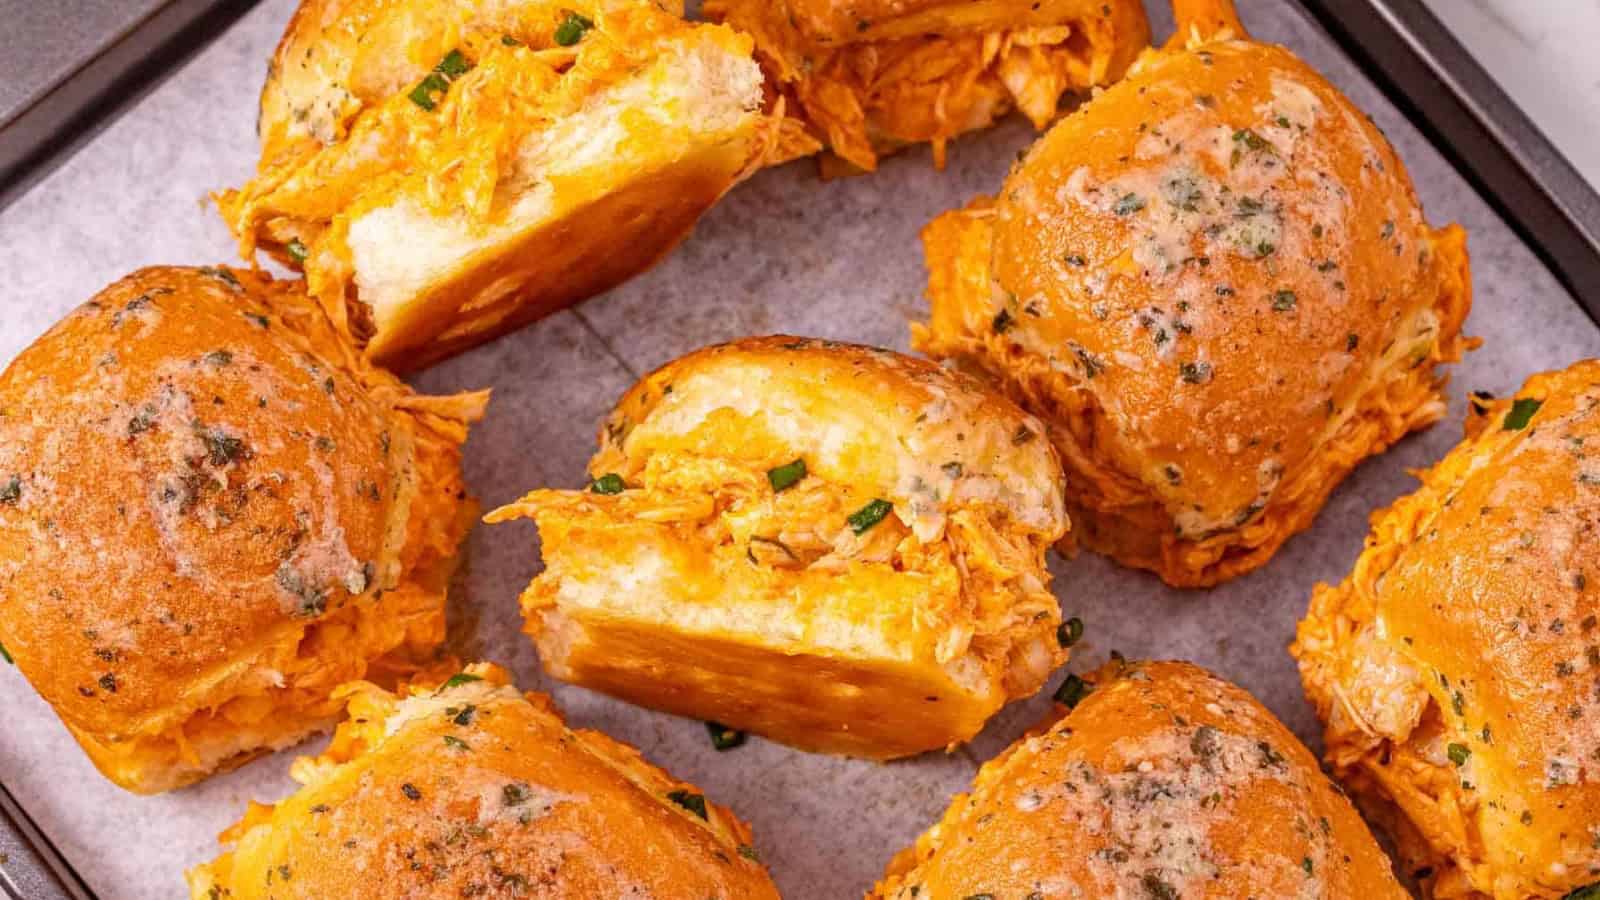
Soft rolls, melty cheese, and a buttery glaze baked until the tops turn golden and the whole pan pulls apart in your hands. Sliders feed a crowd in under half an hour, and I have made them enough times to know where people go wrong.
Jump to:
Sliders started small and stayed that way. White Castle opened in 1921 and sold square mini hamburgers for five cents each. Two bites and one was gone, which is how they picked up the name. It stuck long after the food had left those counters. And today a slider means almost any small sandwich on a soft roll.
What I like about sliders is how little they ask of you. The rolls go soft and buttery on top while the bottoms stay sturdy under the cheese. Ham turns salty and warm. The cheese melts into every corner, and a little mustard in the glaze keeps the pan from tasting flat. They have become my standard for anything that involves more than six people, right alongside my slow cooker cranberry BBQ turkey sliders, which ask even less of me.
I did not grow up eating sliders. I met them in Winnipeg, at a potluck where someone carried in a foil pan and people hovered around it before the host had even set it down. When I asked what was inside, someone just shrugged, treating them like everyday sandwiches while I saw a total revelation. That is usually how it goes when you arrive somewhere as an adult. The food everyone else stopped noticing years ago is the food you are still figuring out.
Now they show up in my kitchen more than I expected. Leo will eat four and tell me he had two. Lin picks the tops off, eats the cheese, and leaves the rest, which I have decided not to argue about anymore. F. is the only one patient enough to wait for them to cool. The pan comes out empty either way, so I stopped making the smaller size.
The method matters more than what goes inside. Once you understand how the rolls, the glaze, and the oven work together, you can swap almost anything into the middle, and it will still come out right. Here is everything that goes into getting there.
Choosing Buns That Hold Up
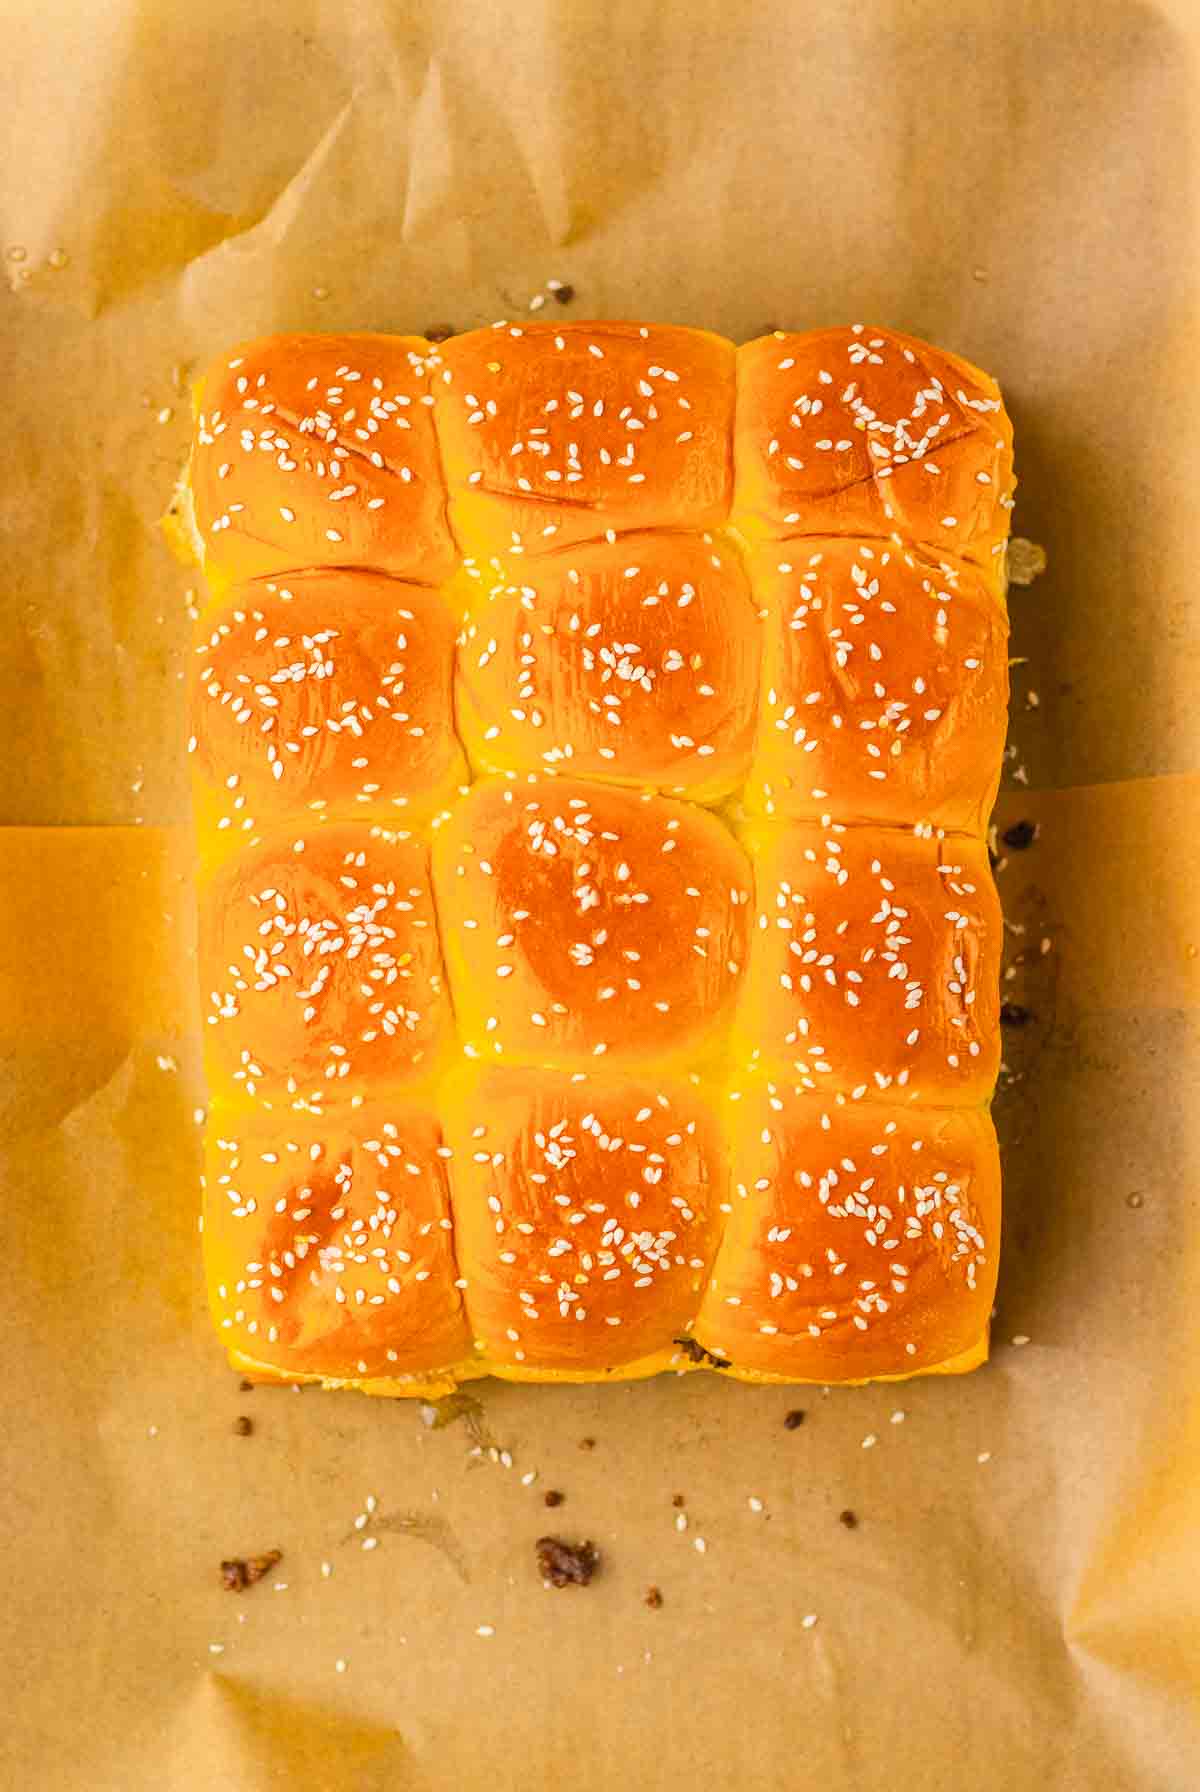
The buns do more work than people give them credit for. It has to stay soft enough to bite through and strong enough to carry warm meat and melted cheese without turning to paste. Hawaiian rolls are the ones I reach for most because the slight sweetness works against salty ham, and they hold their shape after fifteen minutes in a hot oven. Potato rolls are lighter and a little airier, and they soak up sauce well without going soggy at the base.
Mini brioche rolls are richer and more buttery, which suits beef or anything with a lot of cheese. Plain slider rolls from the bakery aisle are the safest choice when you are feeding people with different tastes, since nothing about them competes with what is inside. Whatever you pick, buy the slabs that come attached to each other rather than loose rolls. Keeping them connected is what makes the whole pan work.
What to Put Inside
Ham and cheese is the one I make most, mostly because it takes no cooking and no planning. Deli ham goes straight from the package into the pan, and by the time the cheese melts, the meat is warm all the way through.
Beef patties are the closest thing to the original. Shape them thin and small so they match the width of your rolls, then cook them fast over high heat and lay them in while still hot. You can also skip the patties and spread seasoned ground beef in one even layer, which is what I do for my homemade Big Mac sliders because it portions itself when you cut the pan apart. Shredded chicken works well when you have leftovers to use up, and pulled pork is worth the wait if you already have the slow cooker going. Thin slices of steak are the fanciest option and the trickiest, since they turn tough the moment you overcook them.
Meatless sliders are just as good when you treat the filling seriously. Black bean patties with a lot of cumin and garlic hold together nicely. Grilled portobello caps go rich and almost meaty once they lose their water. Breaded zucchini or eggplant rounds add crunch that the soft roll needs, and they hold up better than you would expect under a slice of cheese.
Toppings and Sauces
Keep the toppings simple and keep them dry. Cheddar and American cheese both melt cleanly, sliced onion softens in the oven, and pickles add the sharp bite that cuts through all that butter and cheese. Crisp bacon and caramelized onions turn a plain pan of sliders into something people ask about.
Sauce is where sliders get interesting, but it is also where they get ruined. Spicy mayo, honey mustard, and buffalo sauce all taste good, and all of them will soak straight into the bottom rolls if you add them before baking. The exception is sauce already stirred through the meat, the way it works in my buffalo chicken sliders, since the filling holds onto it instead of the bread. Otherwise I spoon sauce on after the pan comes out, right before I cut them apart. The glaze on top is different, since melted butter with mustard and poppy seed bakes into the surface instead of running down through the middle.
Three Ways to Cook the Filling
The oven does the least work and gives you the most reliable result. It suits deli meats and anything already cooked, since all you are doing is warming the filling and melting cheese. This is the method behind every ham and cheese slider you have ever eaten at a party.
Want to save this?
The slow cooker is for pulled pork and shredded chicken, and it needs a head start. Cook the meat in the morning, shred it, and leave it on the warm setting until you are ready to assemble. Drain off some of the liquid before it goes near a roll, or the bottoms will not survive the bake. My BBQ chicken sliders run on exactly this method, and they are the easiest place to start if you have never done it.
A skillet or grill is right for beef patties and thin steak. Get the pan properly hot before anything touches it, cook the patties fast so they brown outside and stay juicy inside, and move them onto the rolls while still hot so the cheese starts melting on contact. If you are working on a grill, set a foil tray underneath so nothing small slips through the grates.
Putting the Pan Together

Every pan of sliders follows the same shape no matter what goes inside, and once you have that shape in your head you stop needing to look anything up. It goes like this.
Heat the oven to around 350 degrees Fahrenheit and line your pan with parchment or foil first. Lining sounds like a small thing, but melted cheese and butter glaze weld themselves to the bottom, and lifting the whole slab out in one piece is much easier than scrubbing it later. Then cut the rolls while they are still attached to each other. Press one hand flat across the top of the slab and run a long serrated knife straight through the middle, so you end up with one sheet of tops and one sheet of bottoms. Set the tops aside and lay the bottom sheet in the pan.
Work in layers rather than piles. Cheese goes down first if you want it melting into the bread, or over the meat if you want it on top. Fold deli slices into loose ruffles instead of laying them flat, since folded meat holds air and gives you a thicker sandwich without using any more of it. Anything wet stays out at this stage, because sauce and pickles will soak straight through the bottom rolls in the oven. Put the top sheet back on once the middle is done.
The glaze is the part people skip, and then they wonder why their sliders taste plain. Melt butter, stir in something sharp like mustard, and add garlic, poppy seed, or sesame if you want it. Brush it over the tops and push some down into the gaps between the rolls. Use more than feels sensible, since the bread drinks most of it.
Bake covered, then uncovered. Ten minutes under foil traps the steam and melts the cheese all the way through, then another five to ten minutes with the foil off gives the tops their color. Skip that covered stretch and you get golden tops sitting over cold cheese in the middle, which is the single most common way a pan of sliders goes wrong.
Let the pan rest about five minutes before you cut it, so the cheese sets just enough to stay inside the sandwich instead of sliding out the side. Now add the sauce, the pickles, the lettuce, anything you held back. Run a knife down the seams between the rolls and serve them straight from the pan.
Top Tips for Making Sliders
- Keep the rolls connected. Slice the whole slab in half sideways instead of pulling the rolls apart. This is so you can layer everything at once and cut them into squares after baking.
- Go light on anything wet. Sauce and pickles soak into the bottom rolls while they bake. Add them once the pan comes out of the oven.
- Cover the pan first. Ten minutes under foil traps the steam and melts the cheese, then five minutes uncovered gives the tops their color without drying them out.
Storage
Store leftover sliders in an airtight container in the fridge for up to 3 days. Keep any sauce or pickles separate if you can, since they soften the rolls overnight and the bottoms turn heavy. If you assembled the whole pan and did not get through it, wrap it tightly rather than leaving it uncovered, because the tops dry out fast once the glaze cools.
Reheat them covered in a 325 degree Fahrenheit oven for about 10 minutes, which warms the filling and softens the rolls again without drying them. The microwave works when you are in a hurry. But the rolls turn chewy, so keep it to 20 or 30 seconds. You can also assemble the whole pan a day ahead. Just cover it, and keep it in the fridge unbaked, then brush on the glaze and bake it straight from cold with about 5 extra minutes.
Sliders Worth Making Again
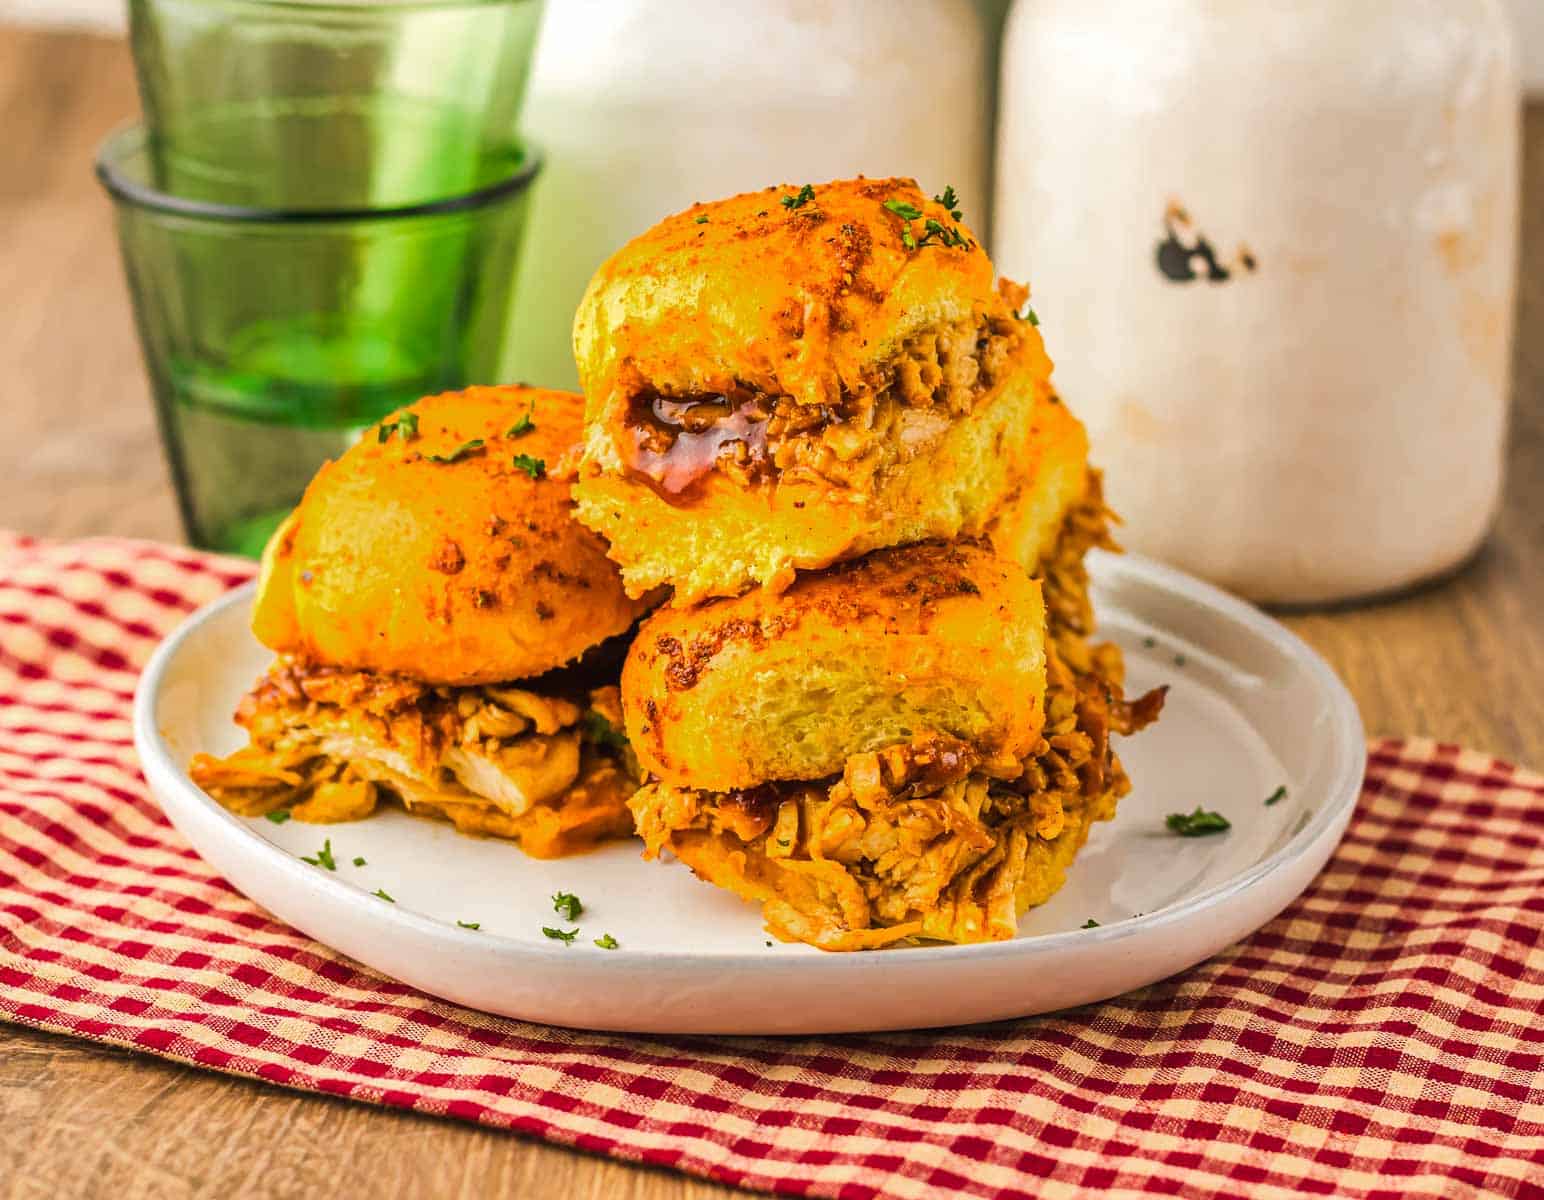
Nobody expects much from a tray of small sandwiches. And then the pan comes out of the oven, and everyone crowds around it anyway. That was true at the potluck in Winnipeg where I met my first one, and it is still true in my kitchen on an ordinary Tuesday.
Get the rolls right, keep the wet things off until the end, and give the oven those ten covered minutes. Everything after that is up to whatever you happen to have in the fridge. Make a pan the way I have laid it out here, then start changing things, because that is when sliders stop being my method and start being yours.
This article is adapted from one that originally appeared on Food Drink Life.
Leave a Reply