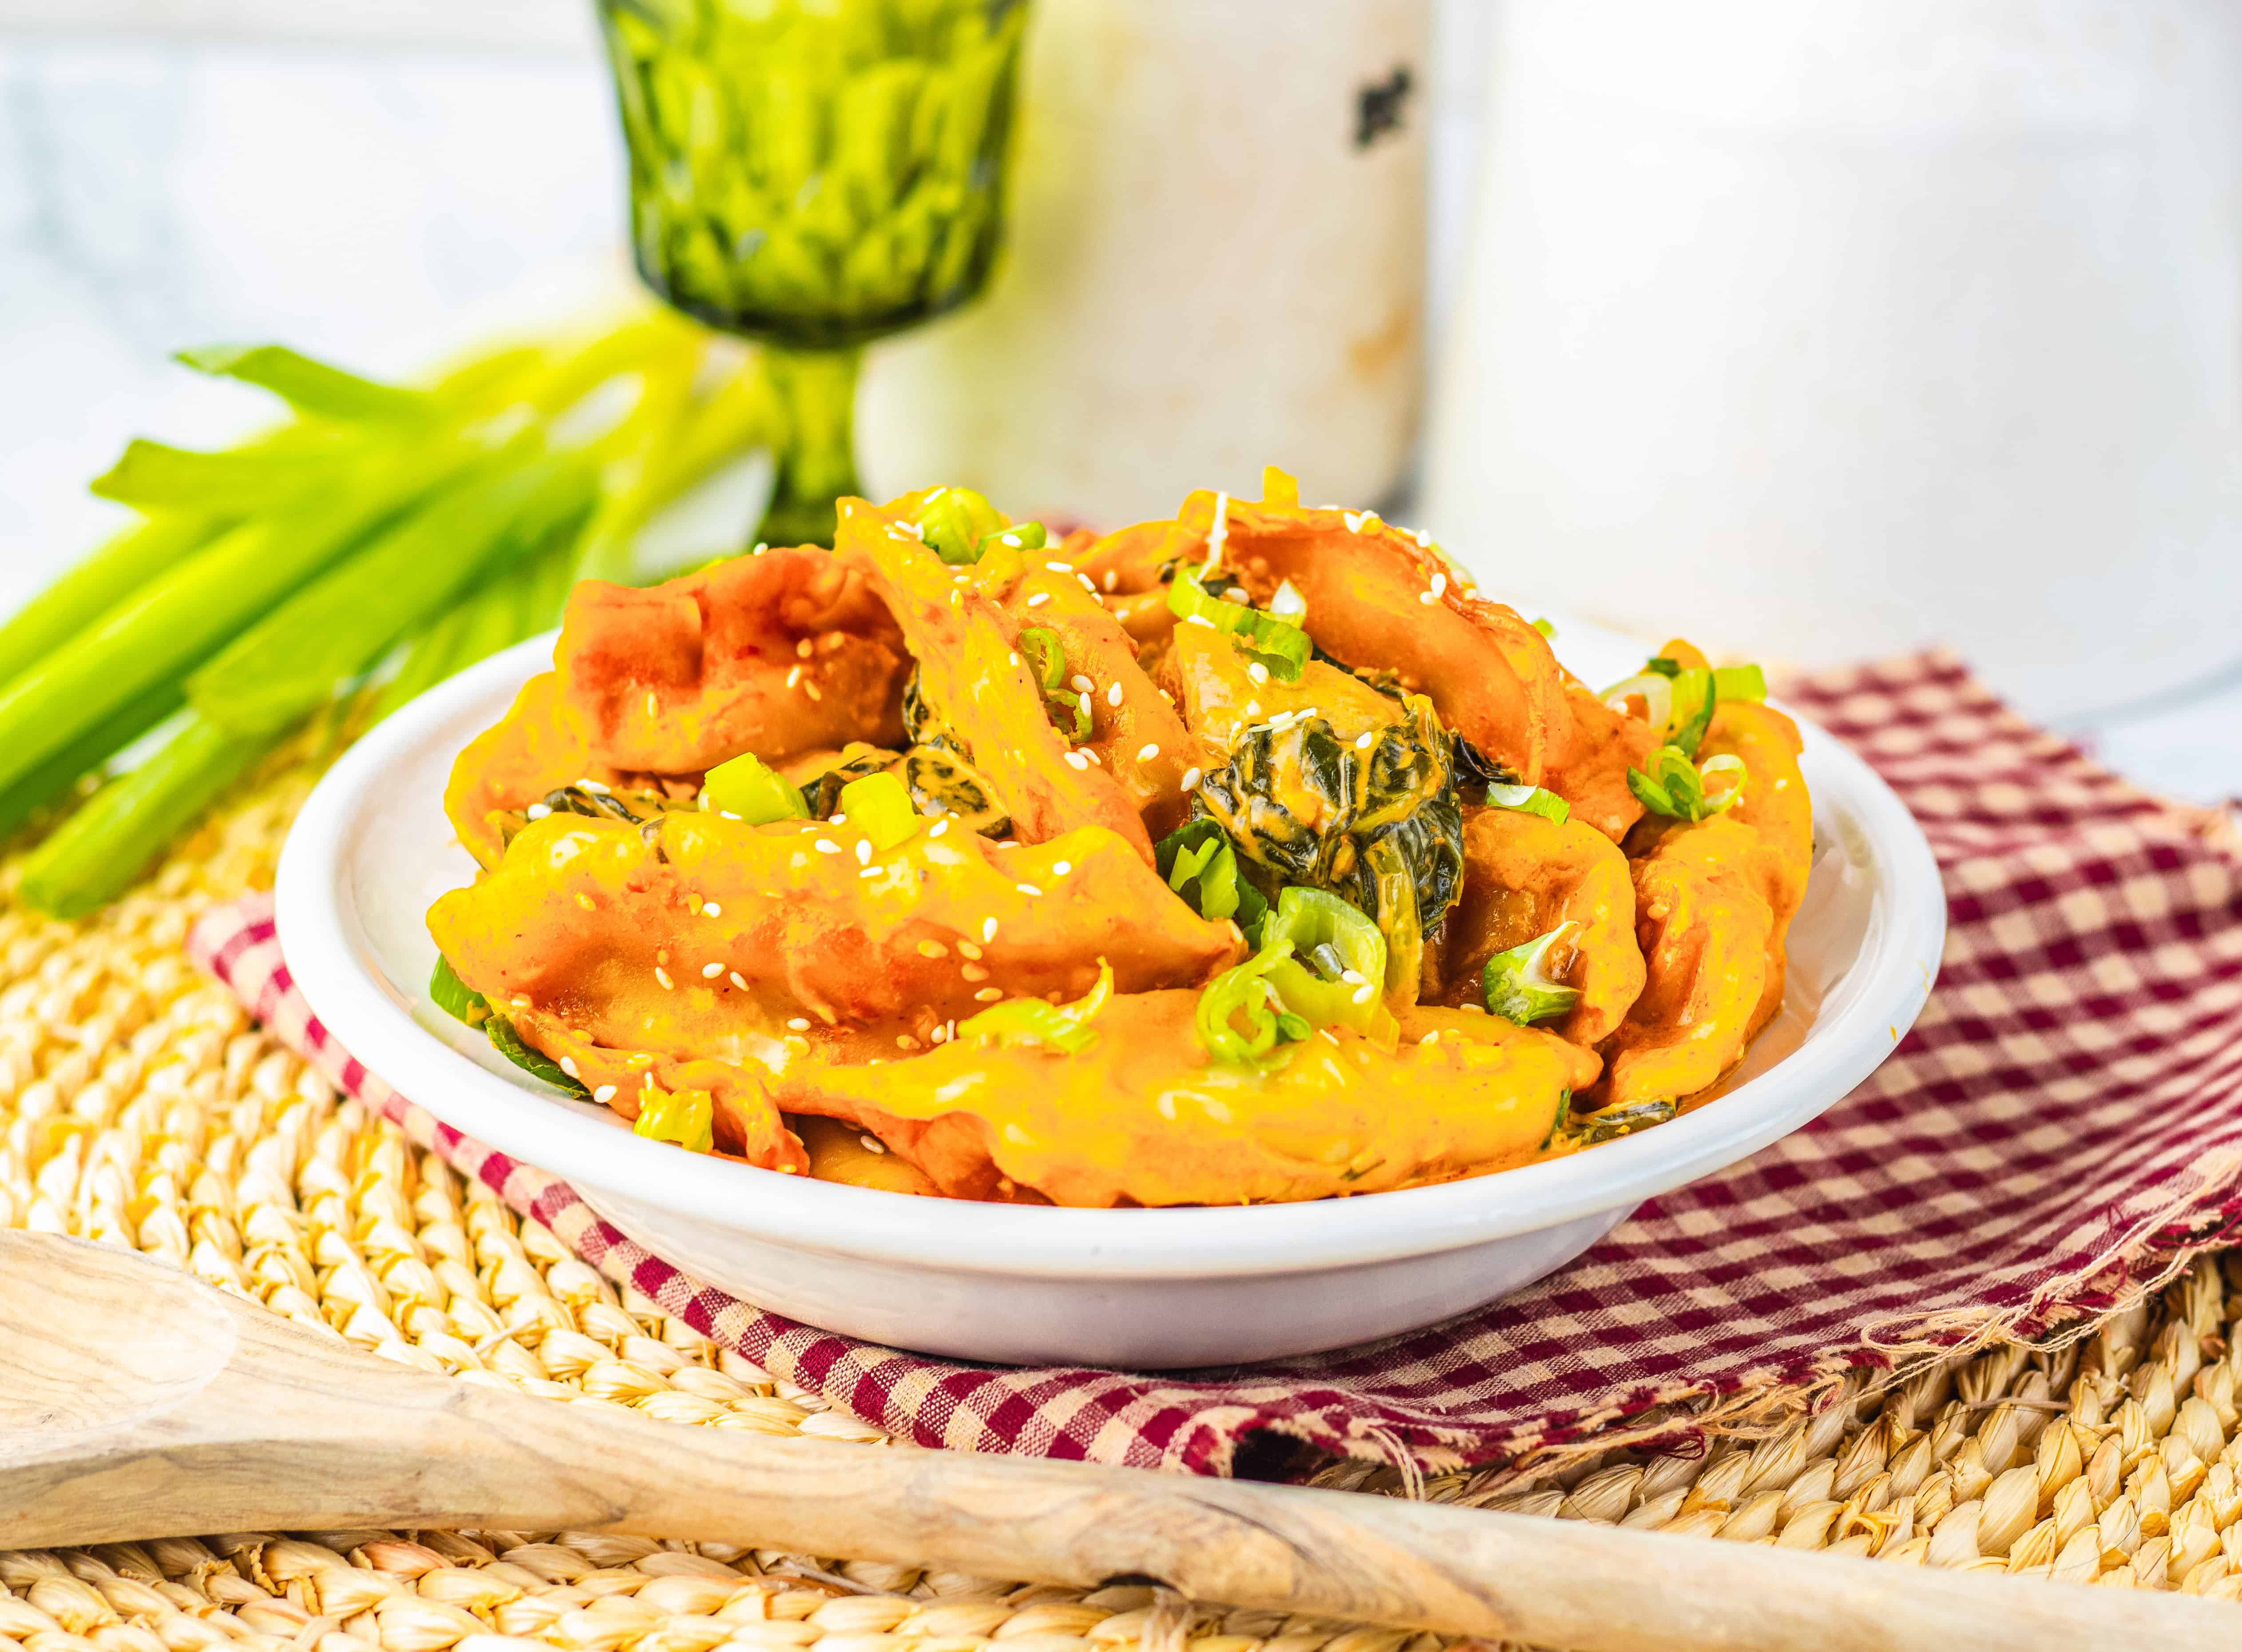
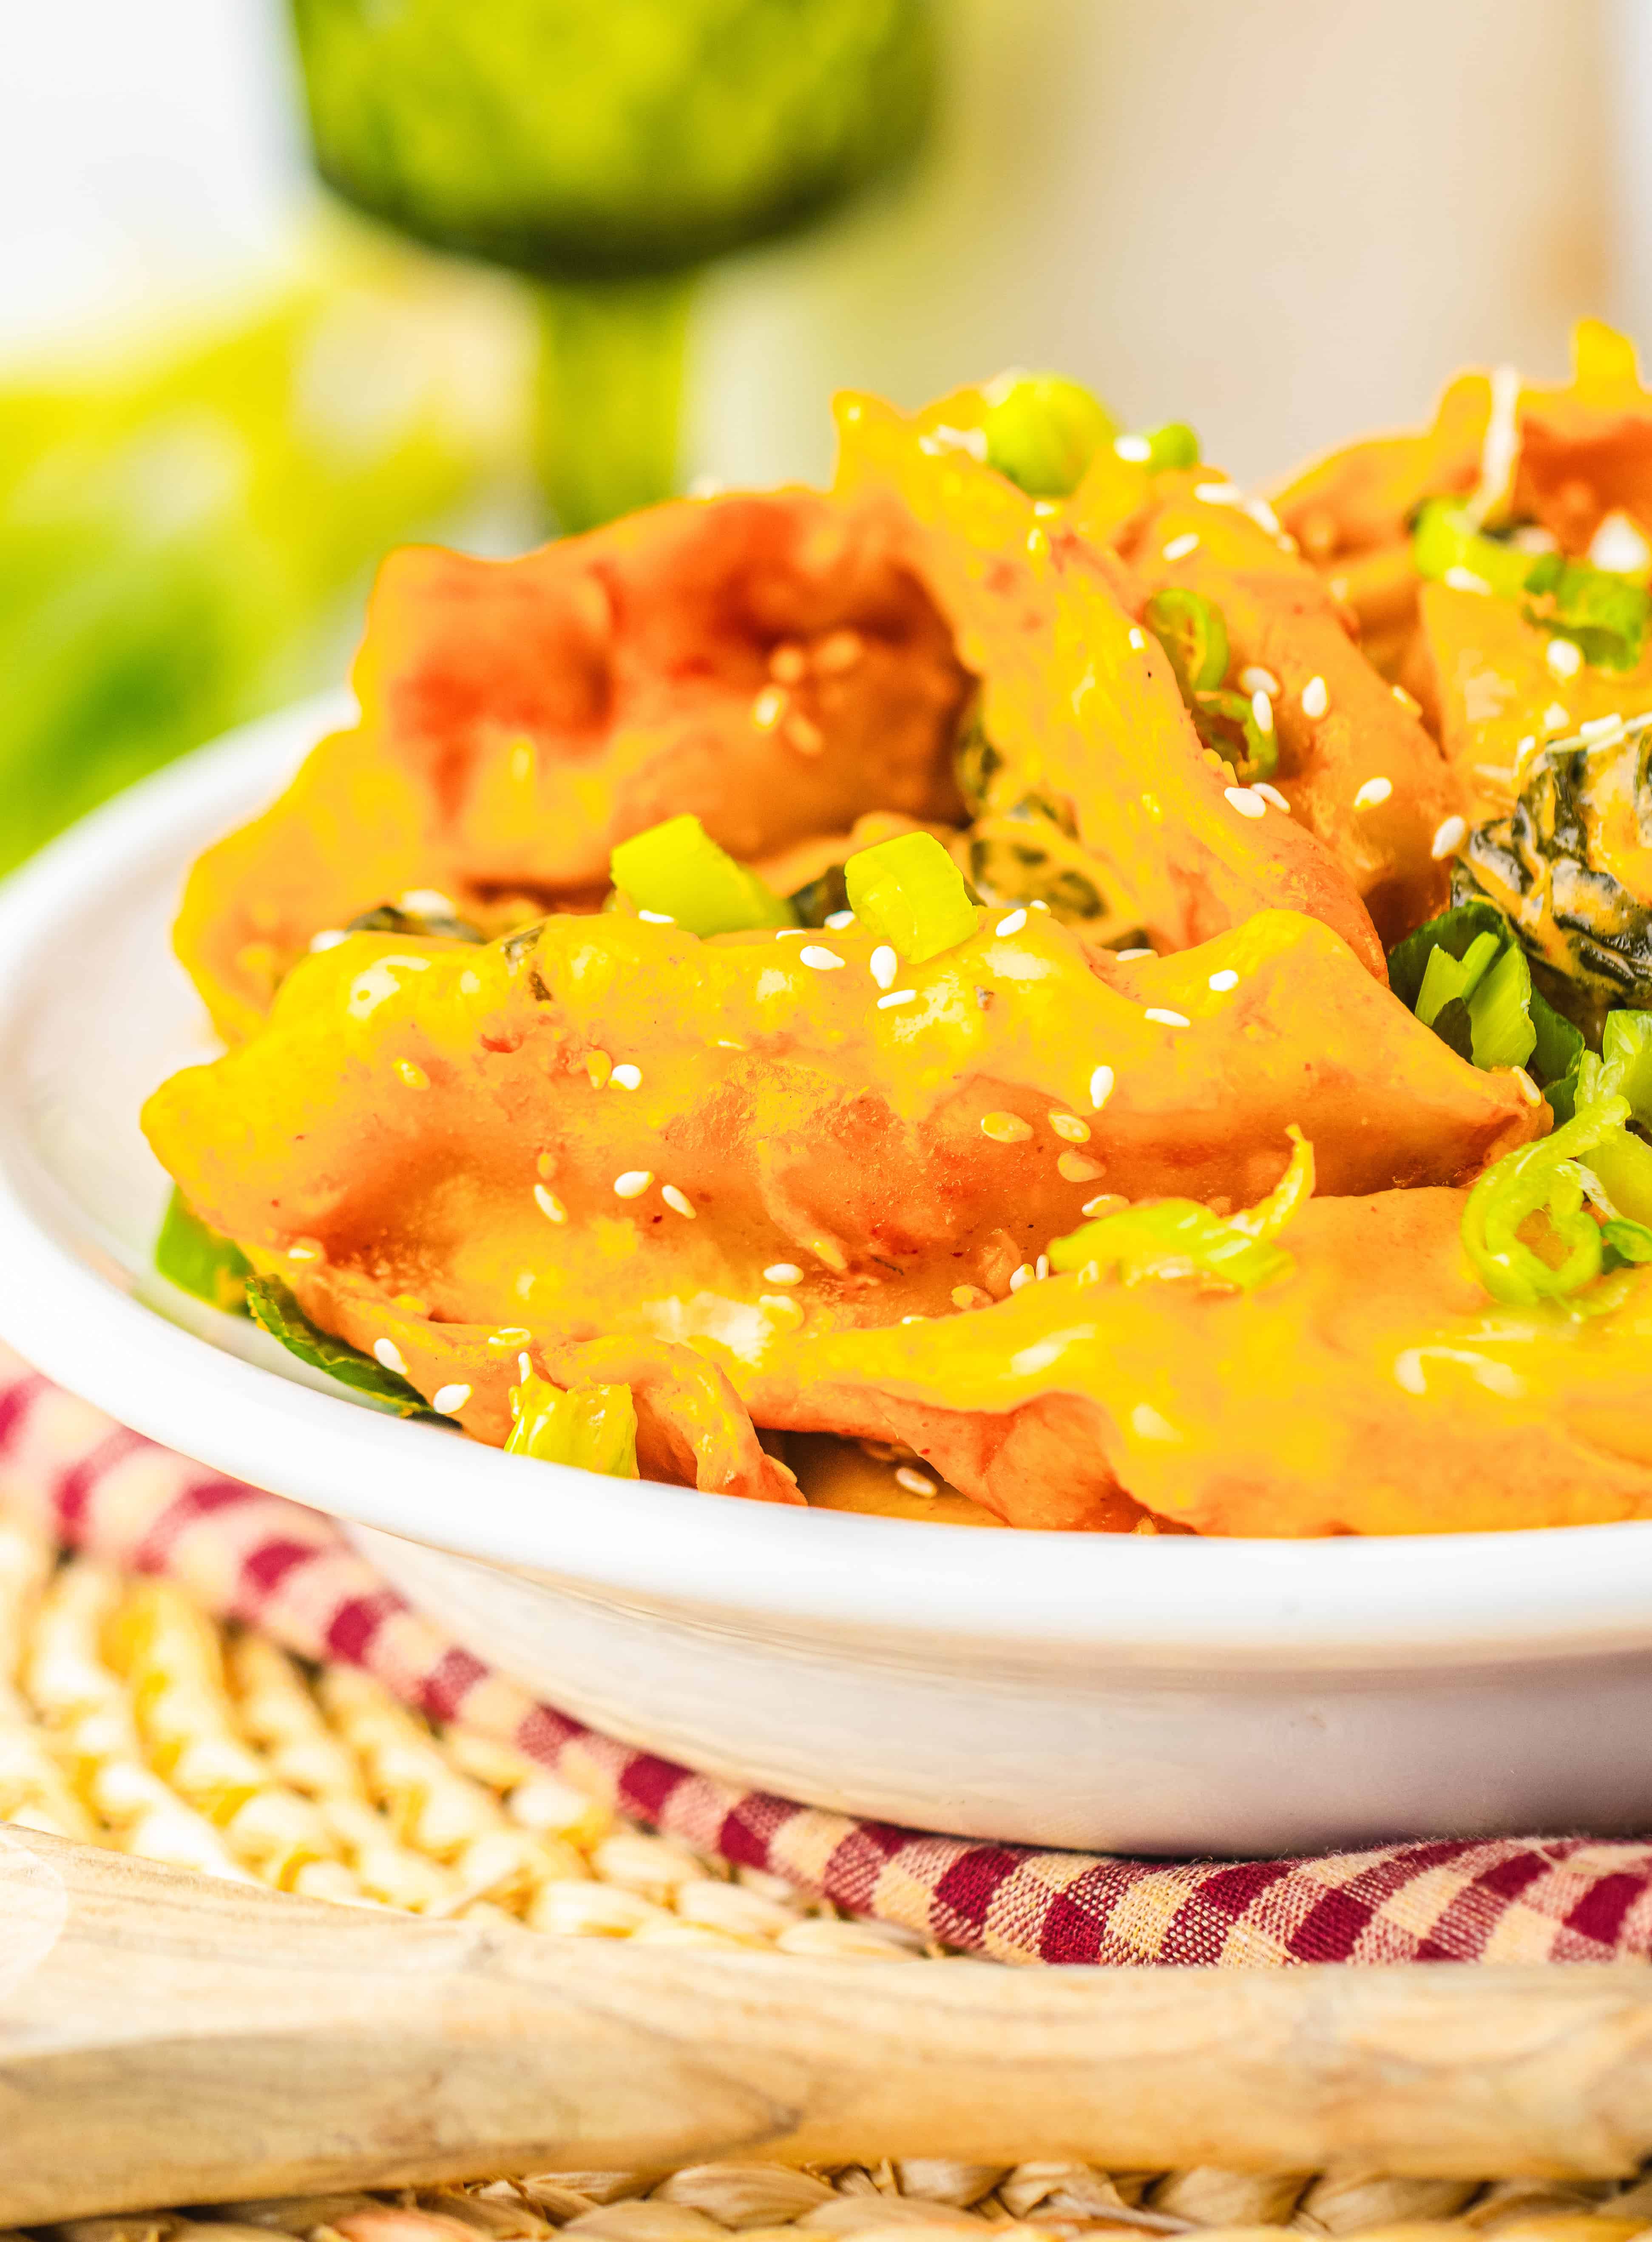
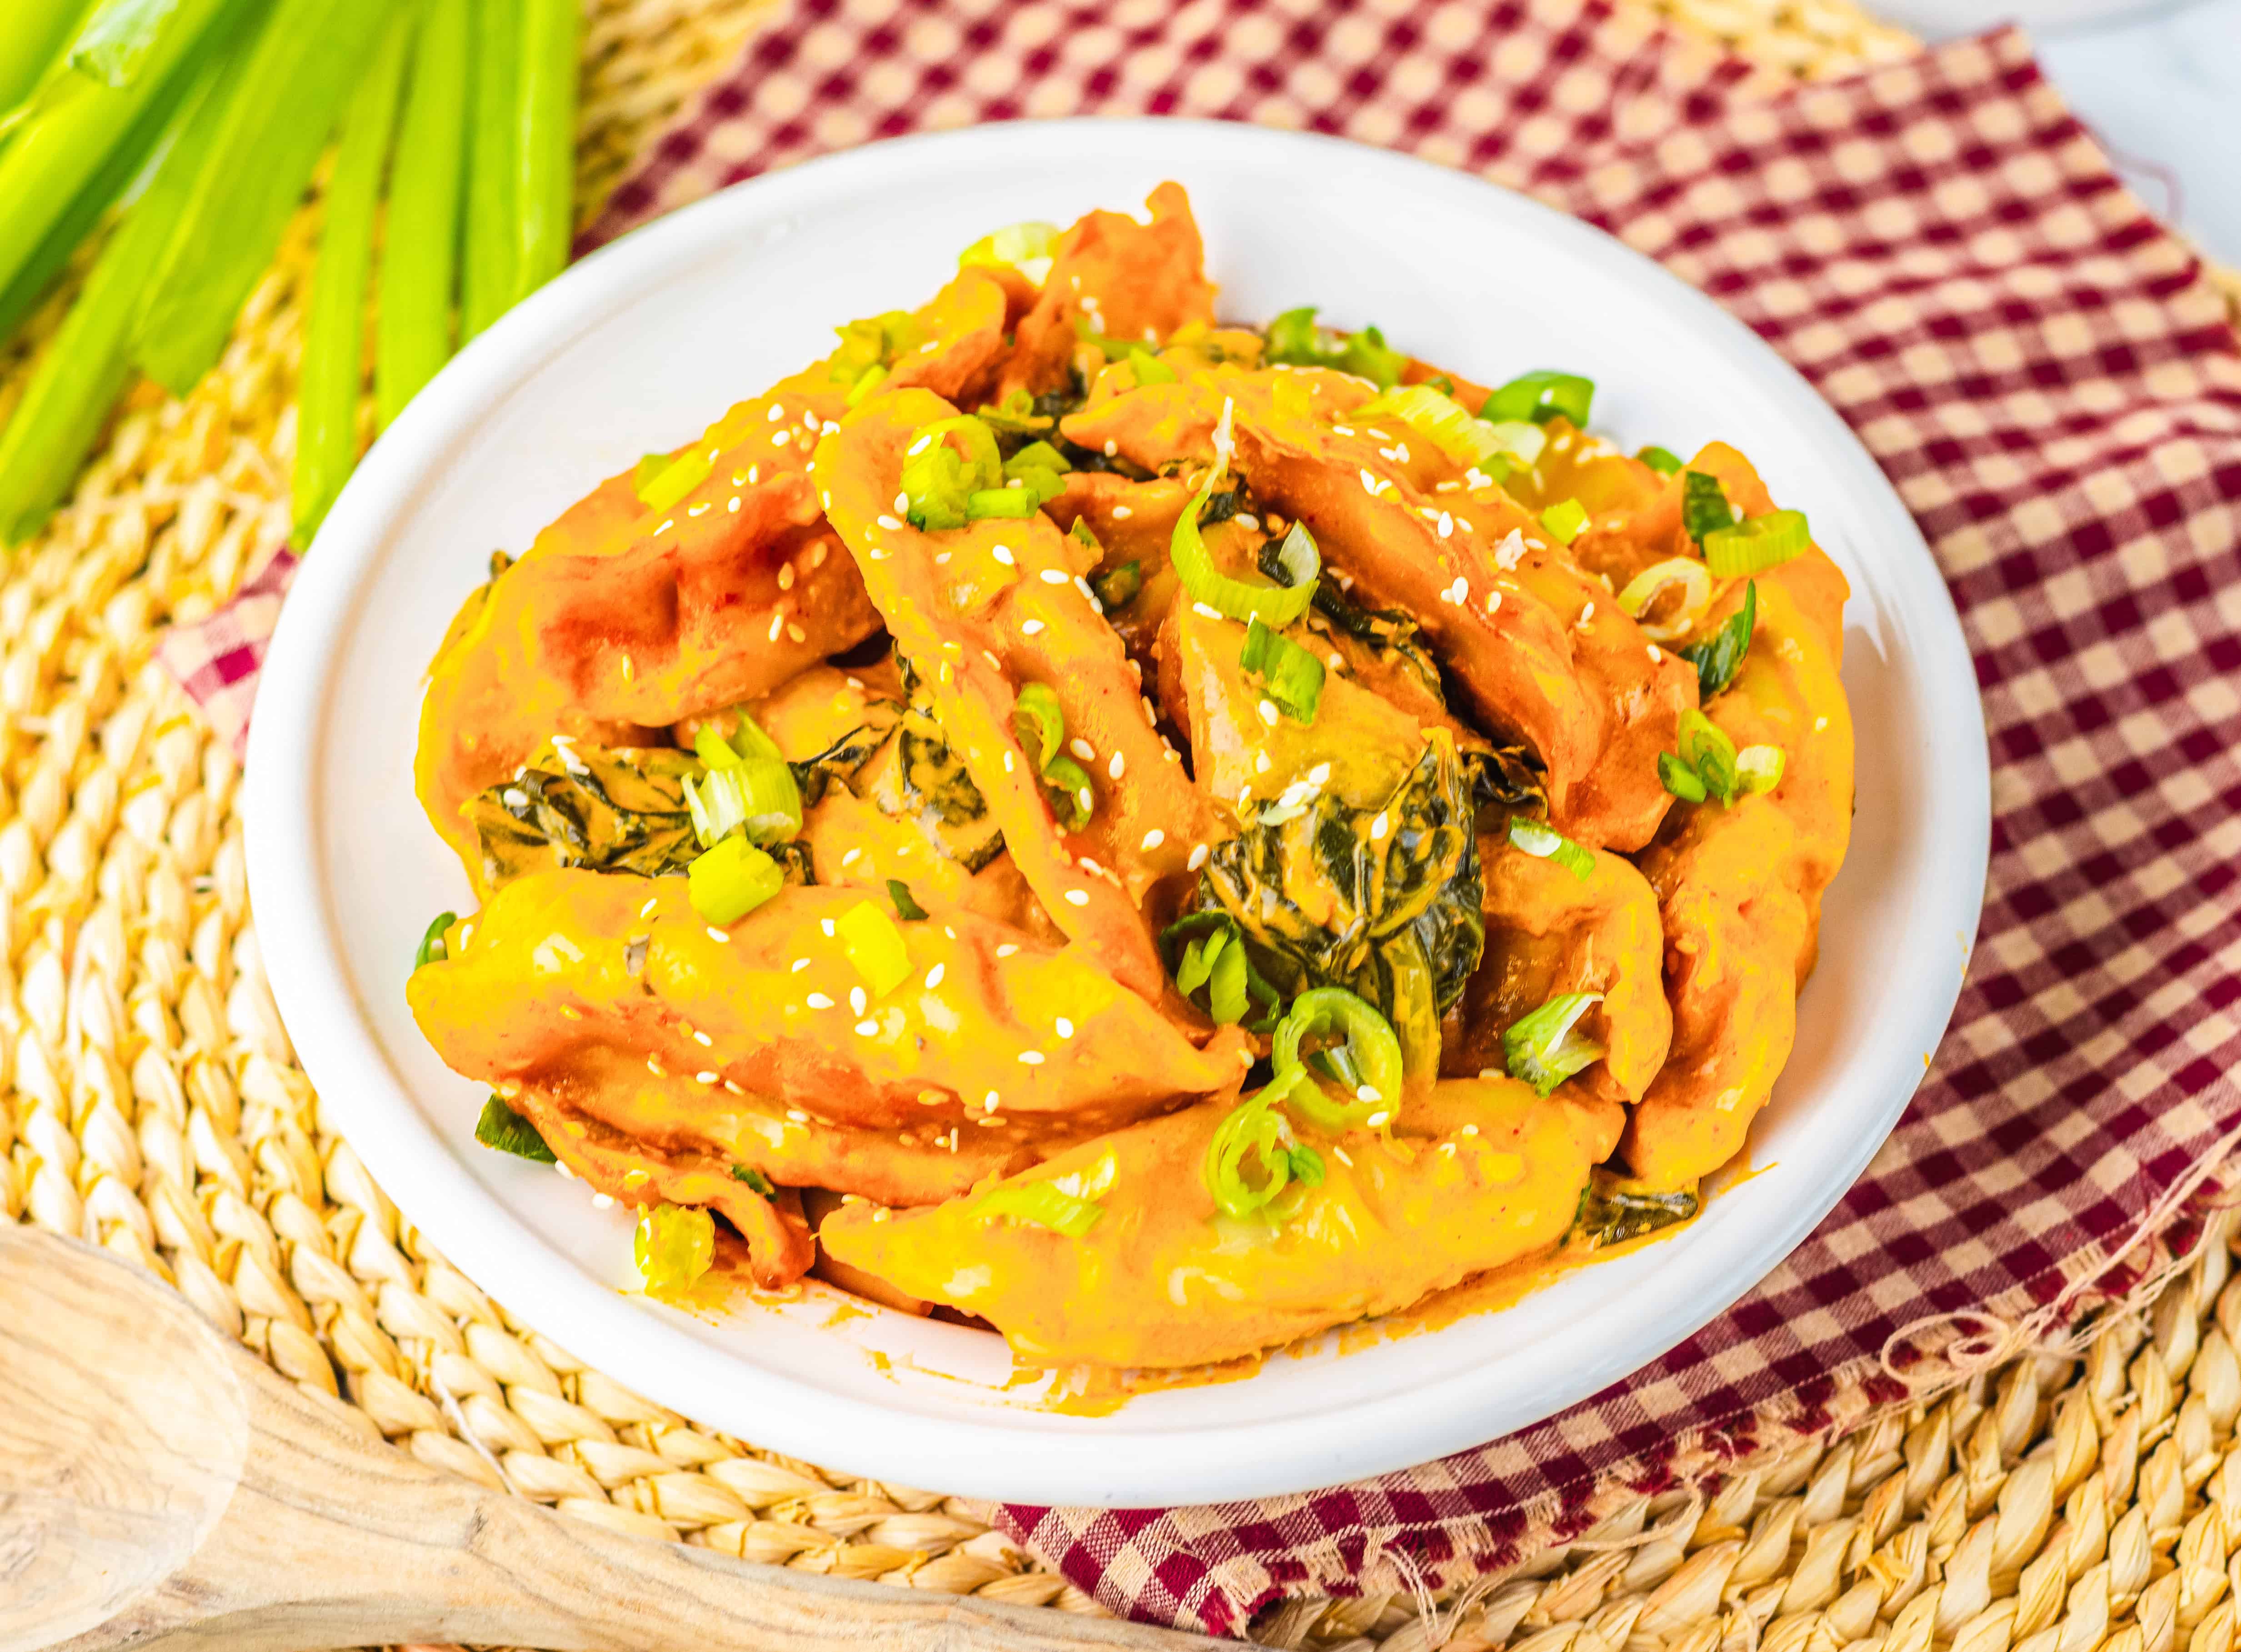
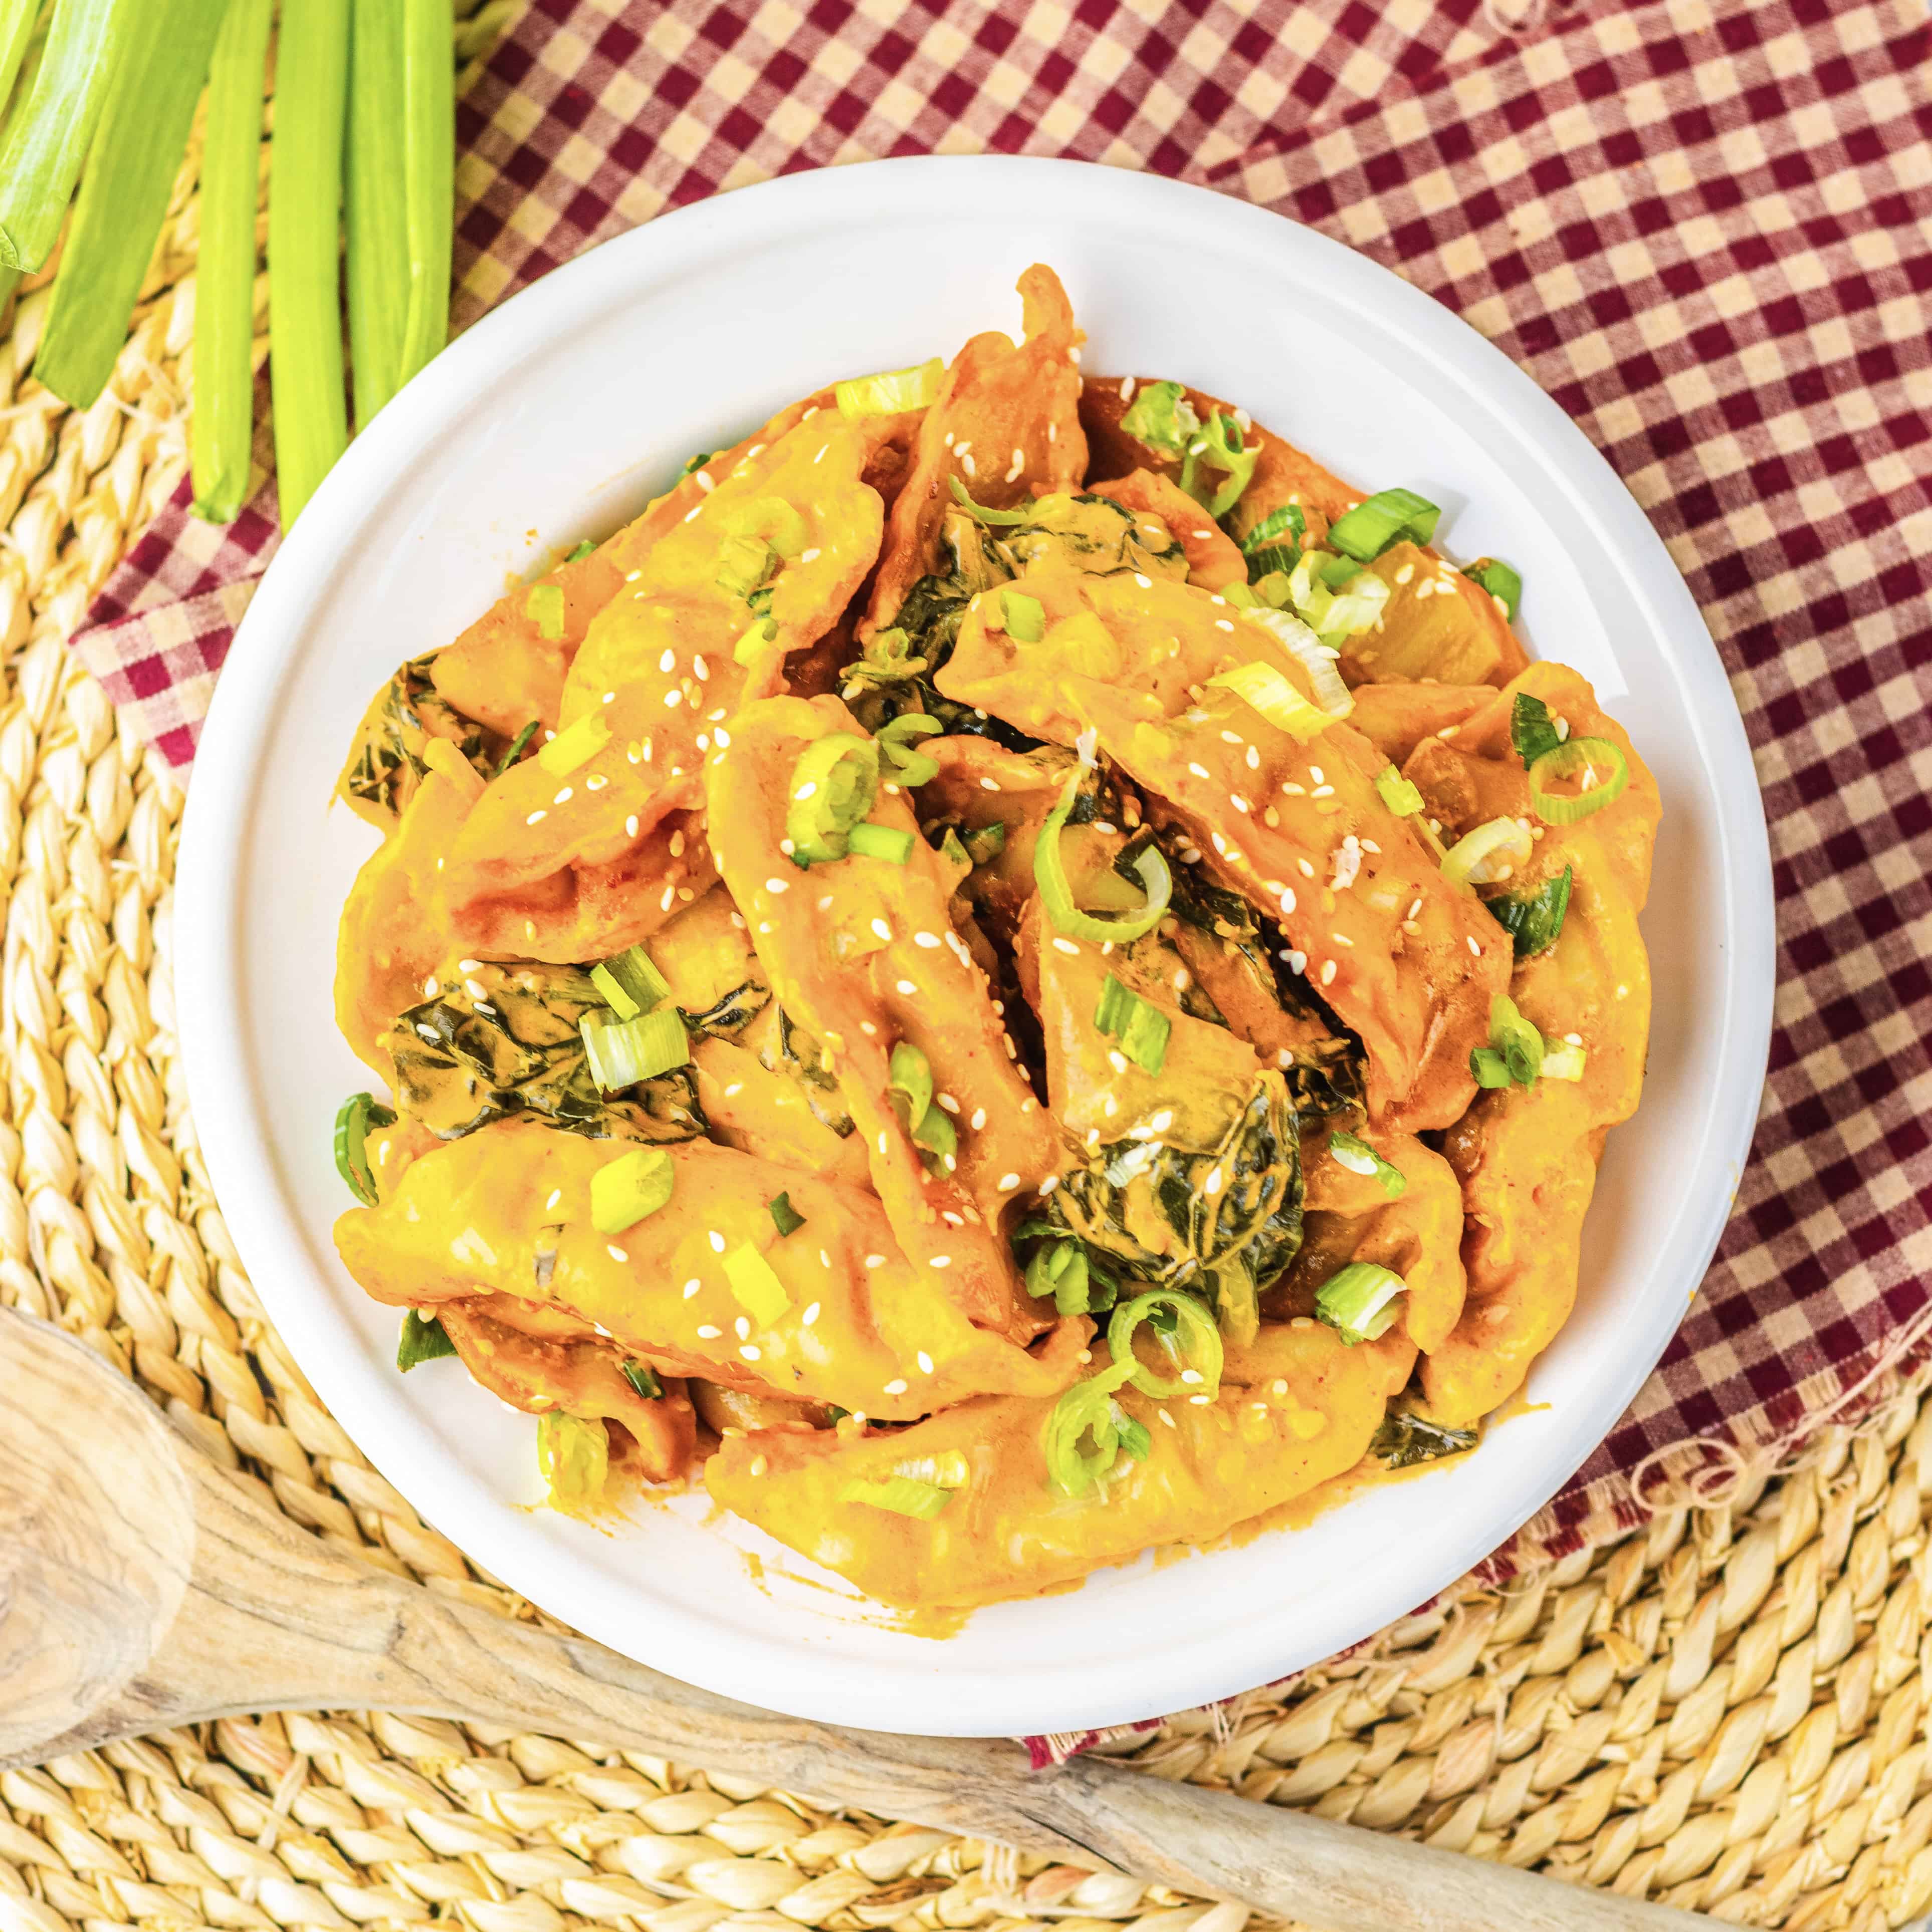
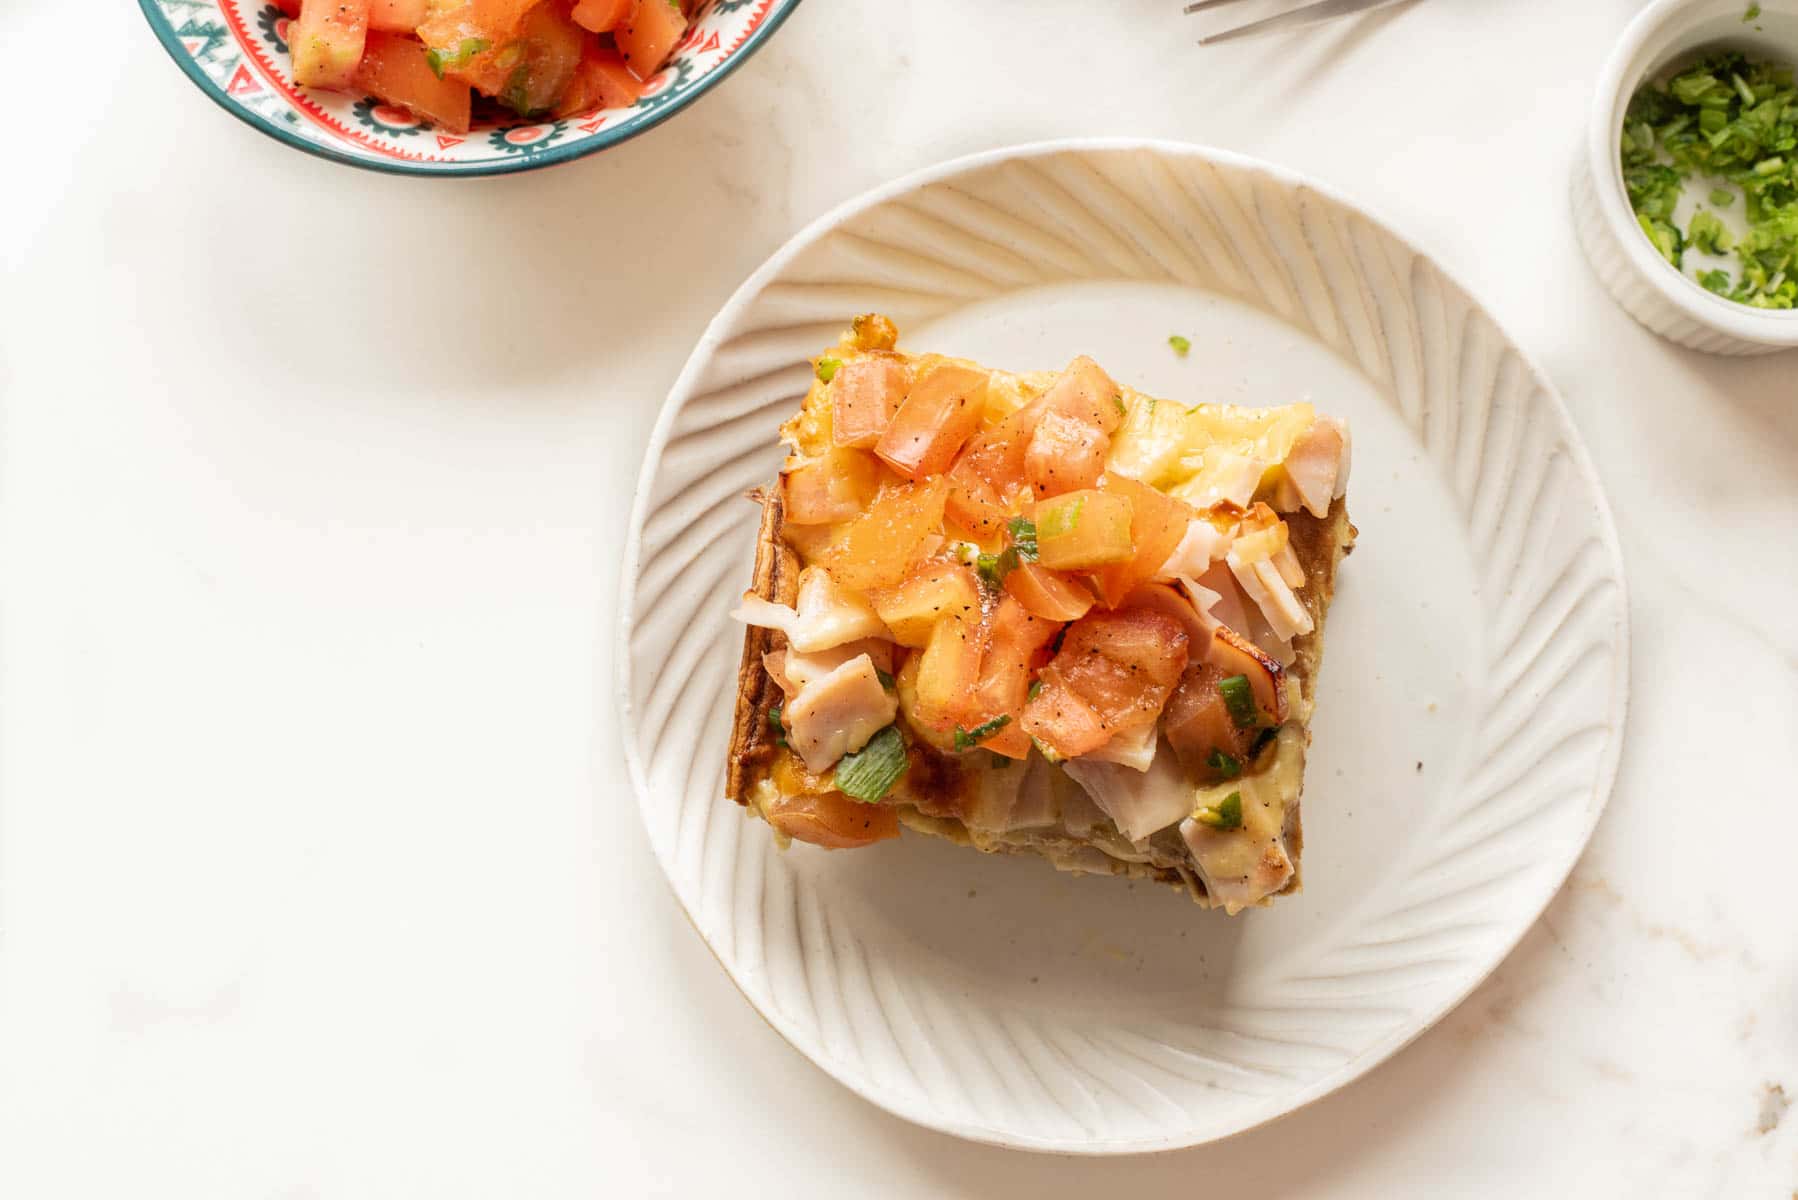
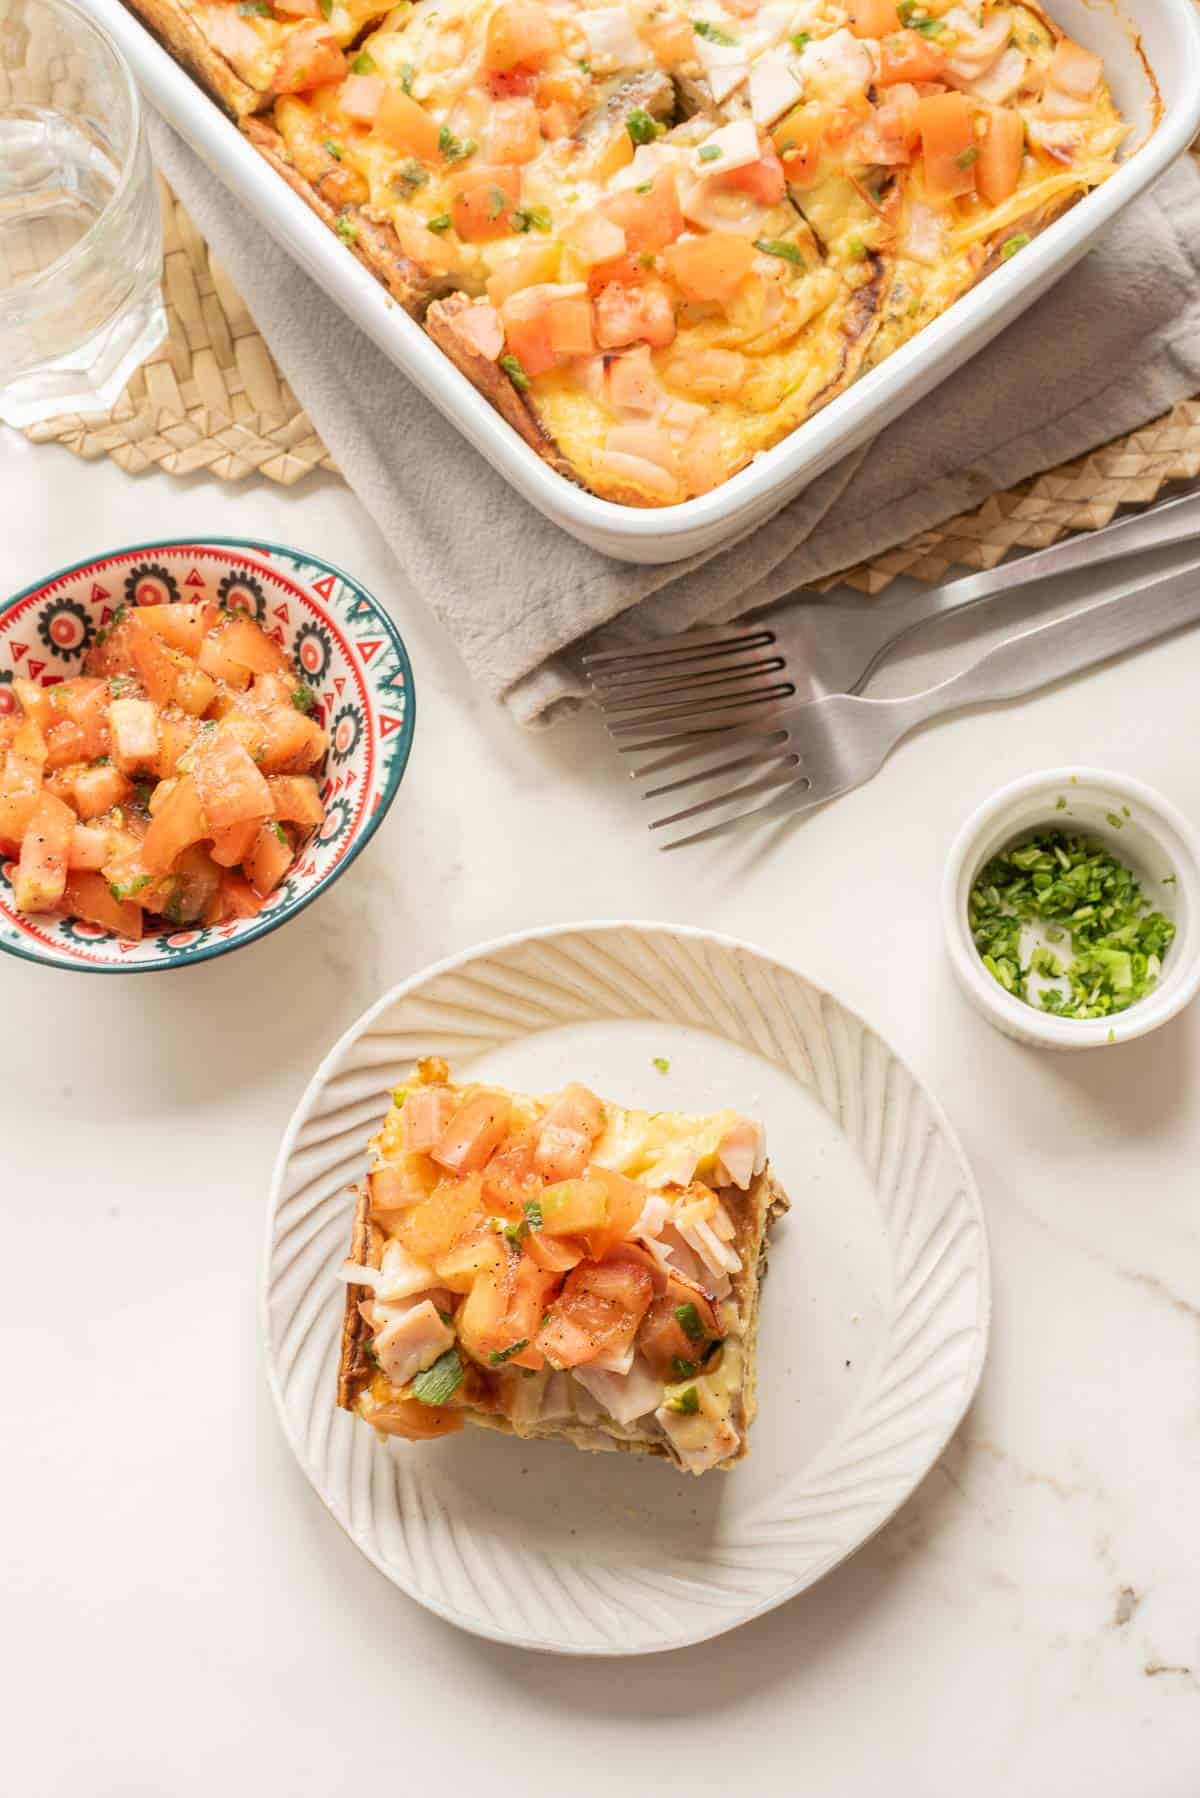
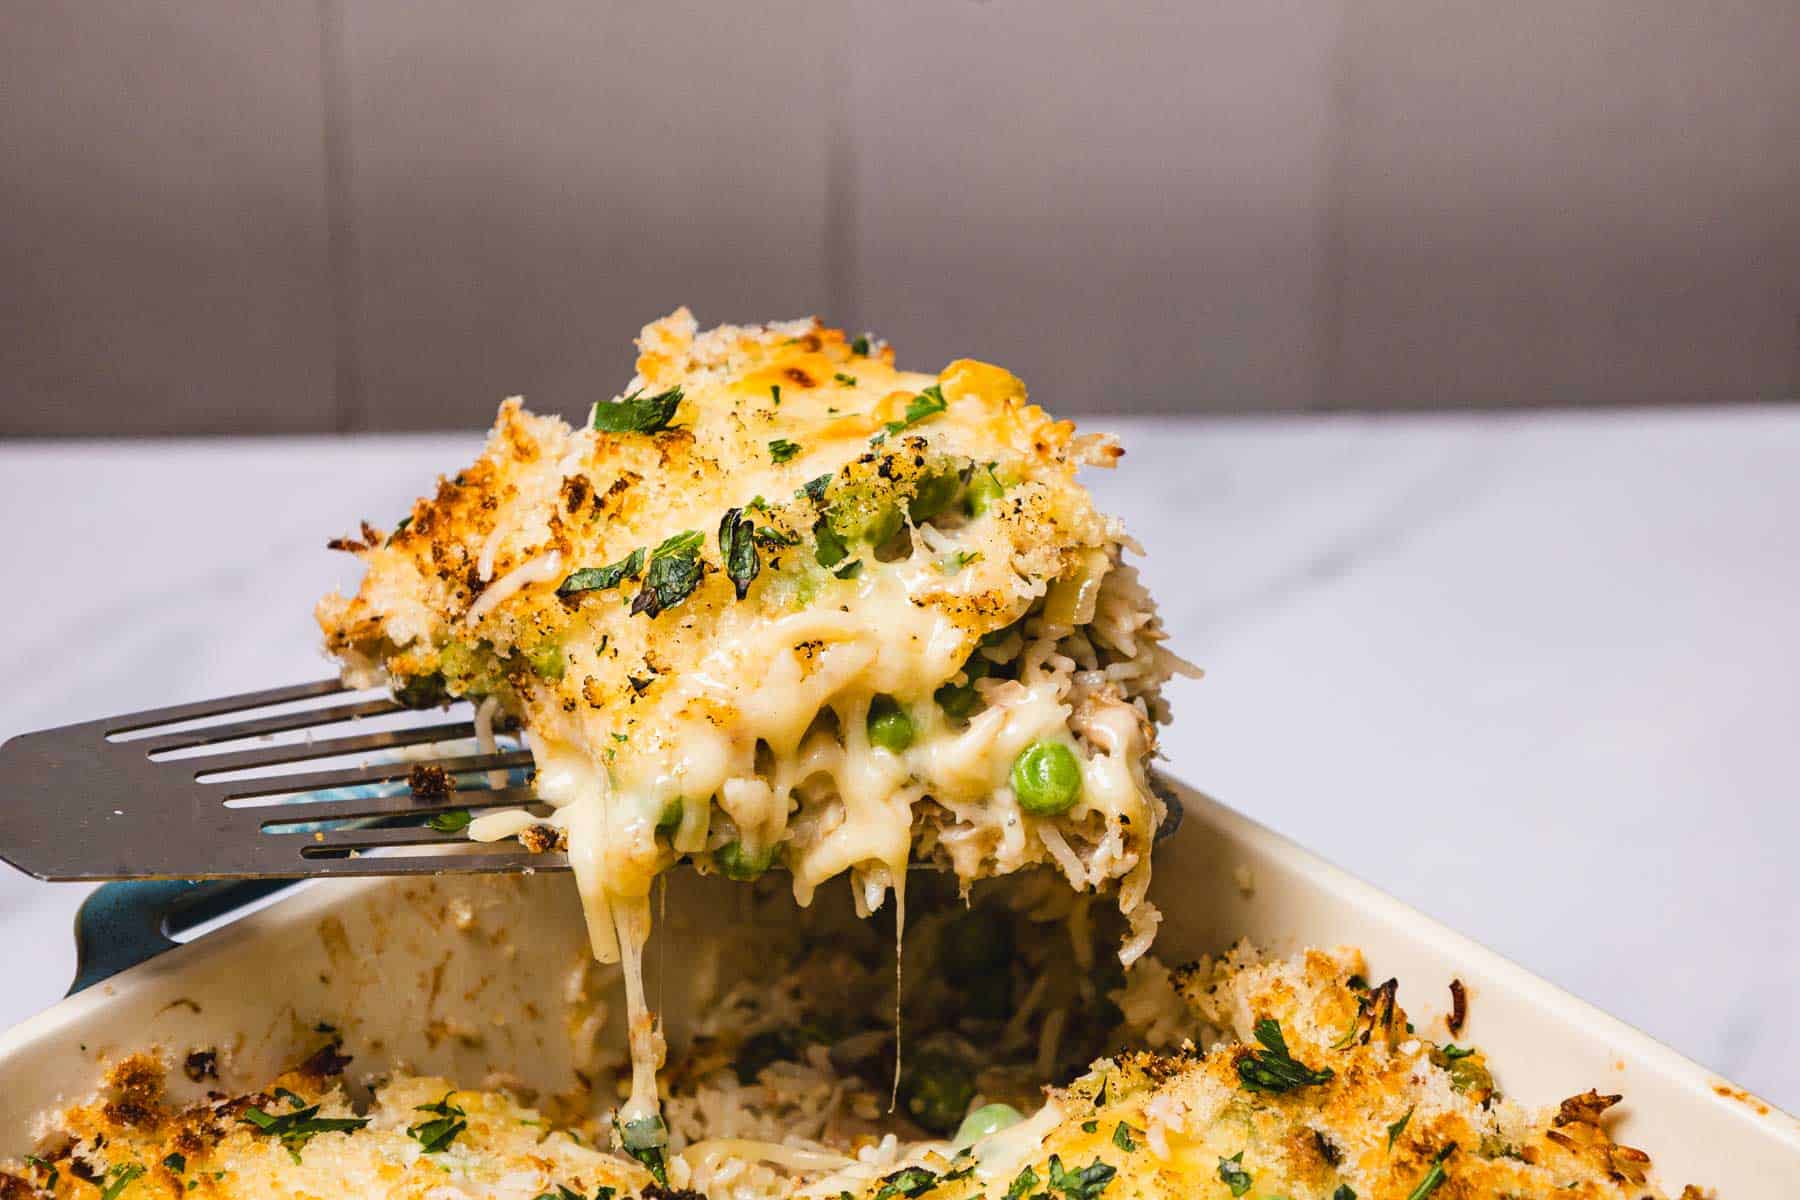
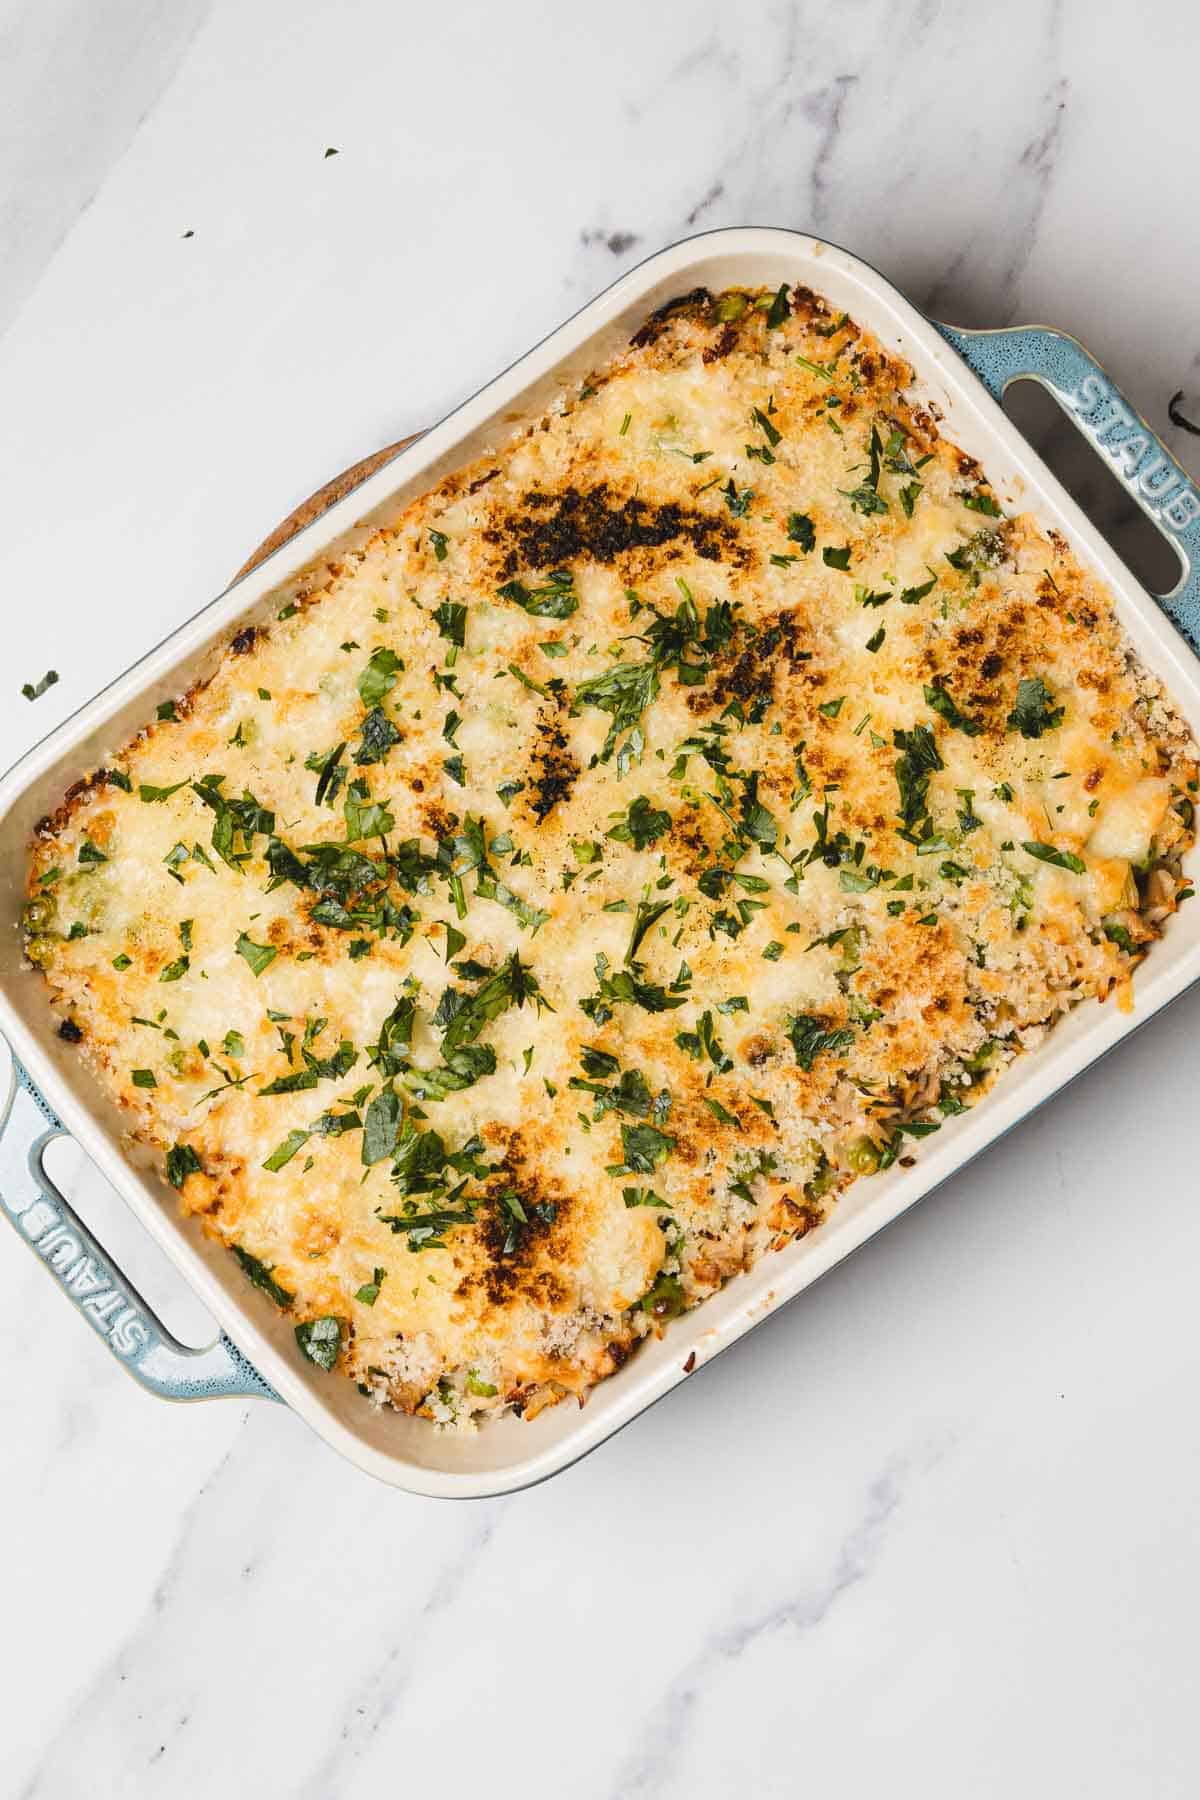
Creamy tuna rice casserole made with tender veggies, broth-simmered rice, and a crisp panko topping. Easy, comforting, and perfect for weeknights.
Nights when I can make a one-pot rice dinner are my favorite because the rice soaks up all the flavors of whatever's paired with it, like my chicken and rice casserole with minute rice. This tuna rice casserole is another 1970s recipe that surprised me with its deliciousness. It has become another go-to when I've been serving chicken, pork, or beef multiple nights in a row and want something different but still with protein.
After countless casseroles, I've figured out that cooking the grains in broth instead of water changes everything about the flavor. The base has to taste good on its own, not just rely on what you add on top. The canned protein adds what we need without feeling heavy or repetitive after days of other meats, and honestly, everything comes together as it bakes in a way that feels comforting without being too rich.
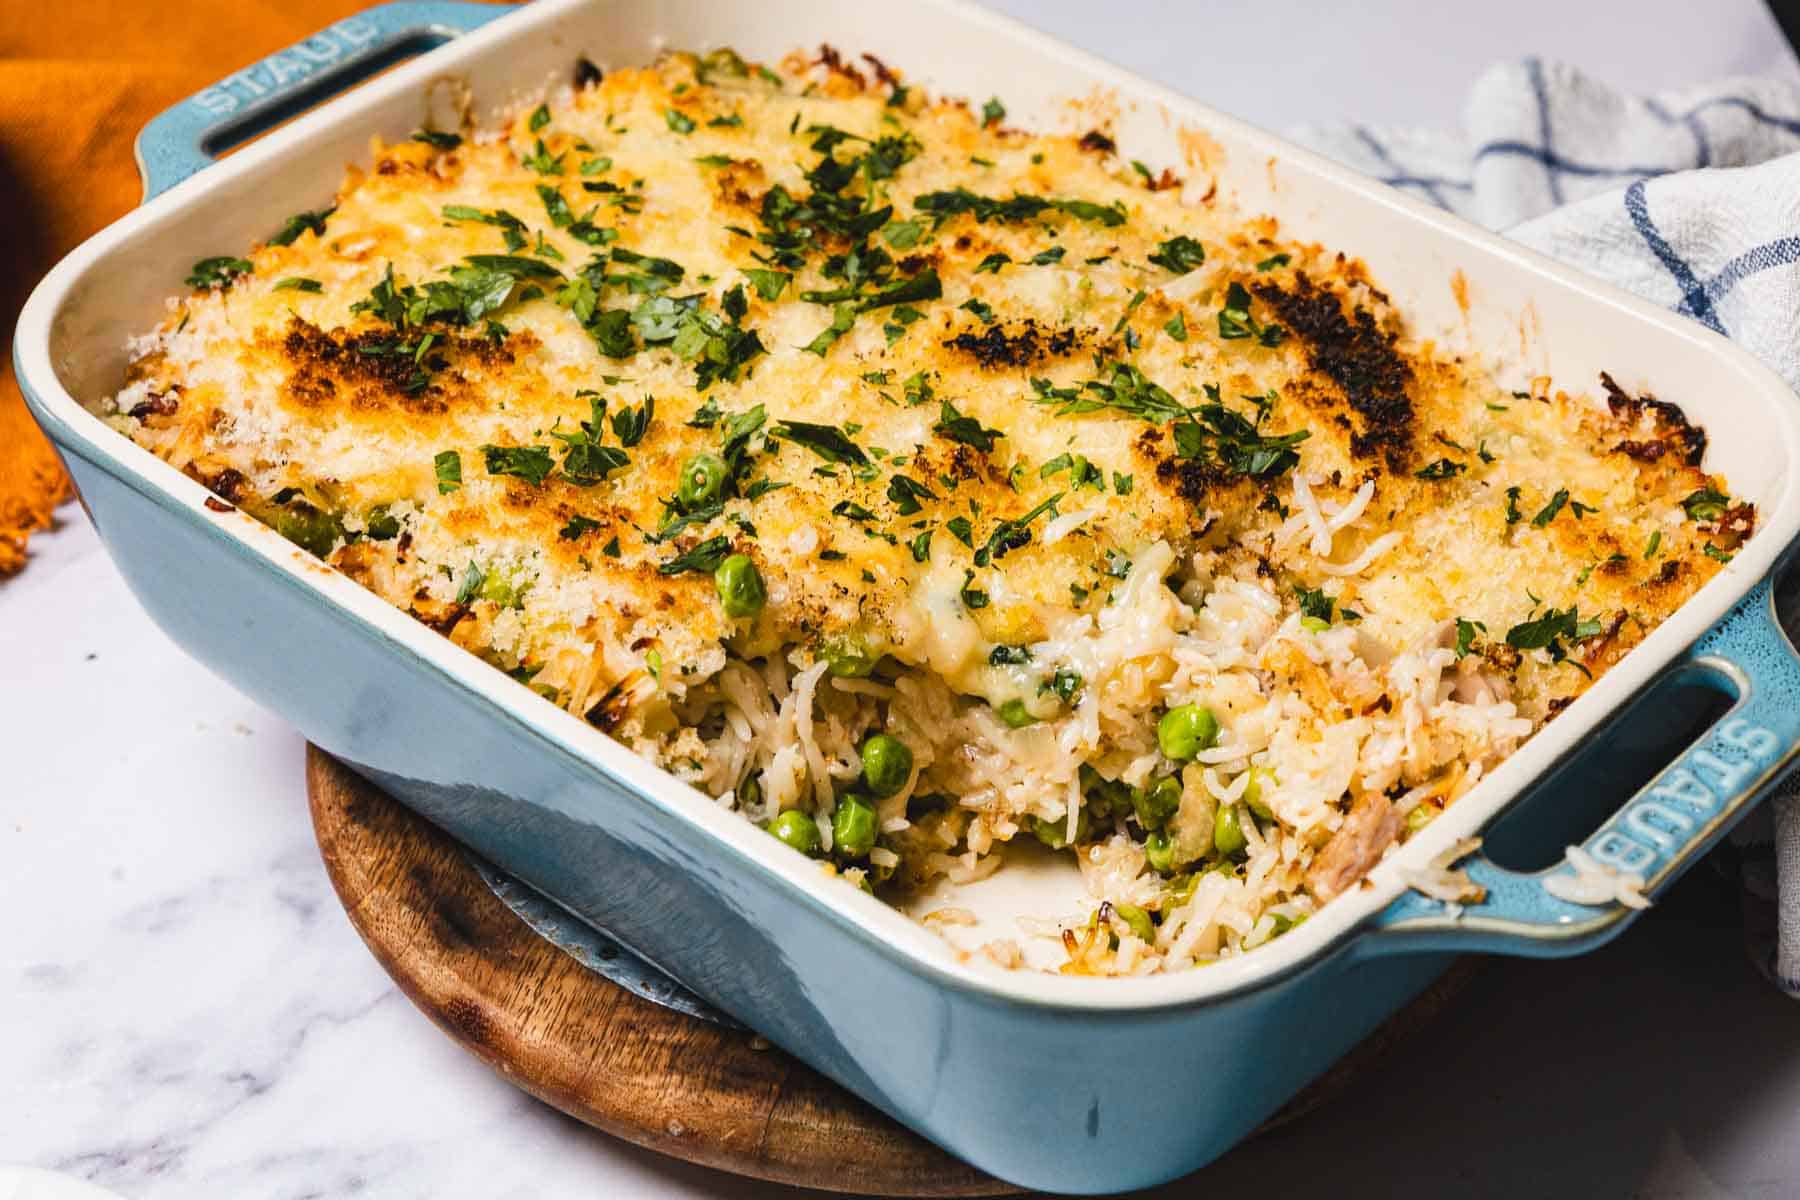
The crispy topping is my favorite part. Mixing dry breadcrumbs with fat before sprinkling them on top gives you that golden, crunchy layer that plays against the soft base underneath. If you just sprinkle dry crumbs, they don't brown right and can taste stale. That crunch is what makes everyone go back for seconds.
I can prep everything while the grains simmer, throw it all in one bowl, then let the oven finish the job. It's a reliable dinner that uses basic pantry ingredients but still feels satisfying and complete, especially on nights when I need to switch things up from our usual rotation without making my evening more complicated.
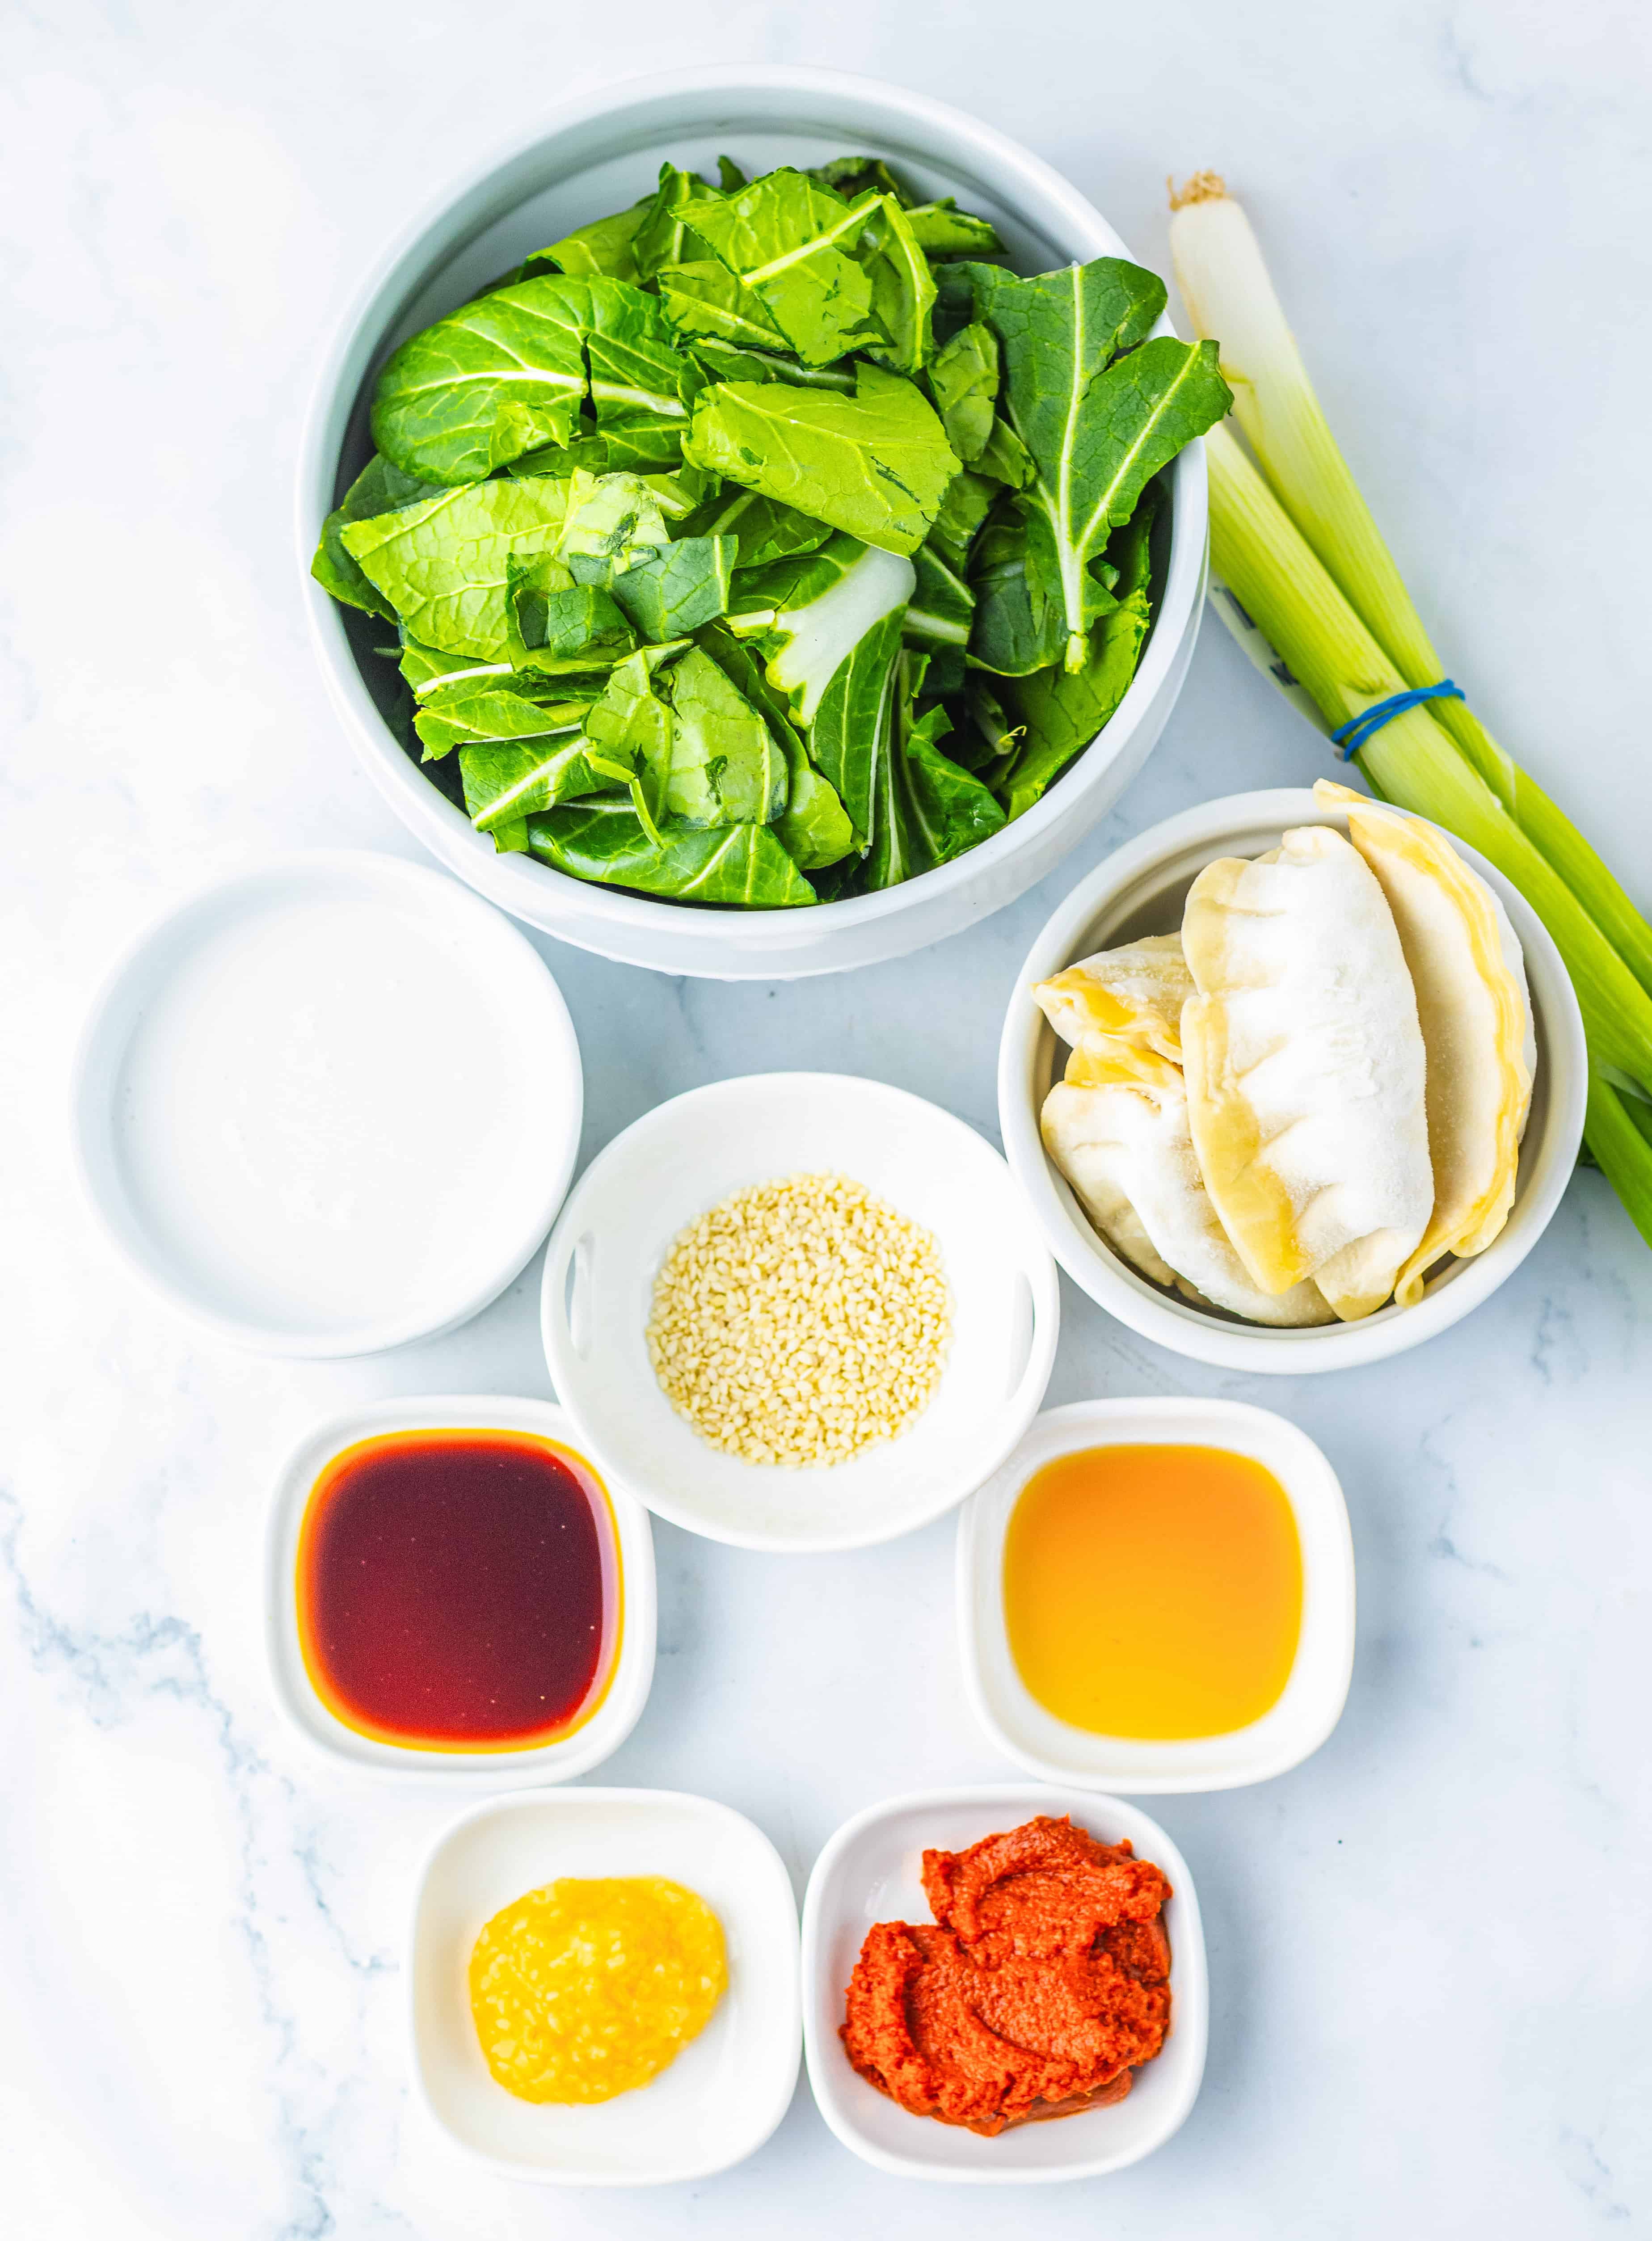
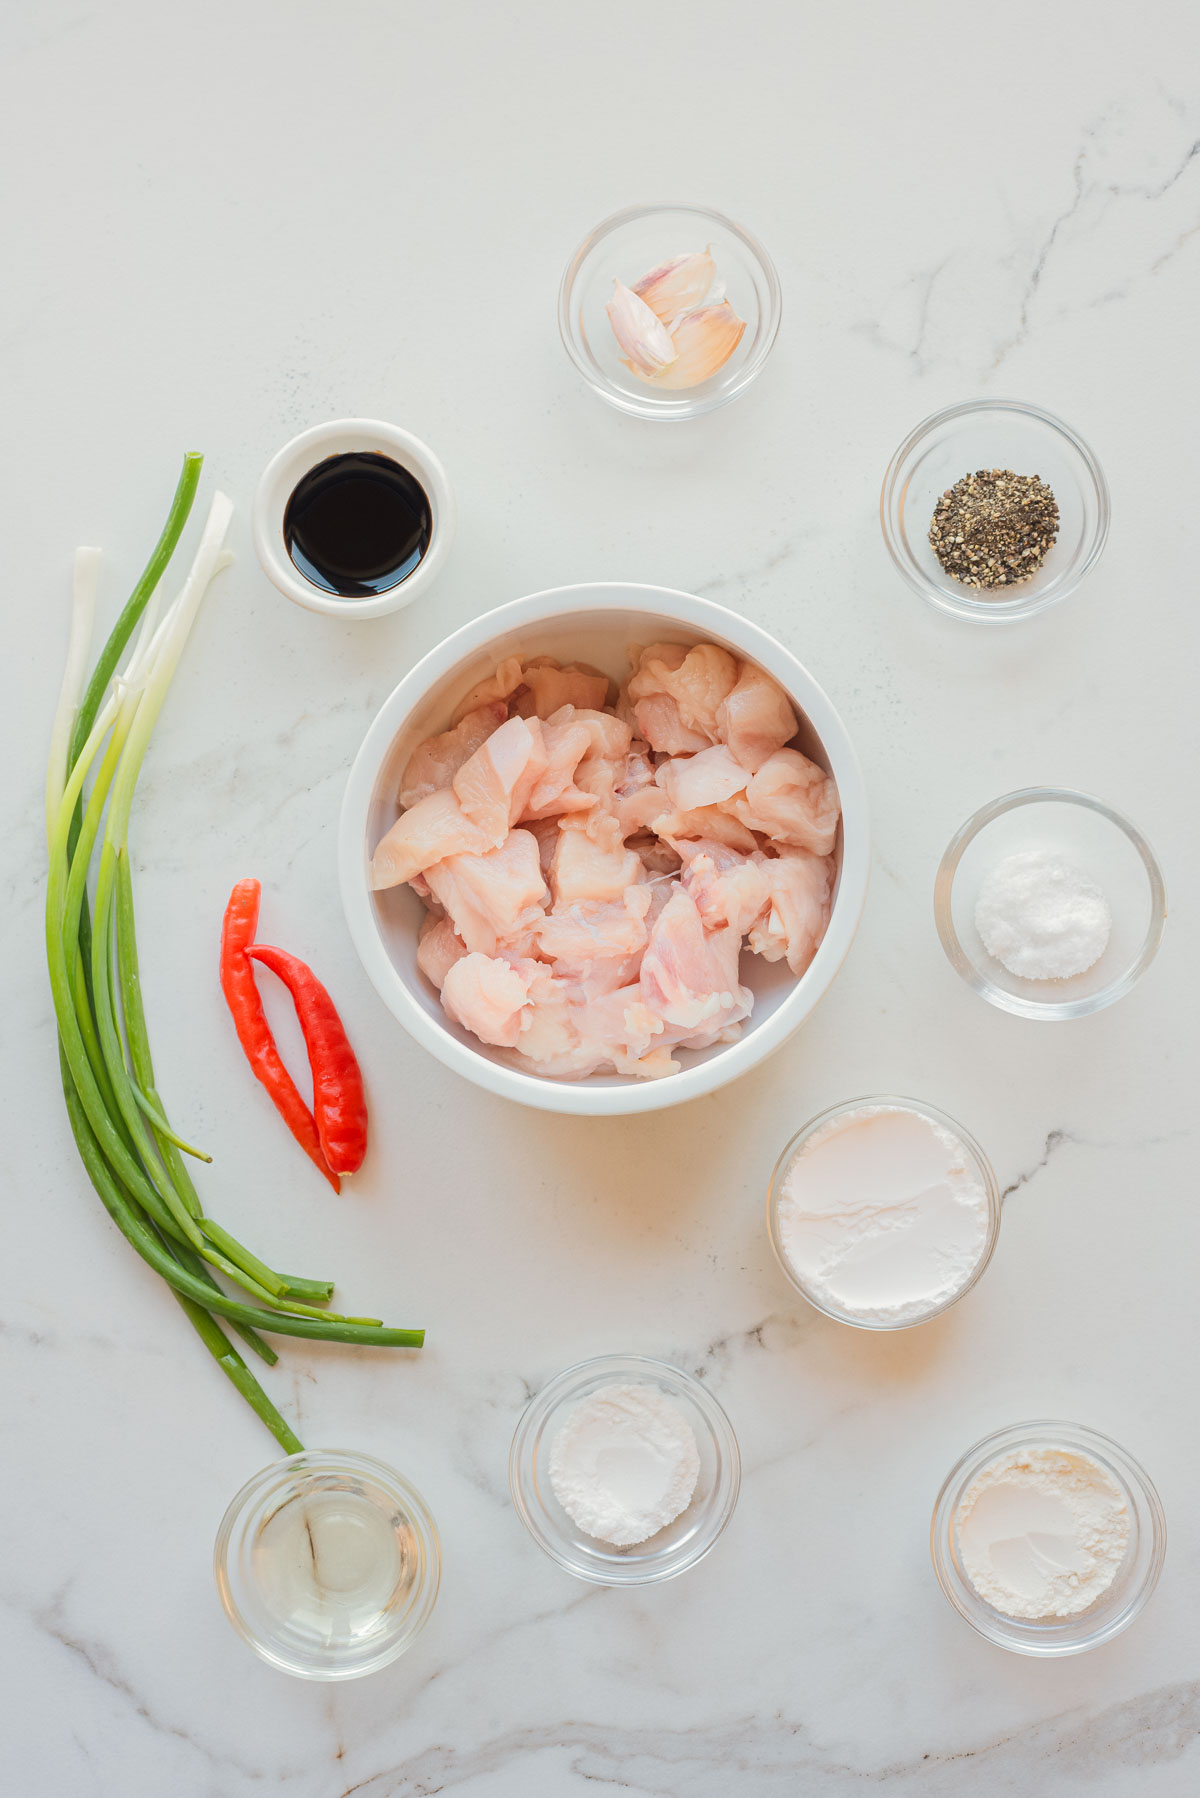
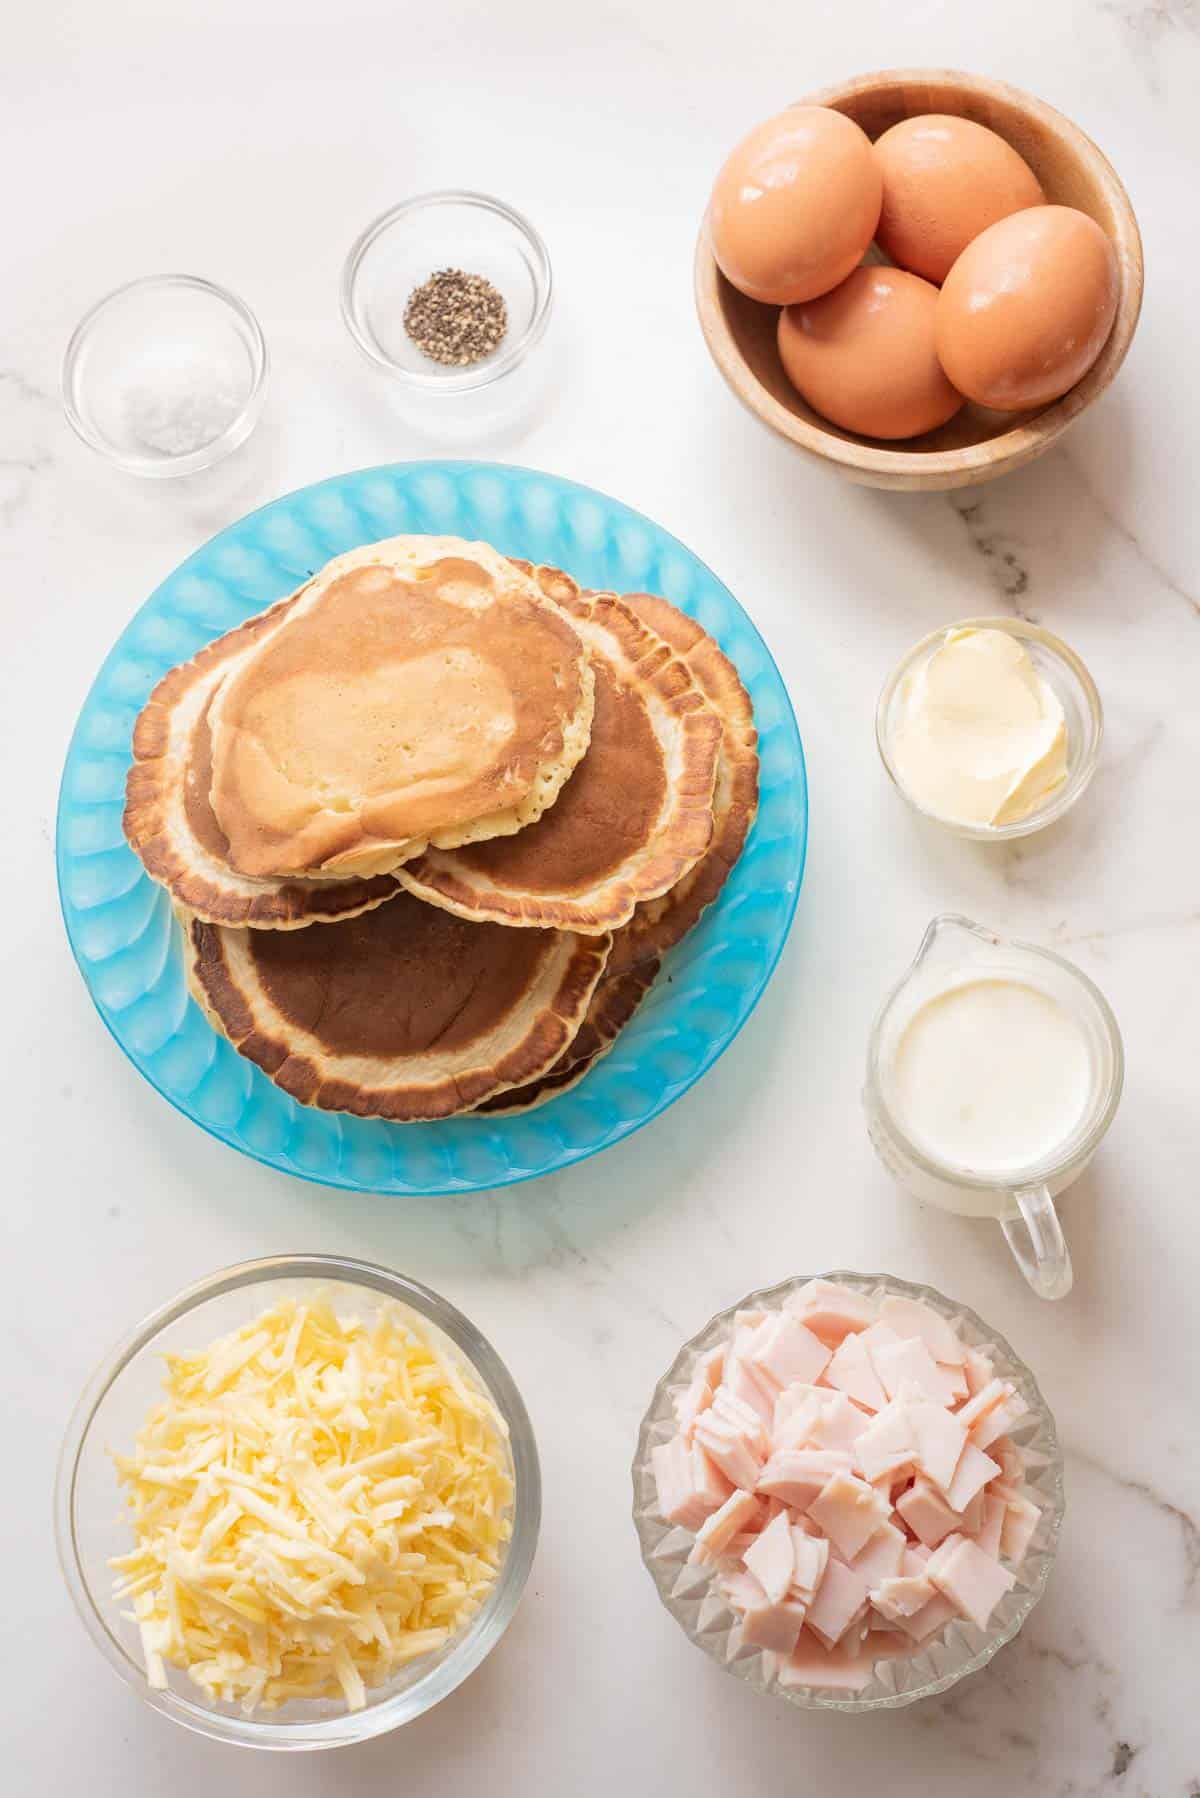
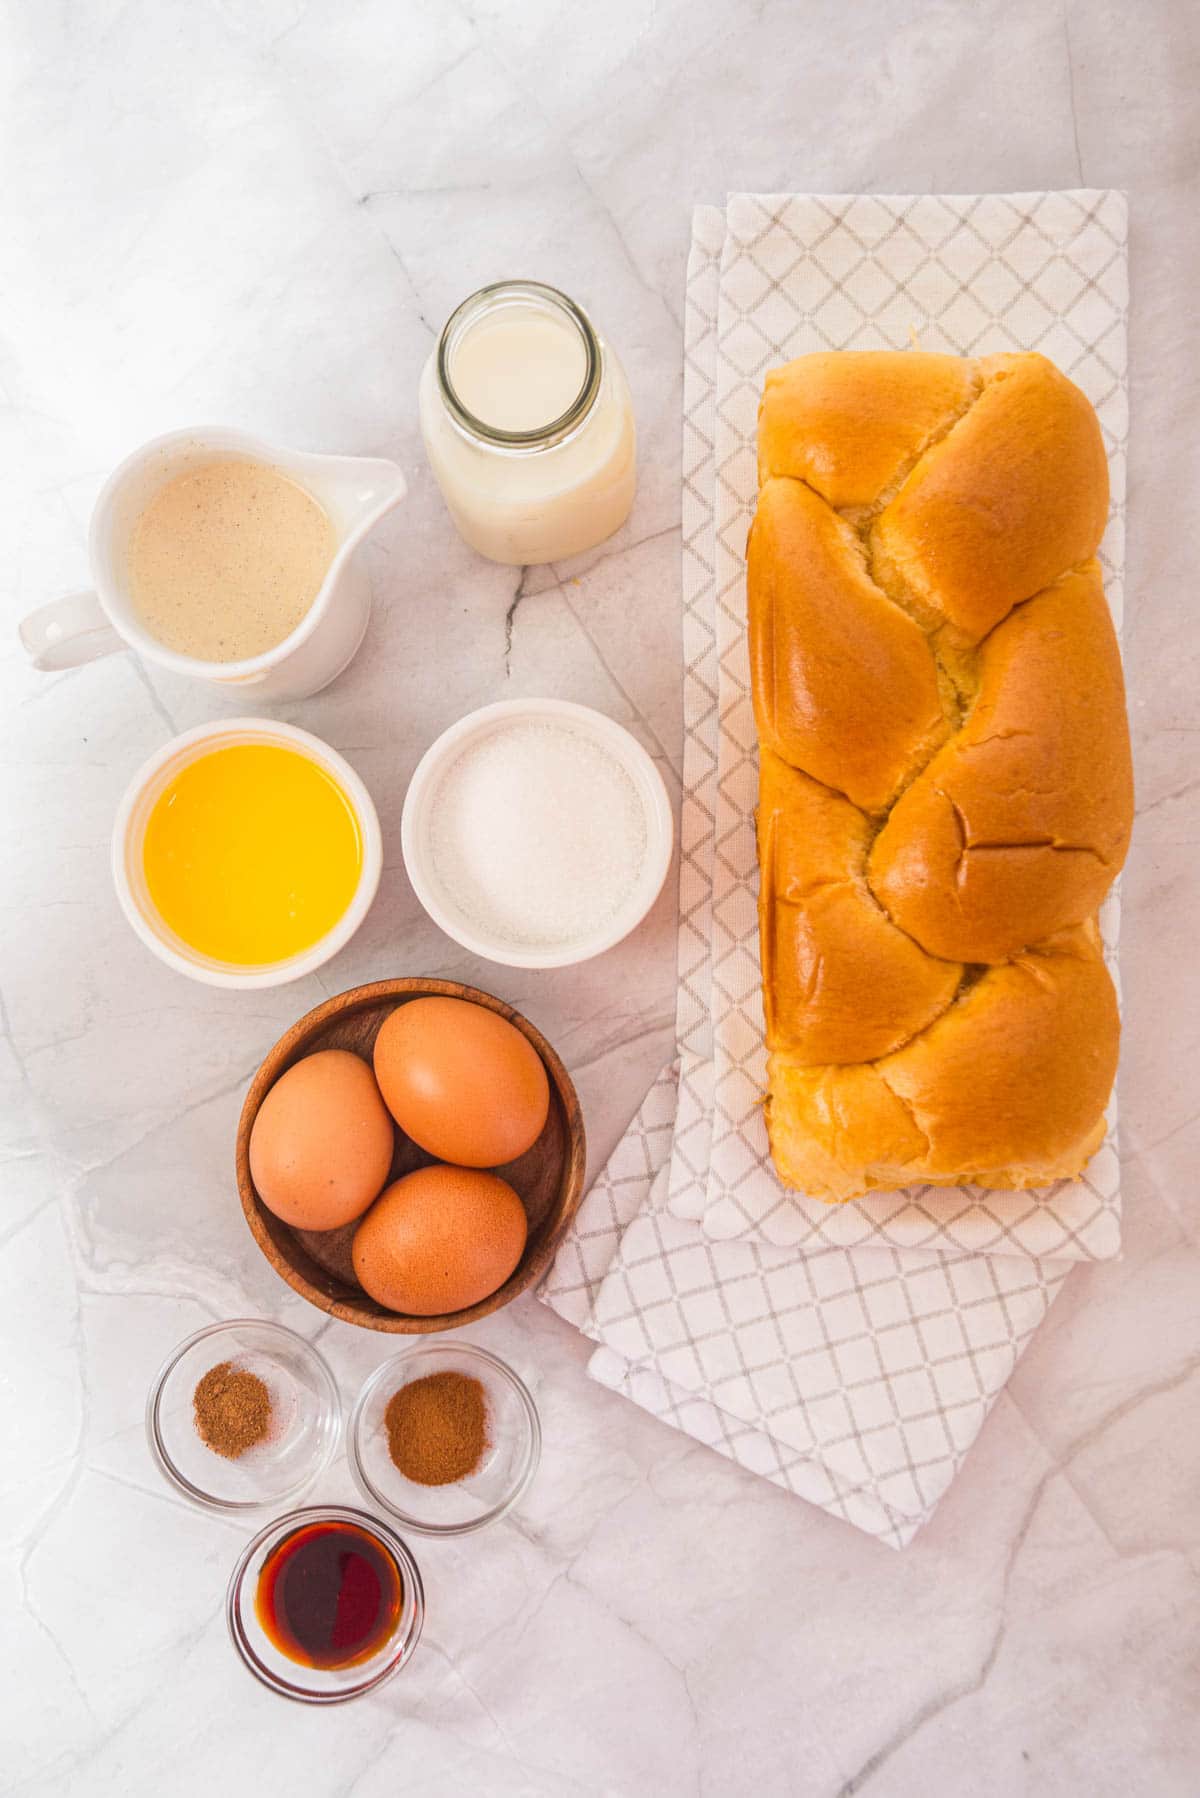
Ingredients

Long-grain white rice is the base of this casserole and works best because it cooks up fluffy and stays separate instead of becoming sticky. I use tuna packed in water to keep the dish lighter and so it'll blend smoothly into the sauce. Drain it well to keep the casserole from turning too wet.
Heavy cream adds richness without needing canned soup. It thickens as it bakes and helps the rice stay soft. Chicken broth gives the rice more depth than water would. Vegetable broth works when you want a fully meat-free option, though the flavor will be a bit lighter.
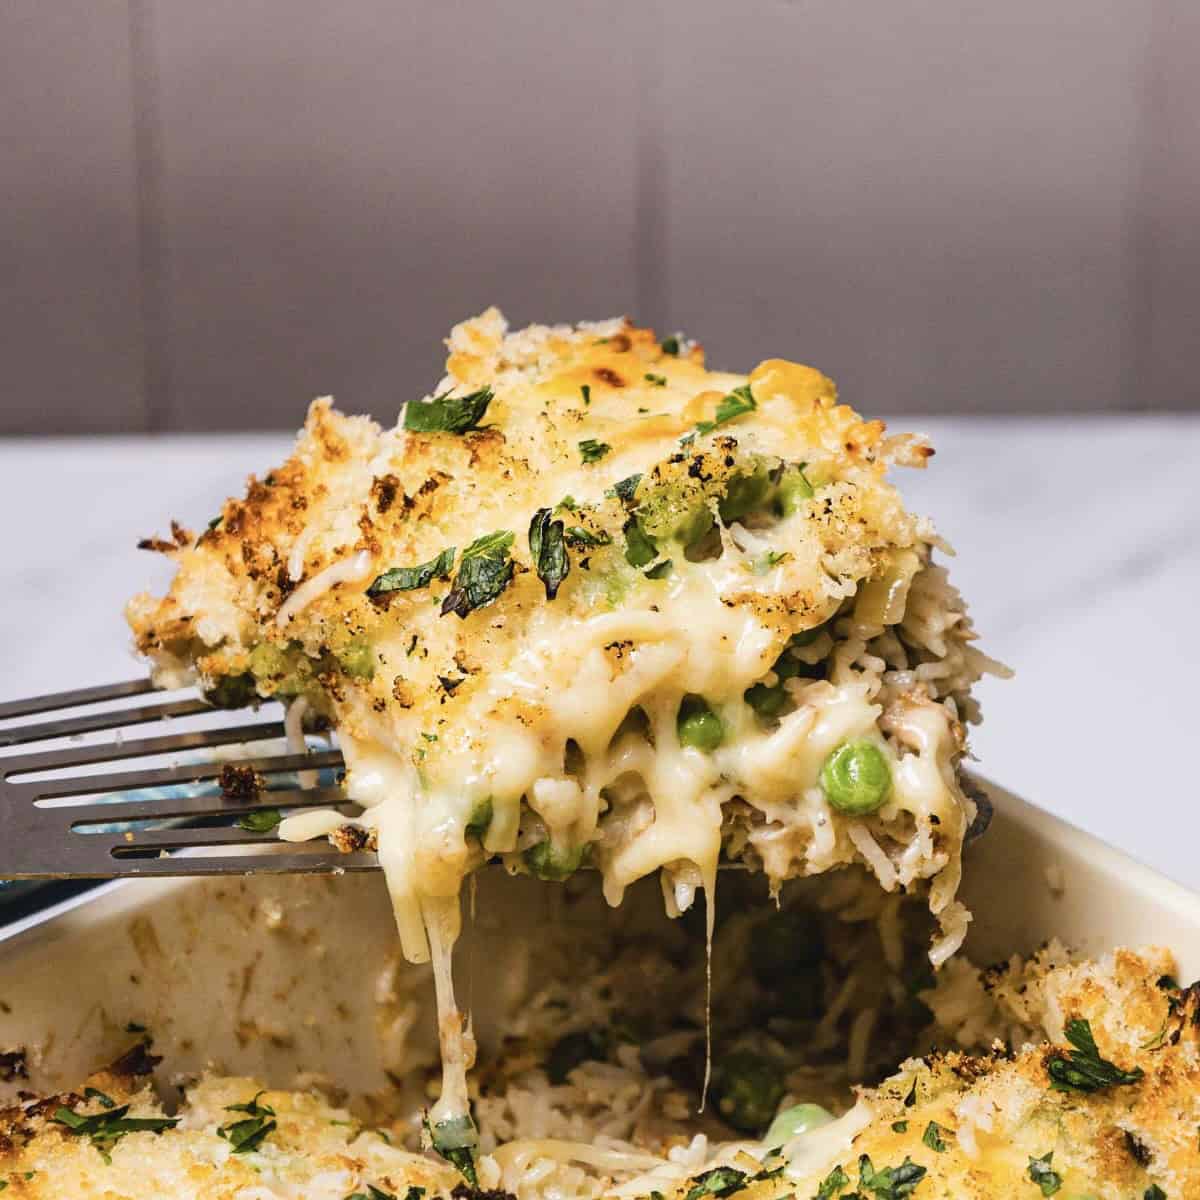
Cheddar cheese melts into the rice and tuna, giving the casserole a creamy finish. Medium or mild cheddar melts smoother than very sharp cheddar, which sometimes separates when baked.
Butter is used to sauté the onion and celery, which add texture and flavor, while garlic brings aromatic depth. Frozen peas add color and sweetness without extra prep.
For the topping, panko breadcrumbs create a crisp layer that contrasts with the soft rice. Regular breadcrumbs work too, but panko gives a lighter crunch. I like mixing the panko with olive oil helps it brown evenly in the oven.
See the recipe card for exact quantities.
How to Make Tuna Rice Casserole?
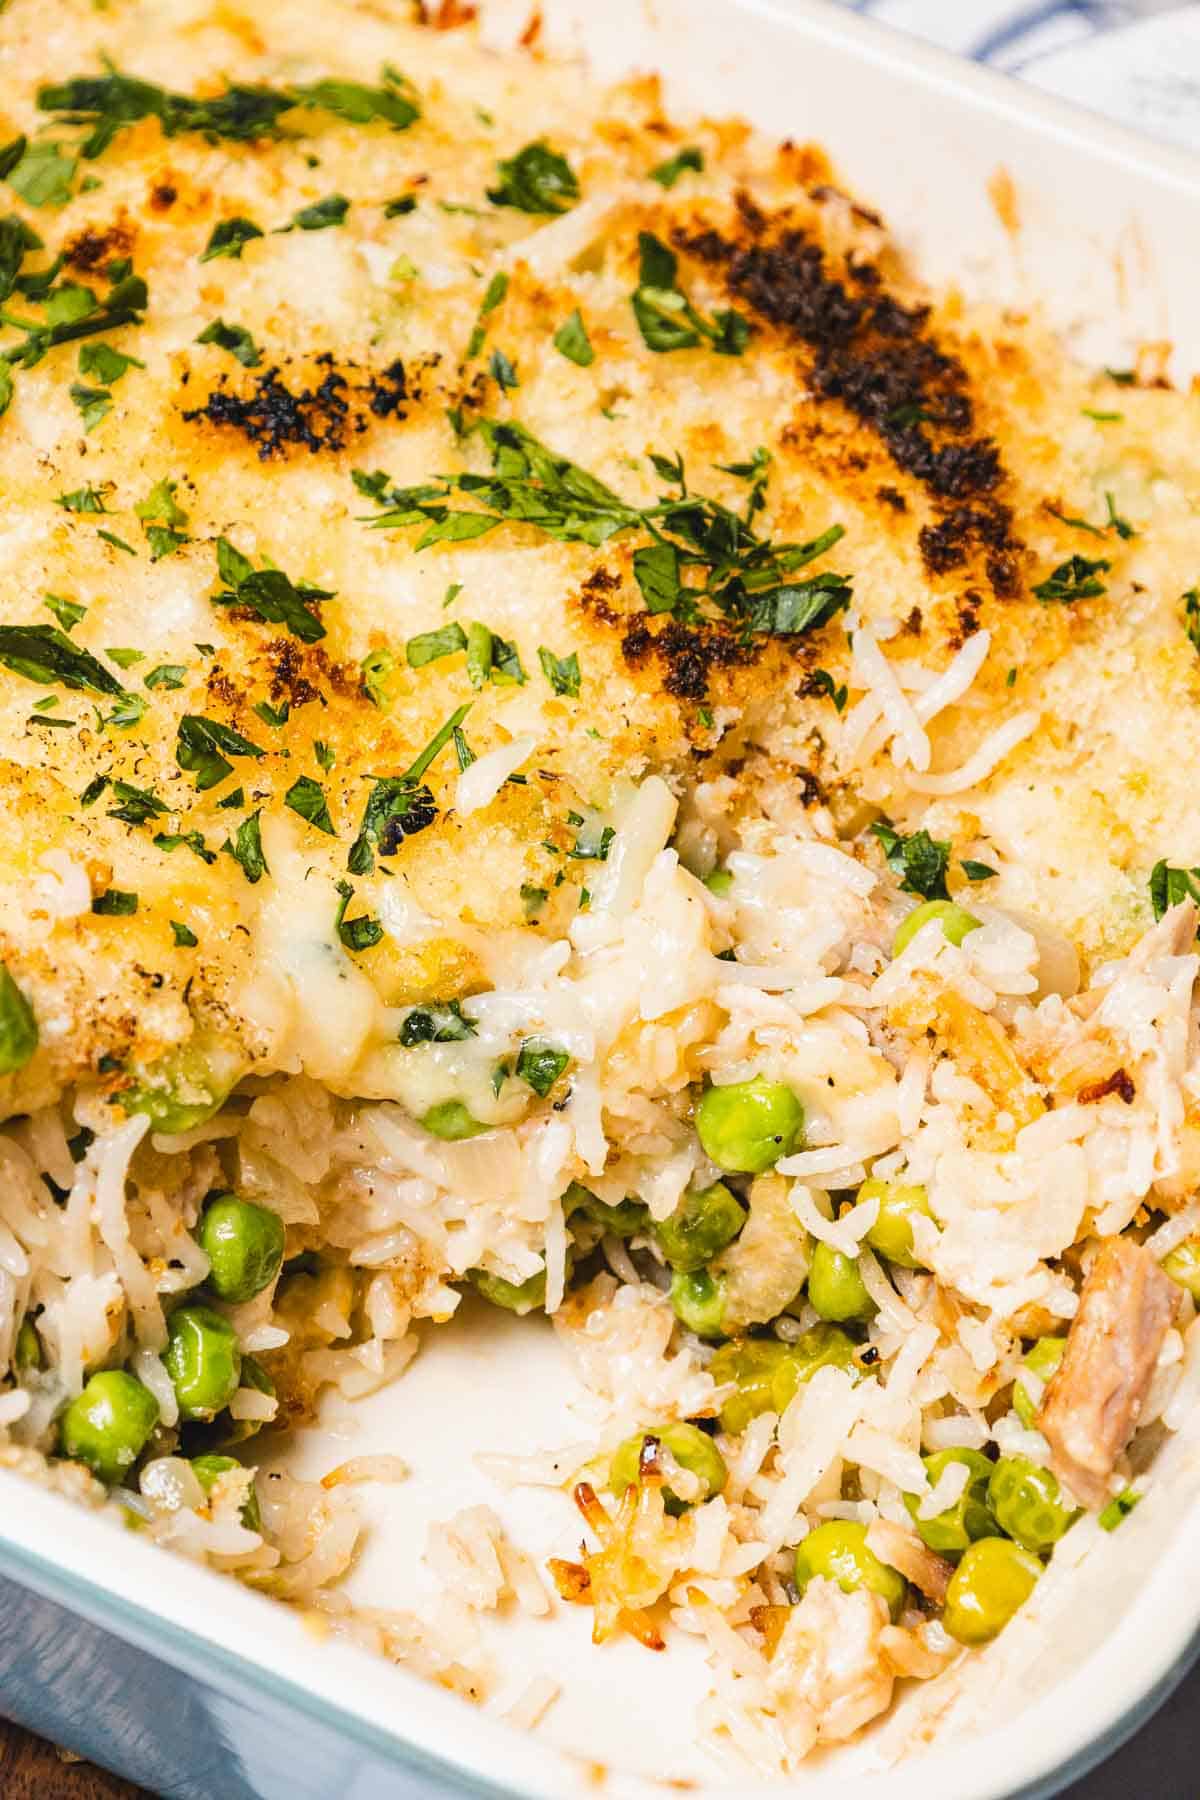
This tuna rice casserole comes together with cooked rice, tender vegetables, and a creamy tuna mixture topped with a crisp breadcrumb layer. It makes use of basic pantry ingredients with no complicated steps.
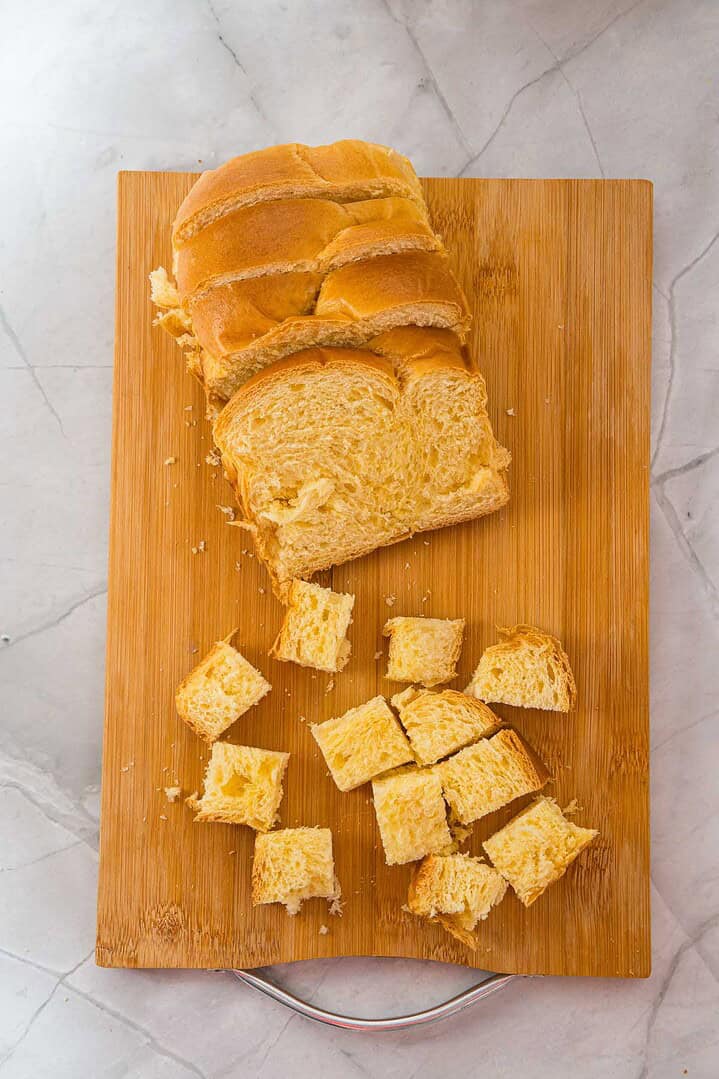
Cook the Rice
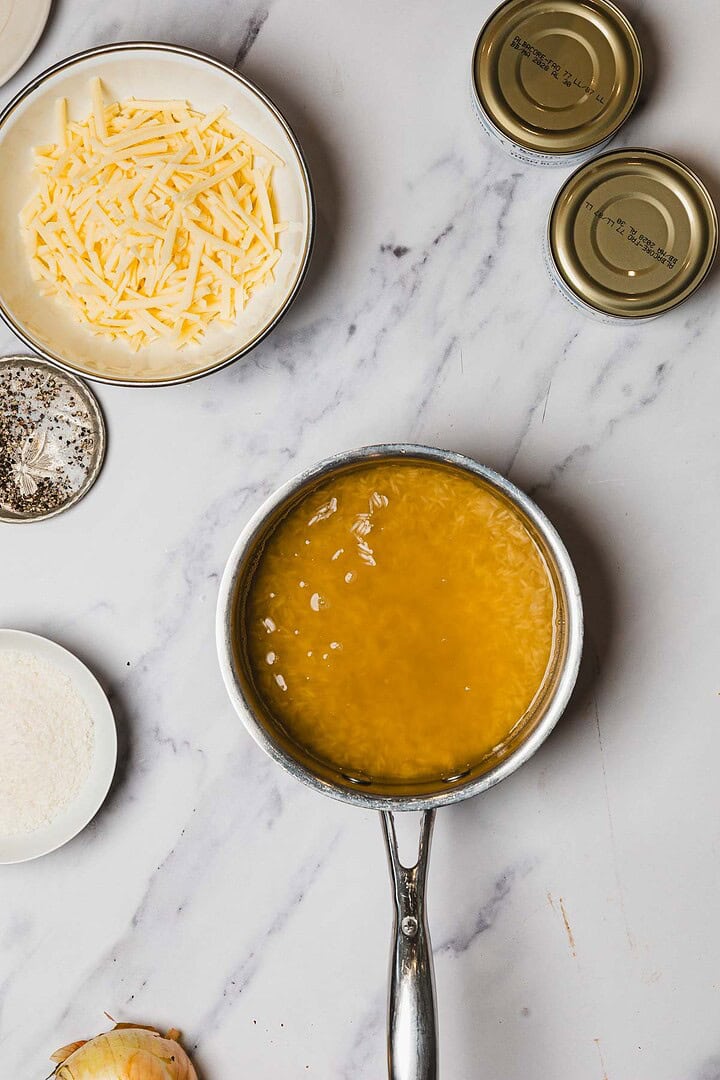
Preheat your oven to 375°F. In a pot, cook the rice in the chicken broth. Let it simmer until the grains are tender, which usually takes about 18 minutes. If there is any liquid left, drain it so the casserole doesn’t turn mushy.
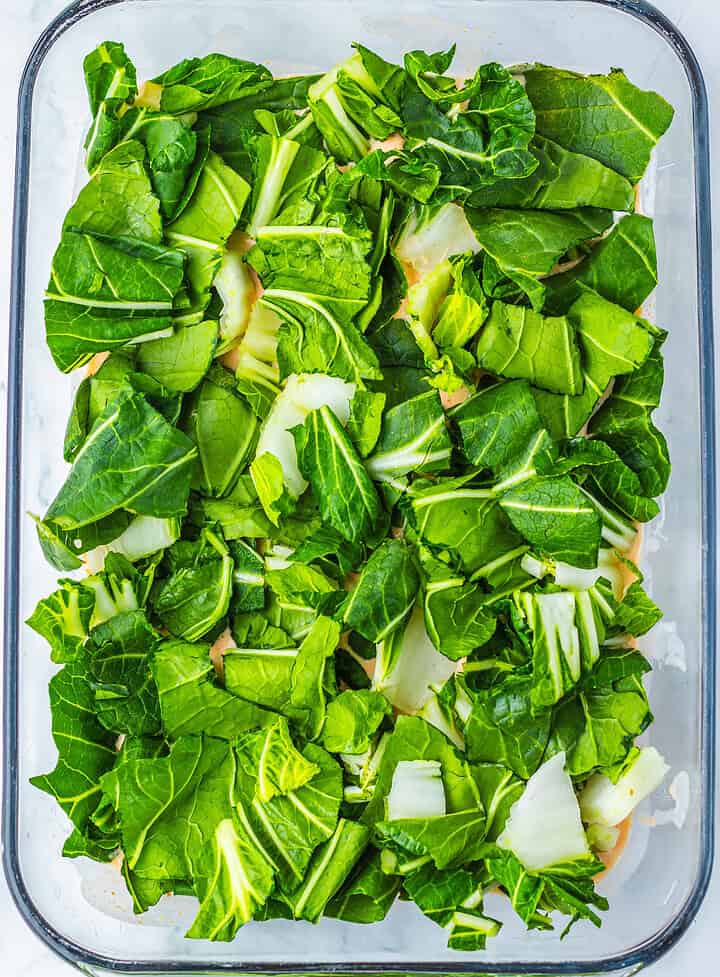
Sauté the Vegetables
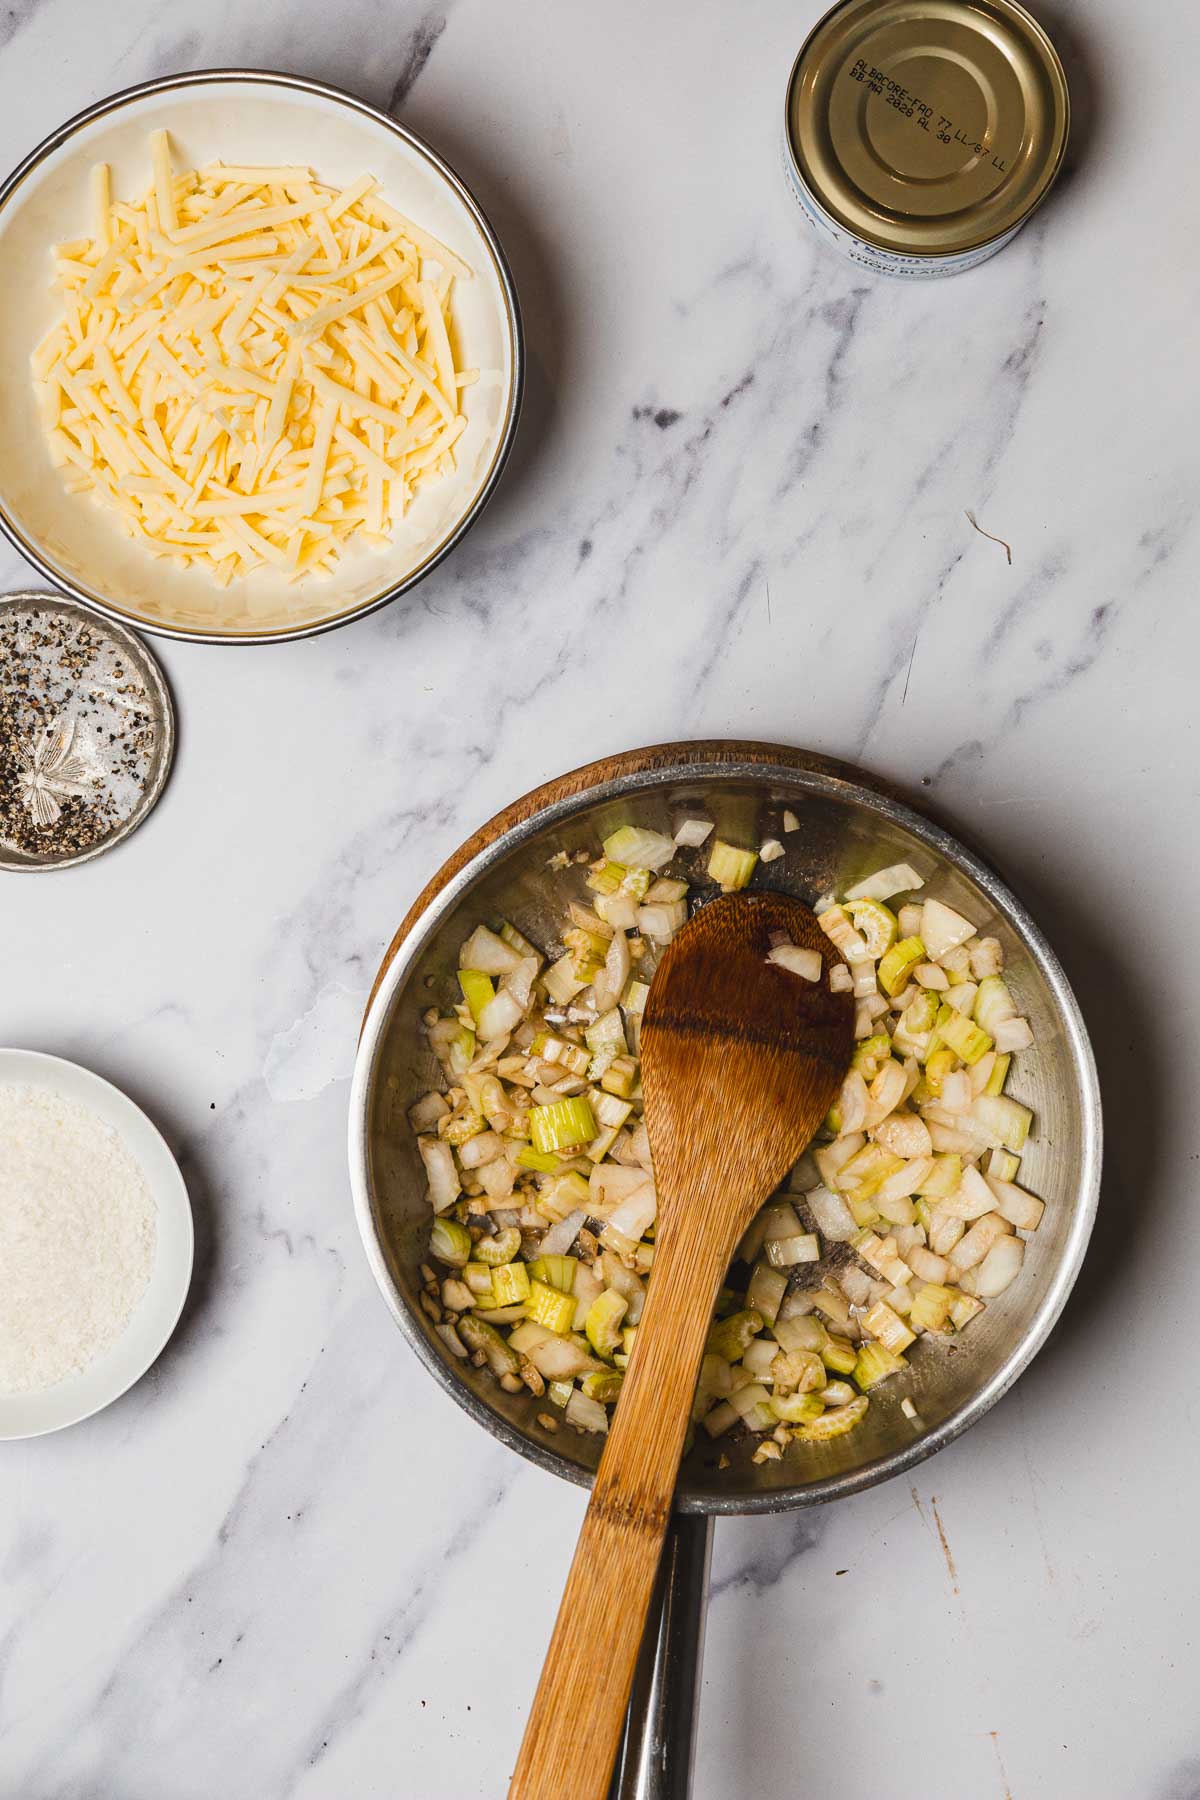
Melt the butter in a skillet over medium heat. Add the diced onion and celery and cook for about 5 minutes, or until they soften. Add the garlic and cook for one more minute. Stir often so the garlic doesn’t burn.
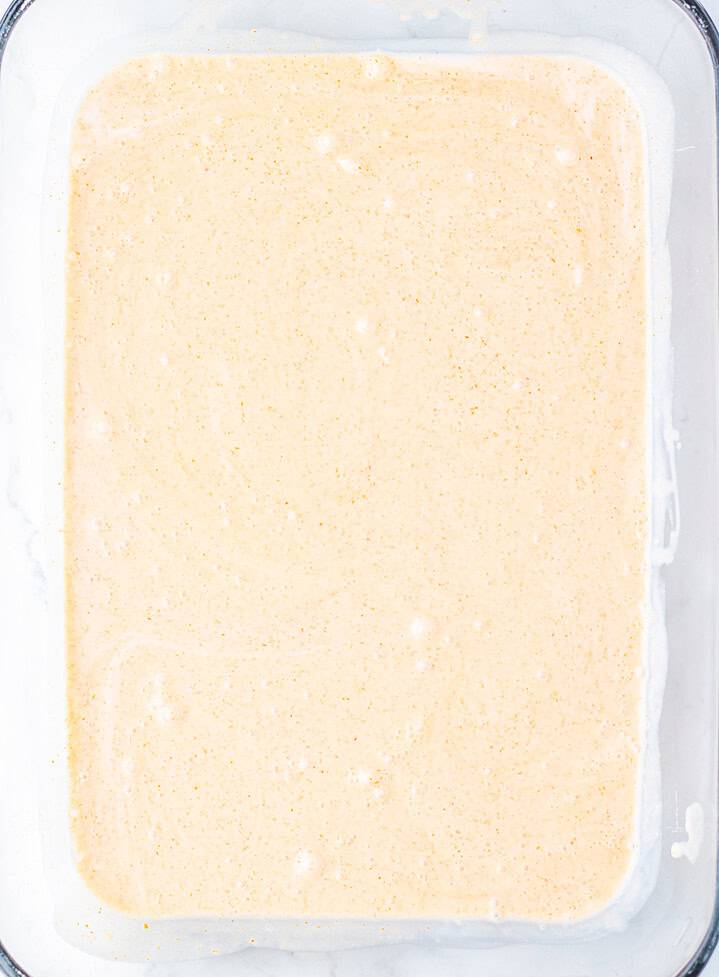
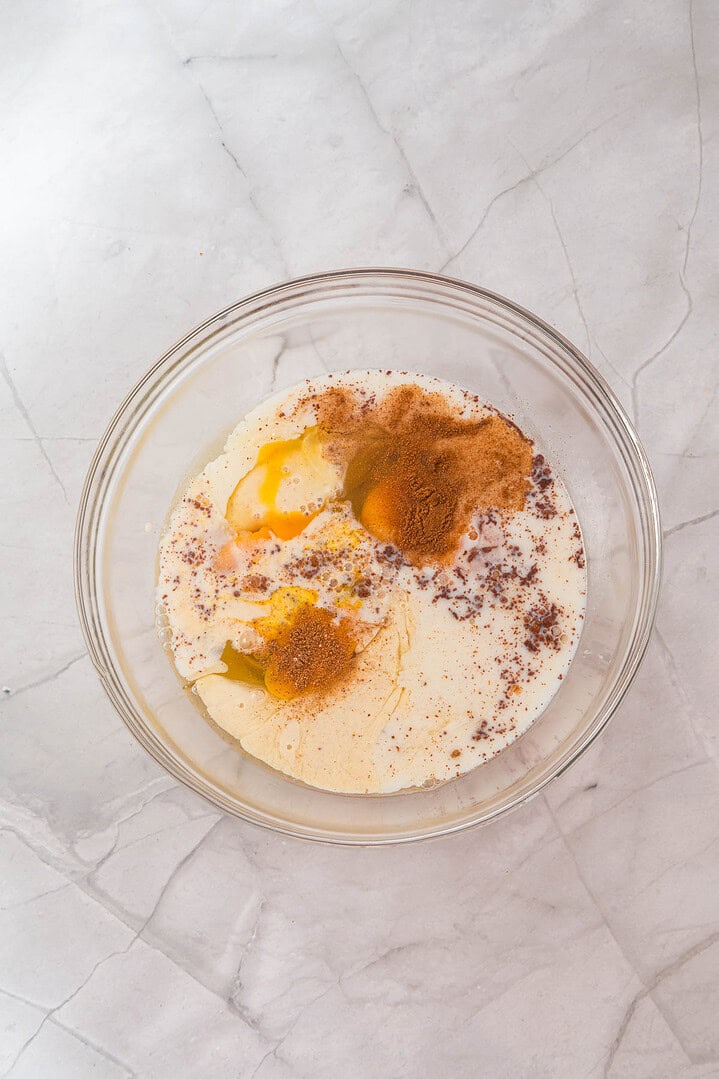
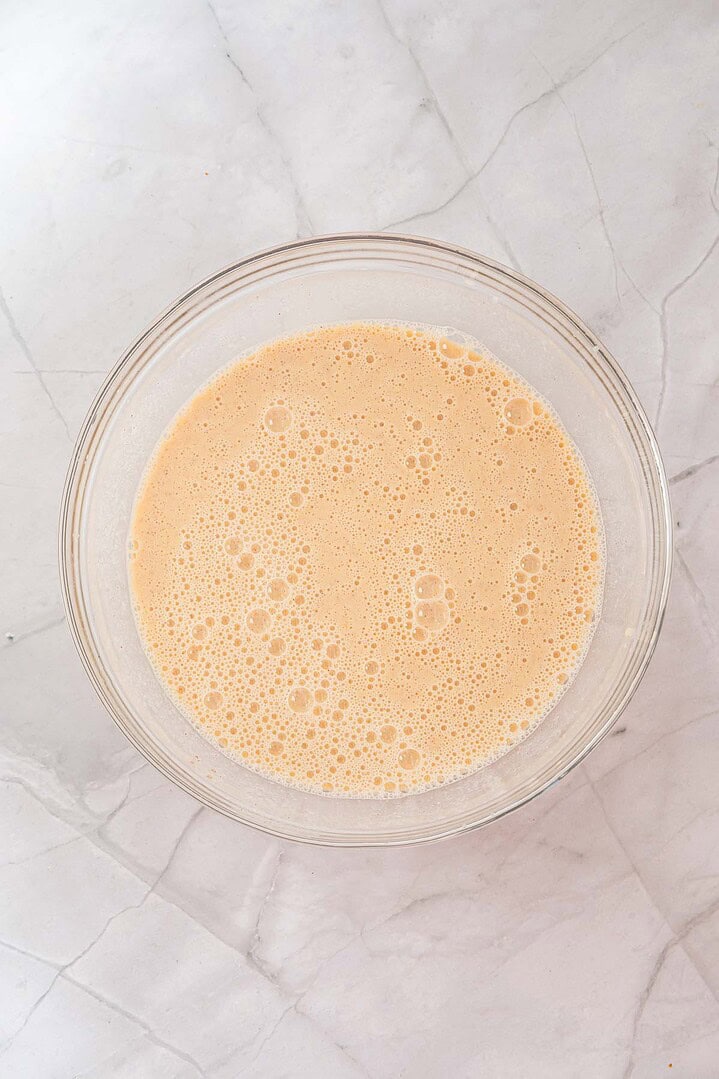
Mix the Casserole Base
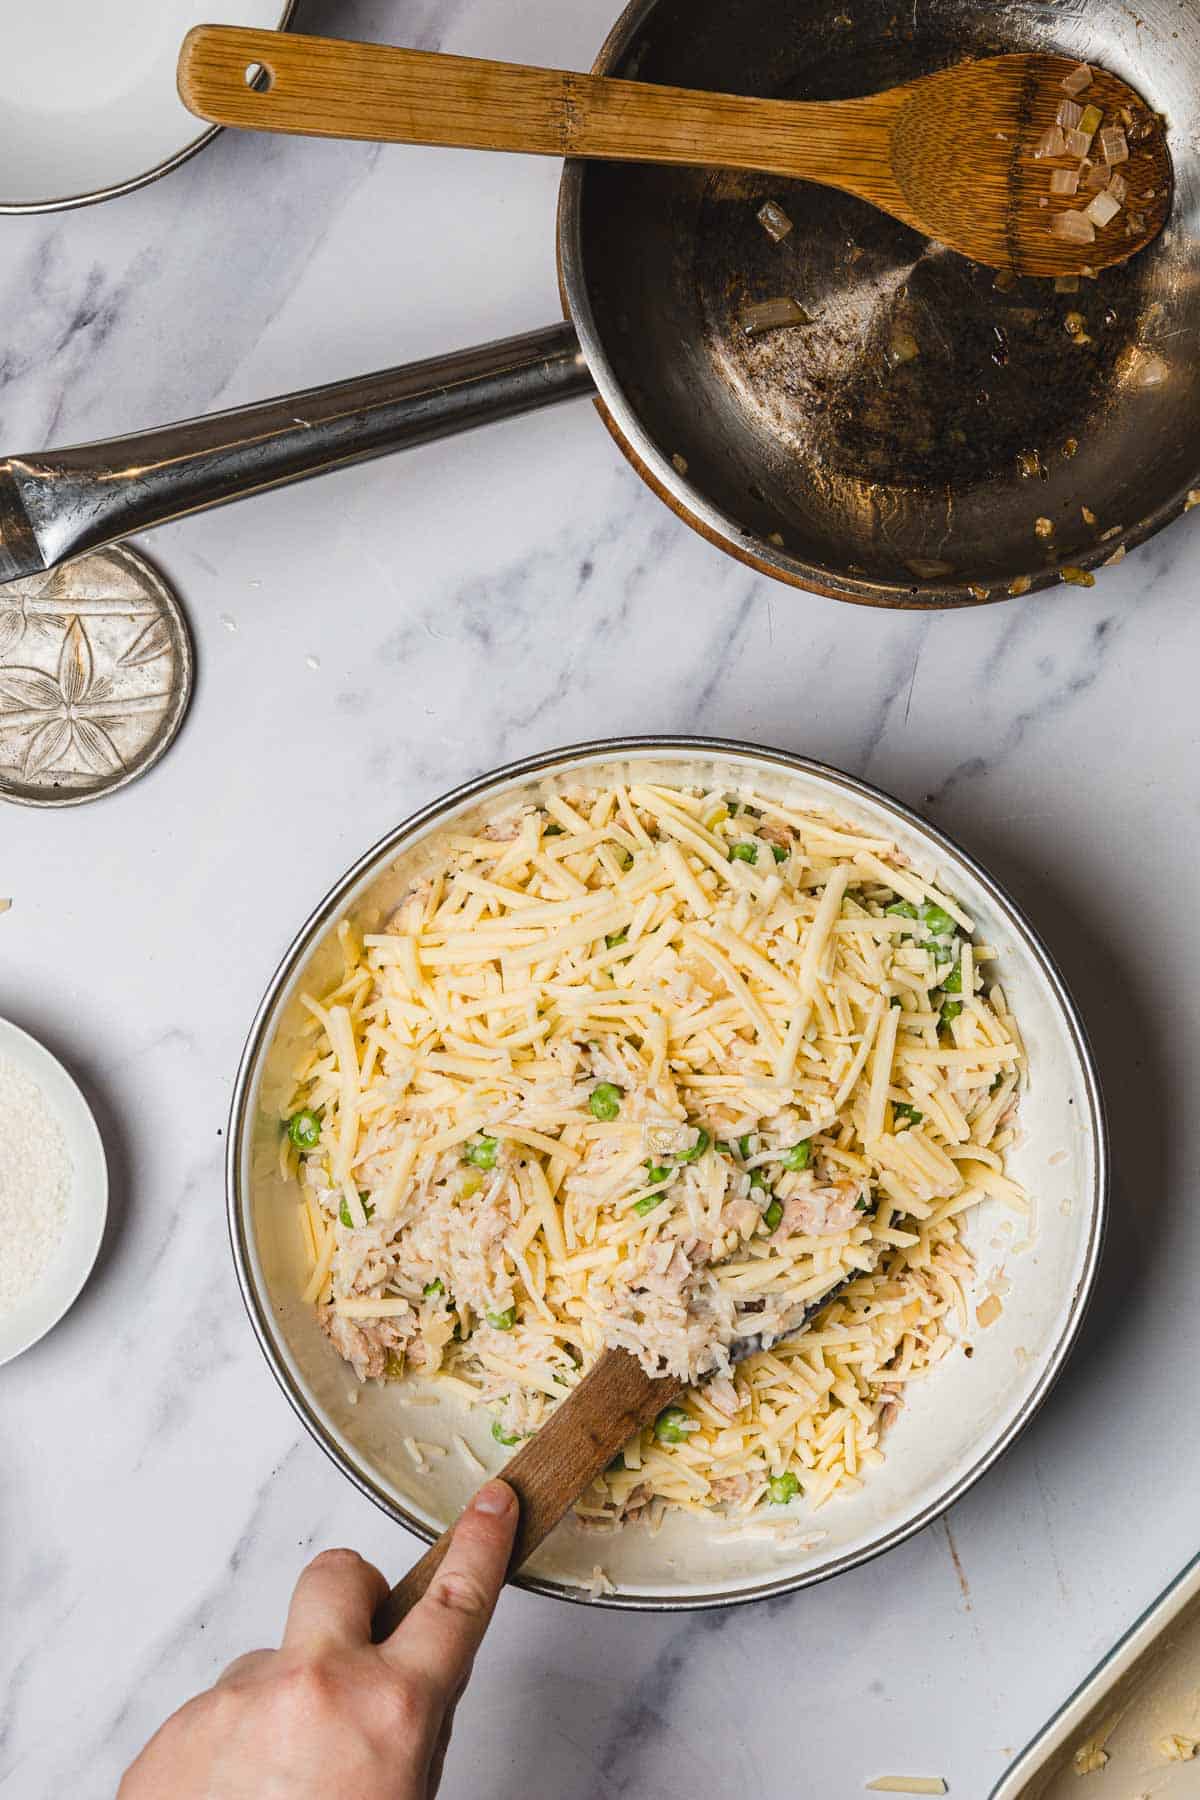
In a large bowl, combine the cooked rice, sautéed vegetables, drained tuna, peas, shredded cheese, and heavy cream. Season with salt and pepper. Stir until everything is evenly mixed.
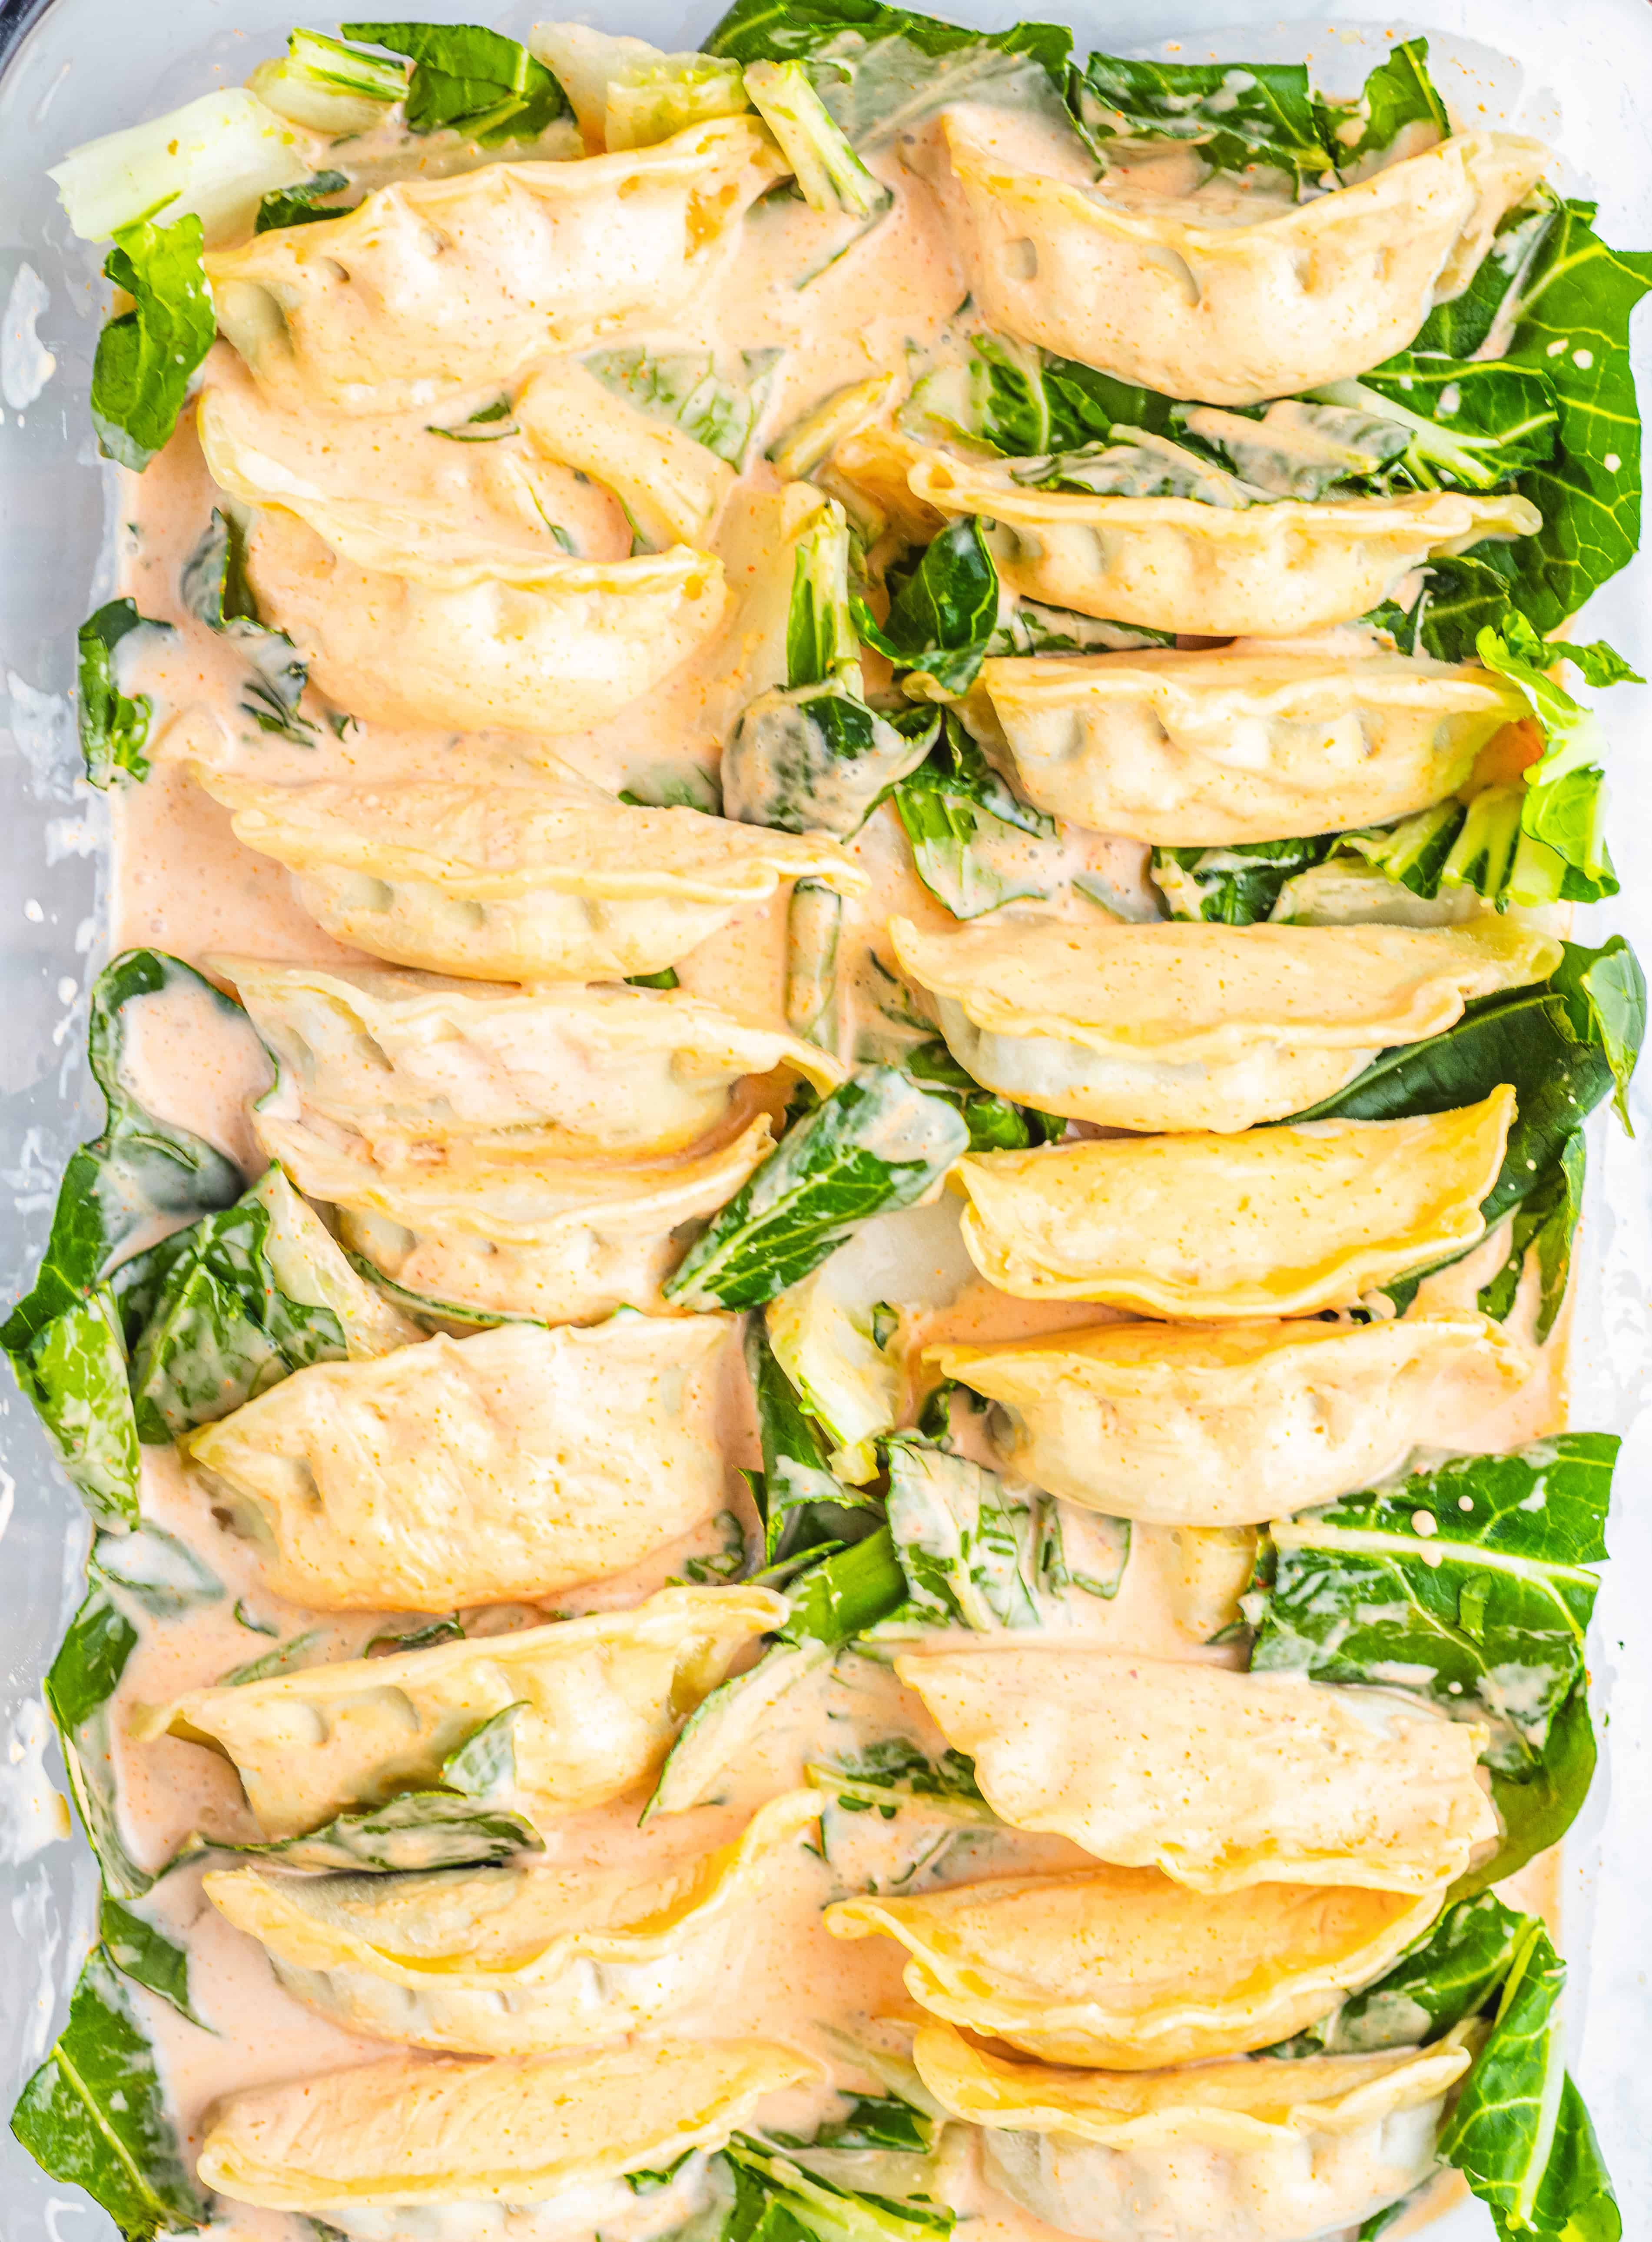
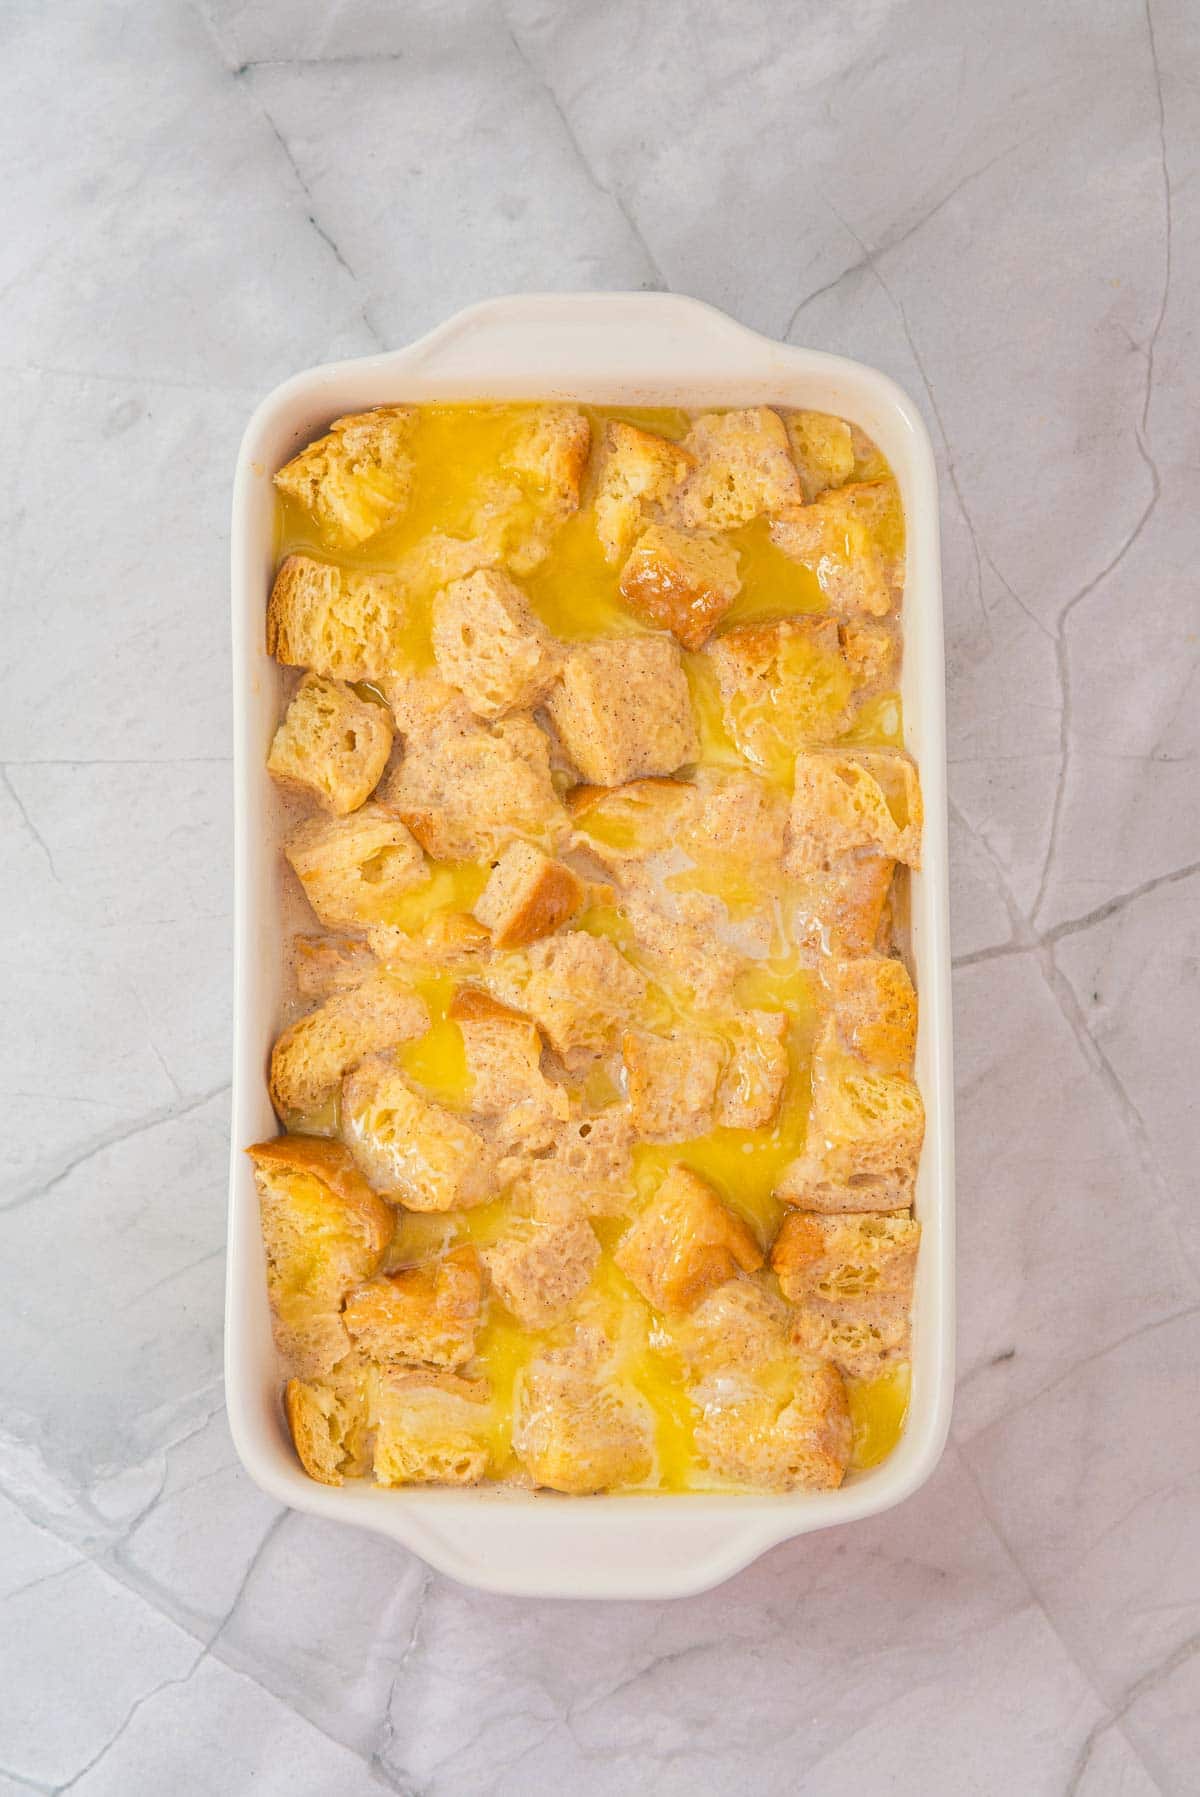
Assemble the Casserole
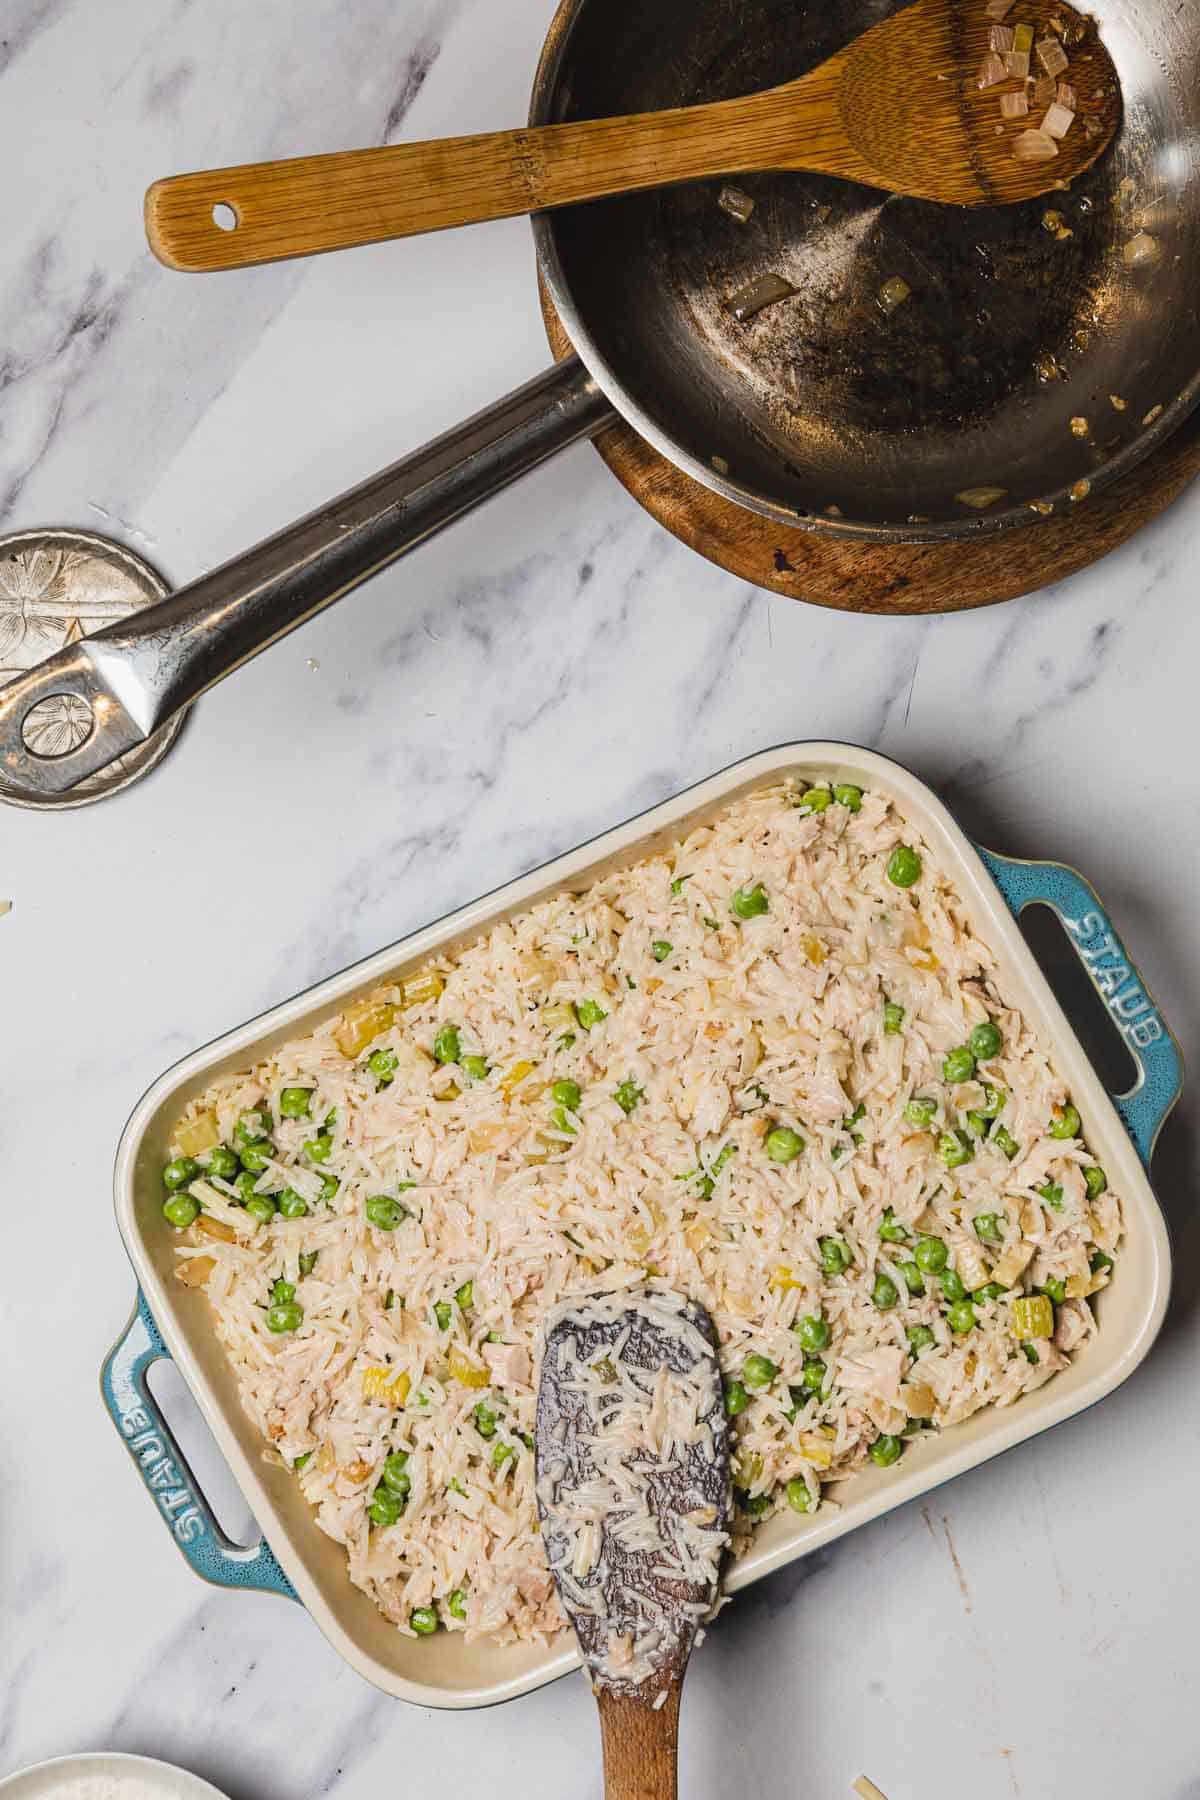
Grease a 9x13 inch baking dish. Spoon the mixture into the dish and spread it out into an even layer.
Add the Topping
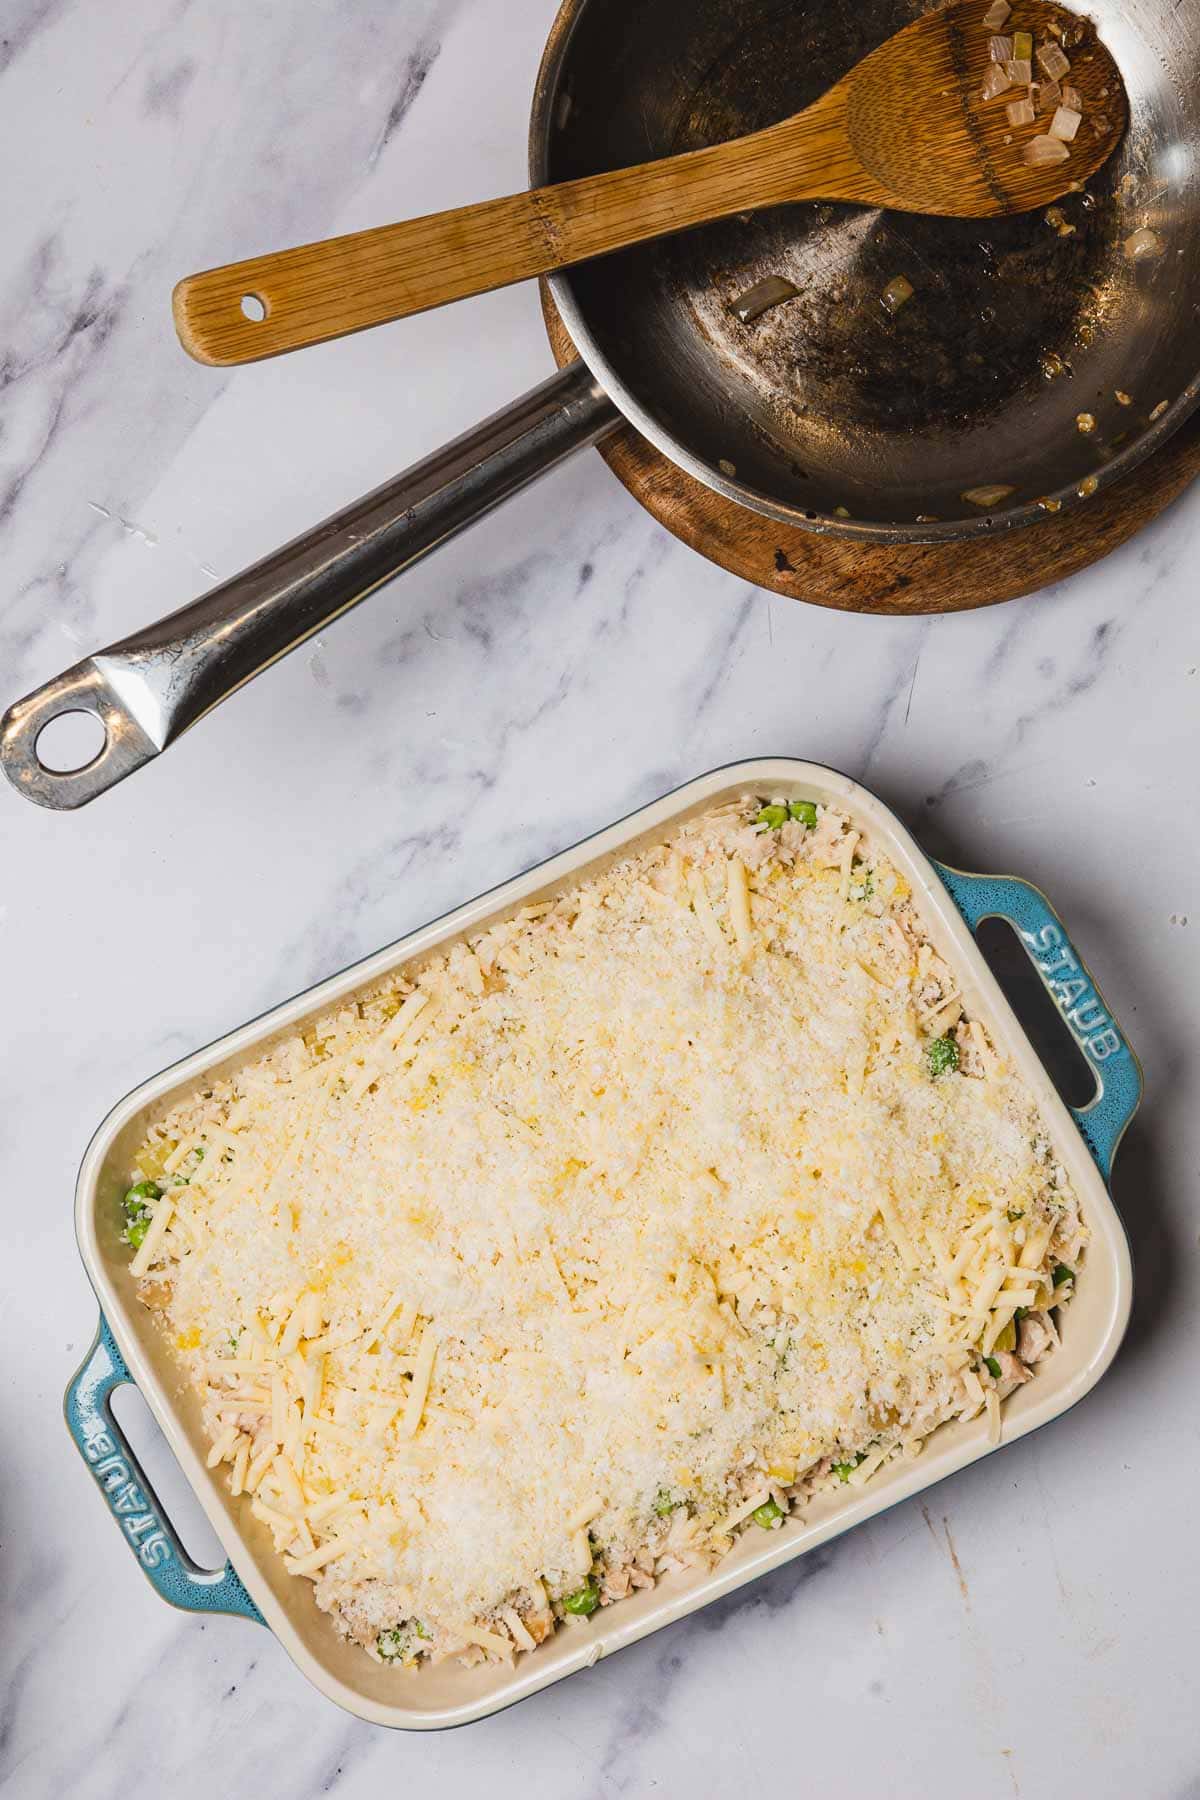
In a small bowl, toss the panko breadcrumbs with the olive oil. Sprinkle the crumb mixture over the top of the casserole.
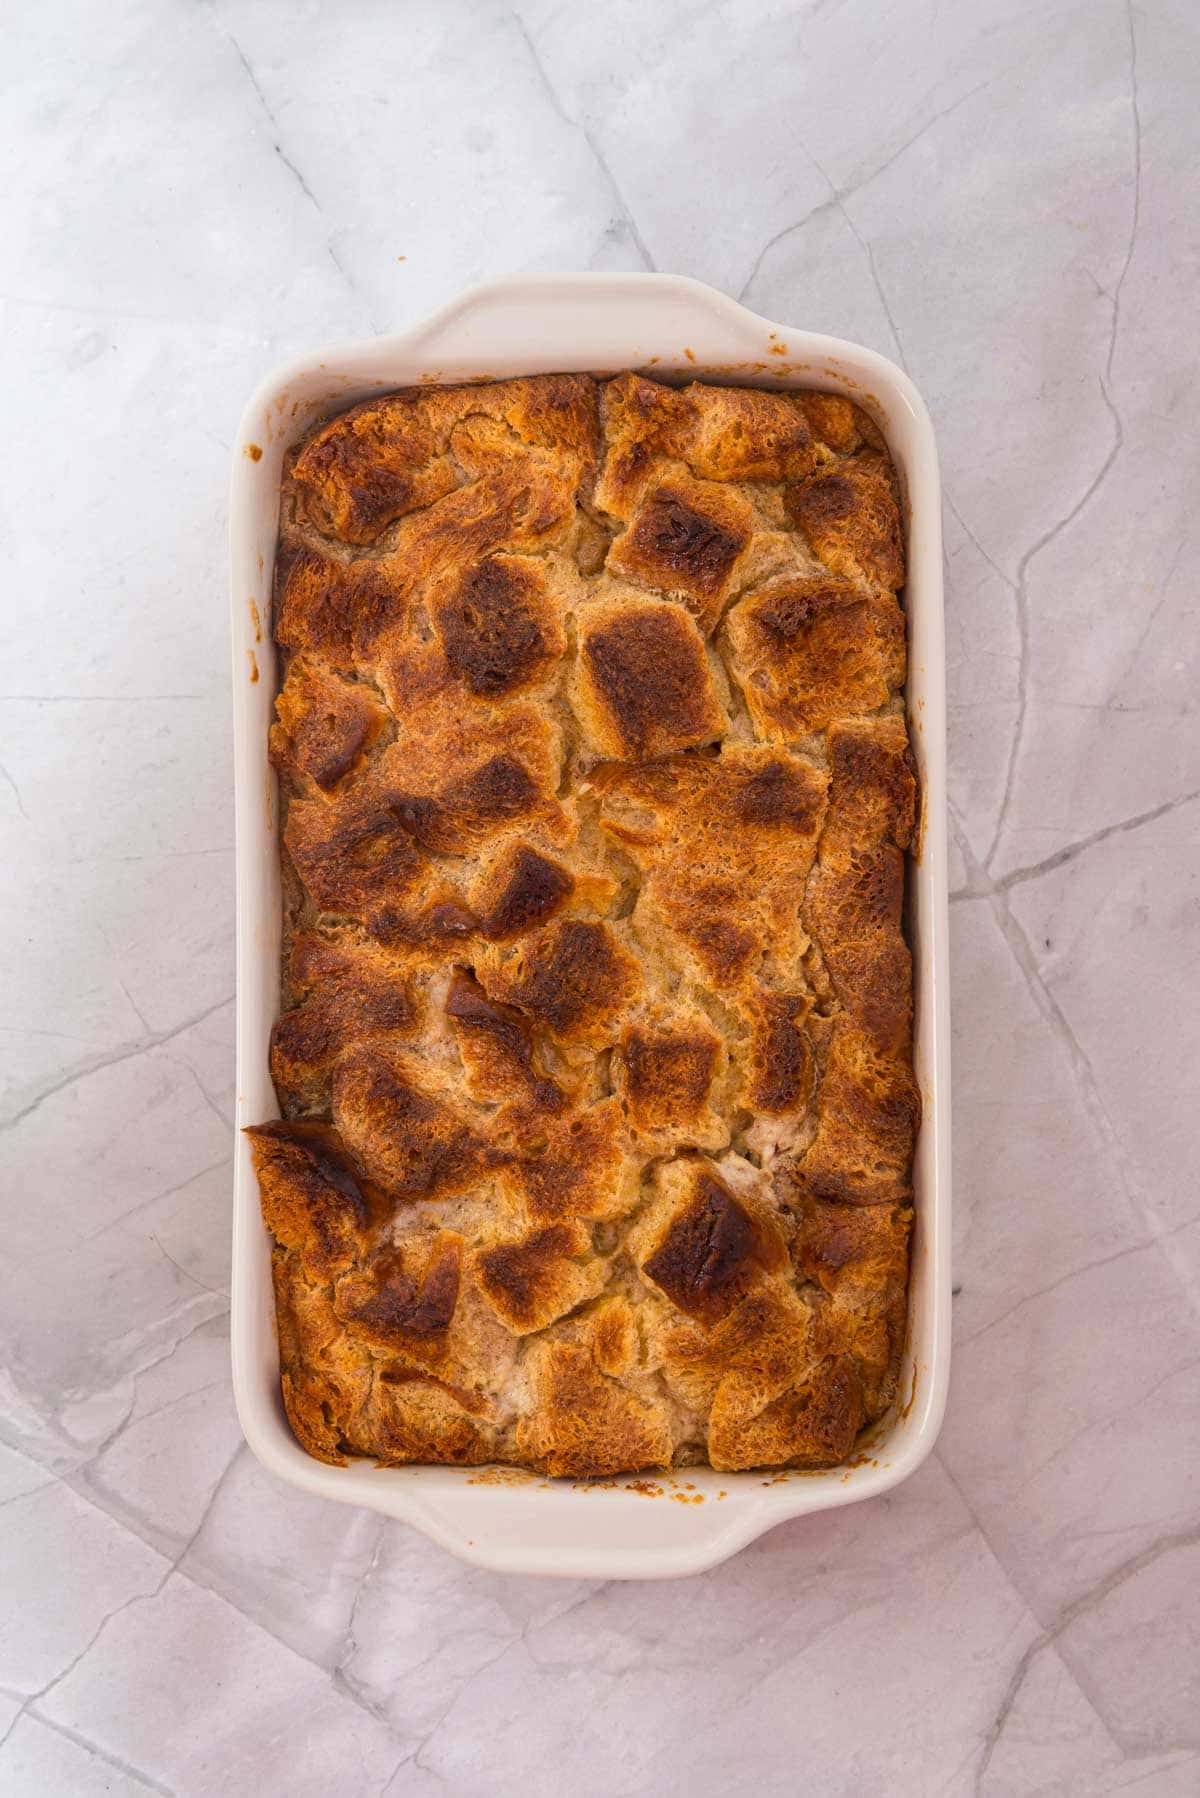
Bake
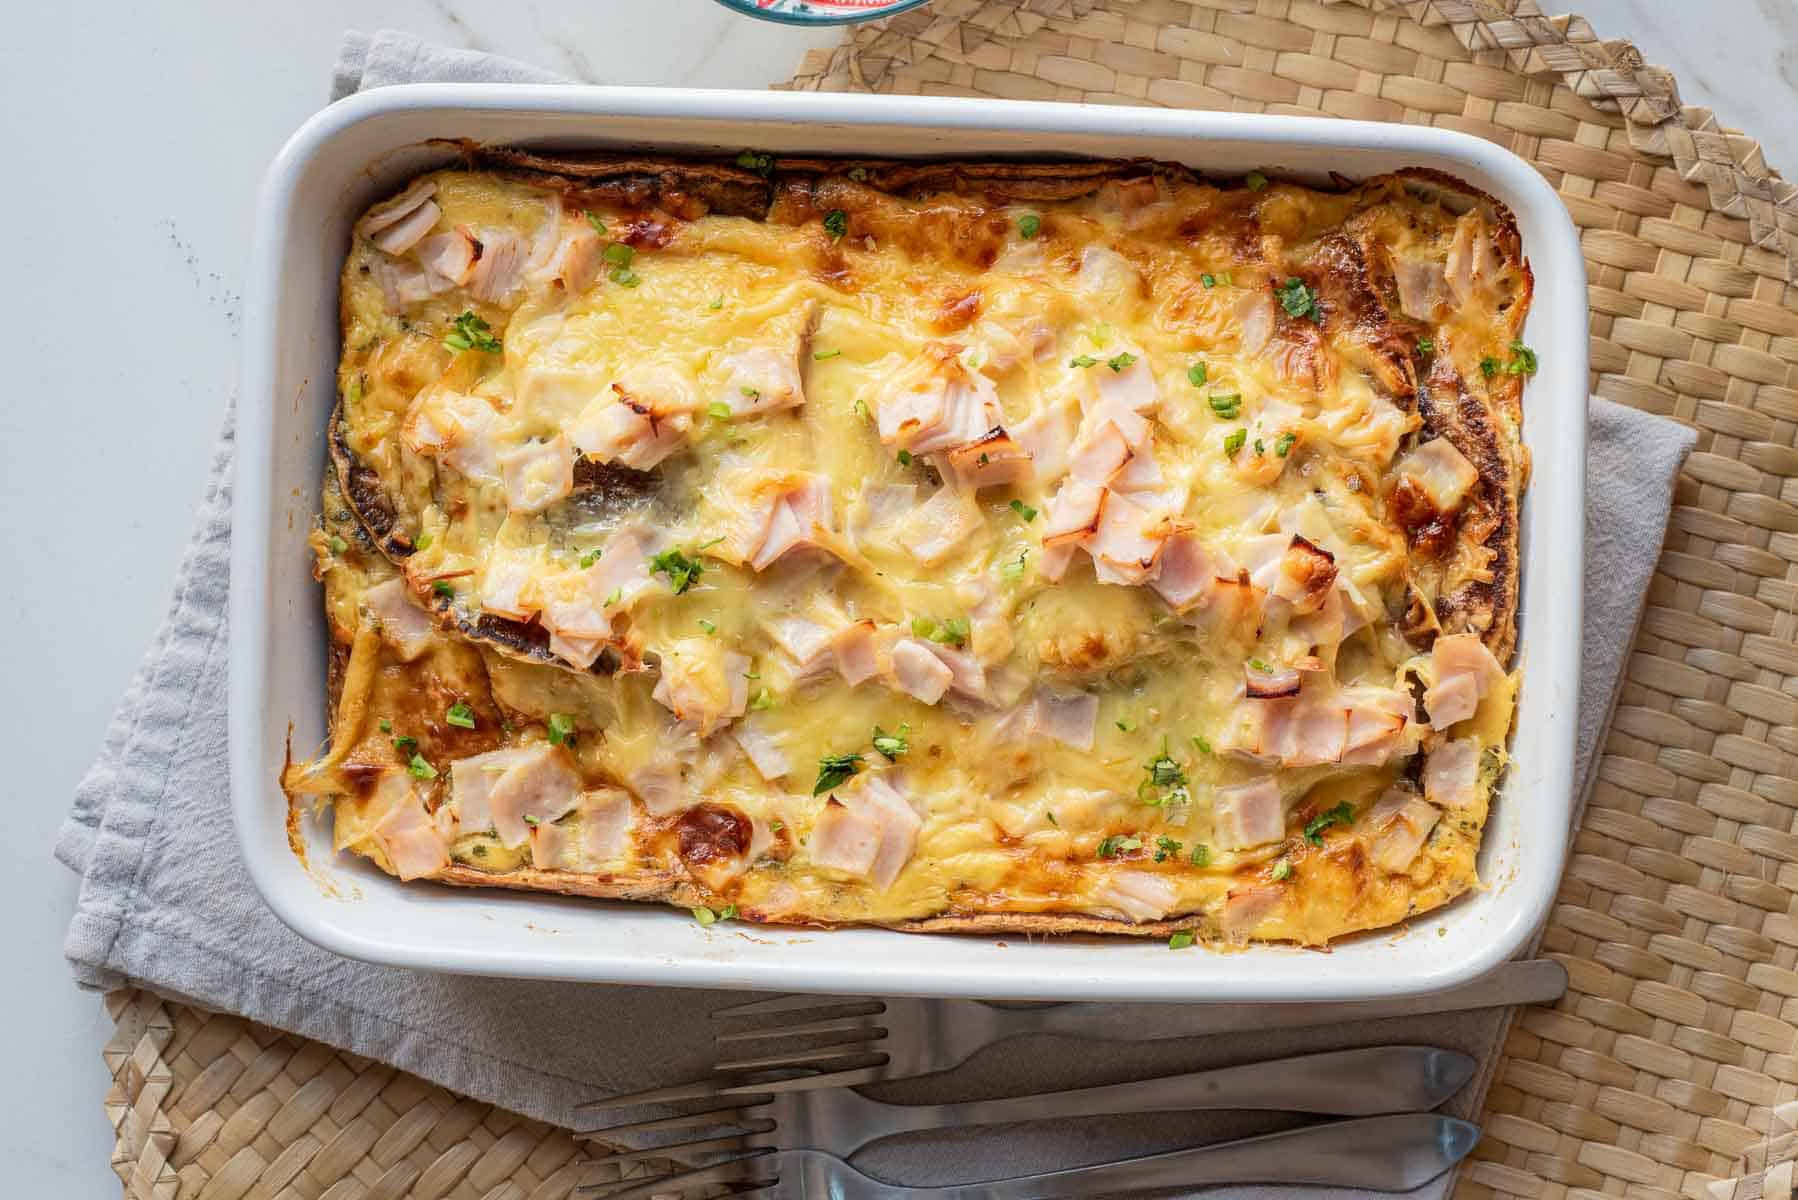
Place the dish in the oven and bake for 20 to 25 minutes. The top should look lightly golden and the edges should be bubbling.
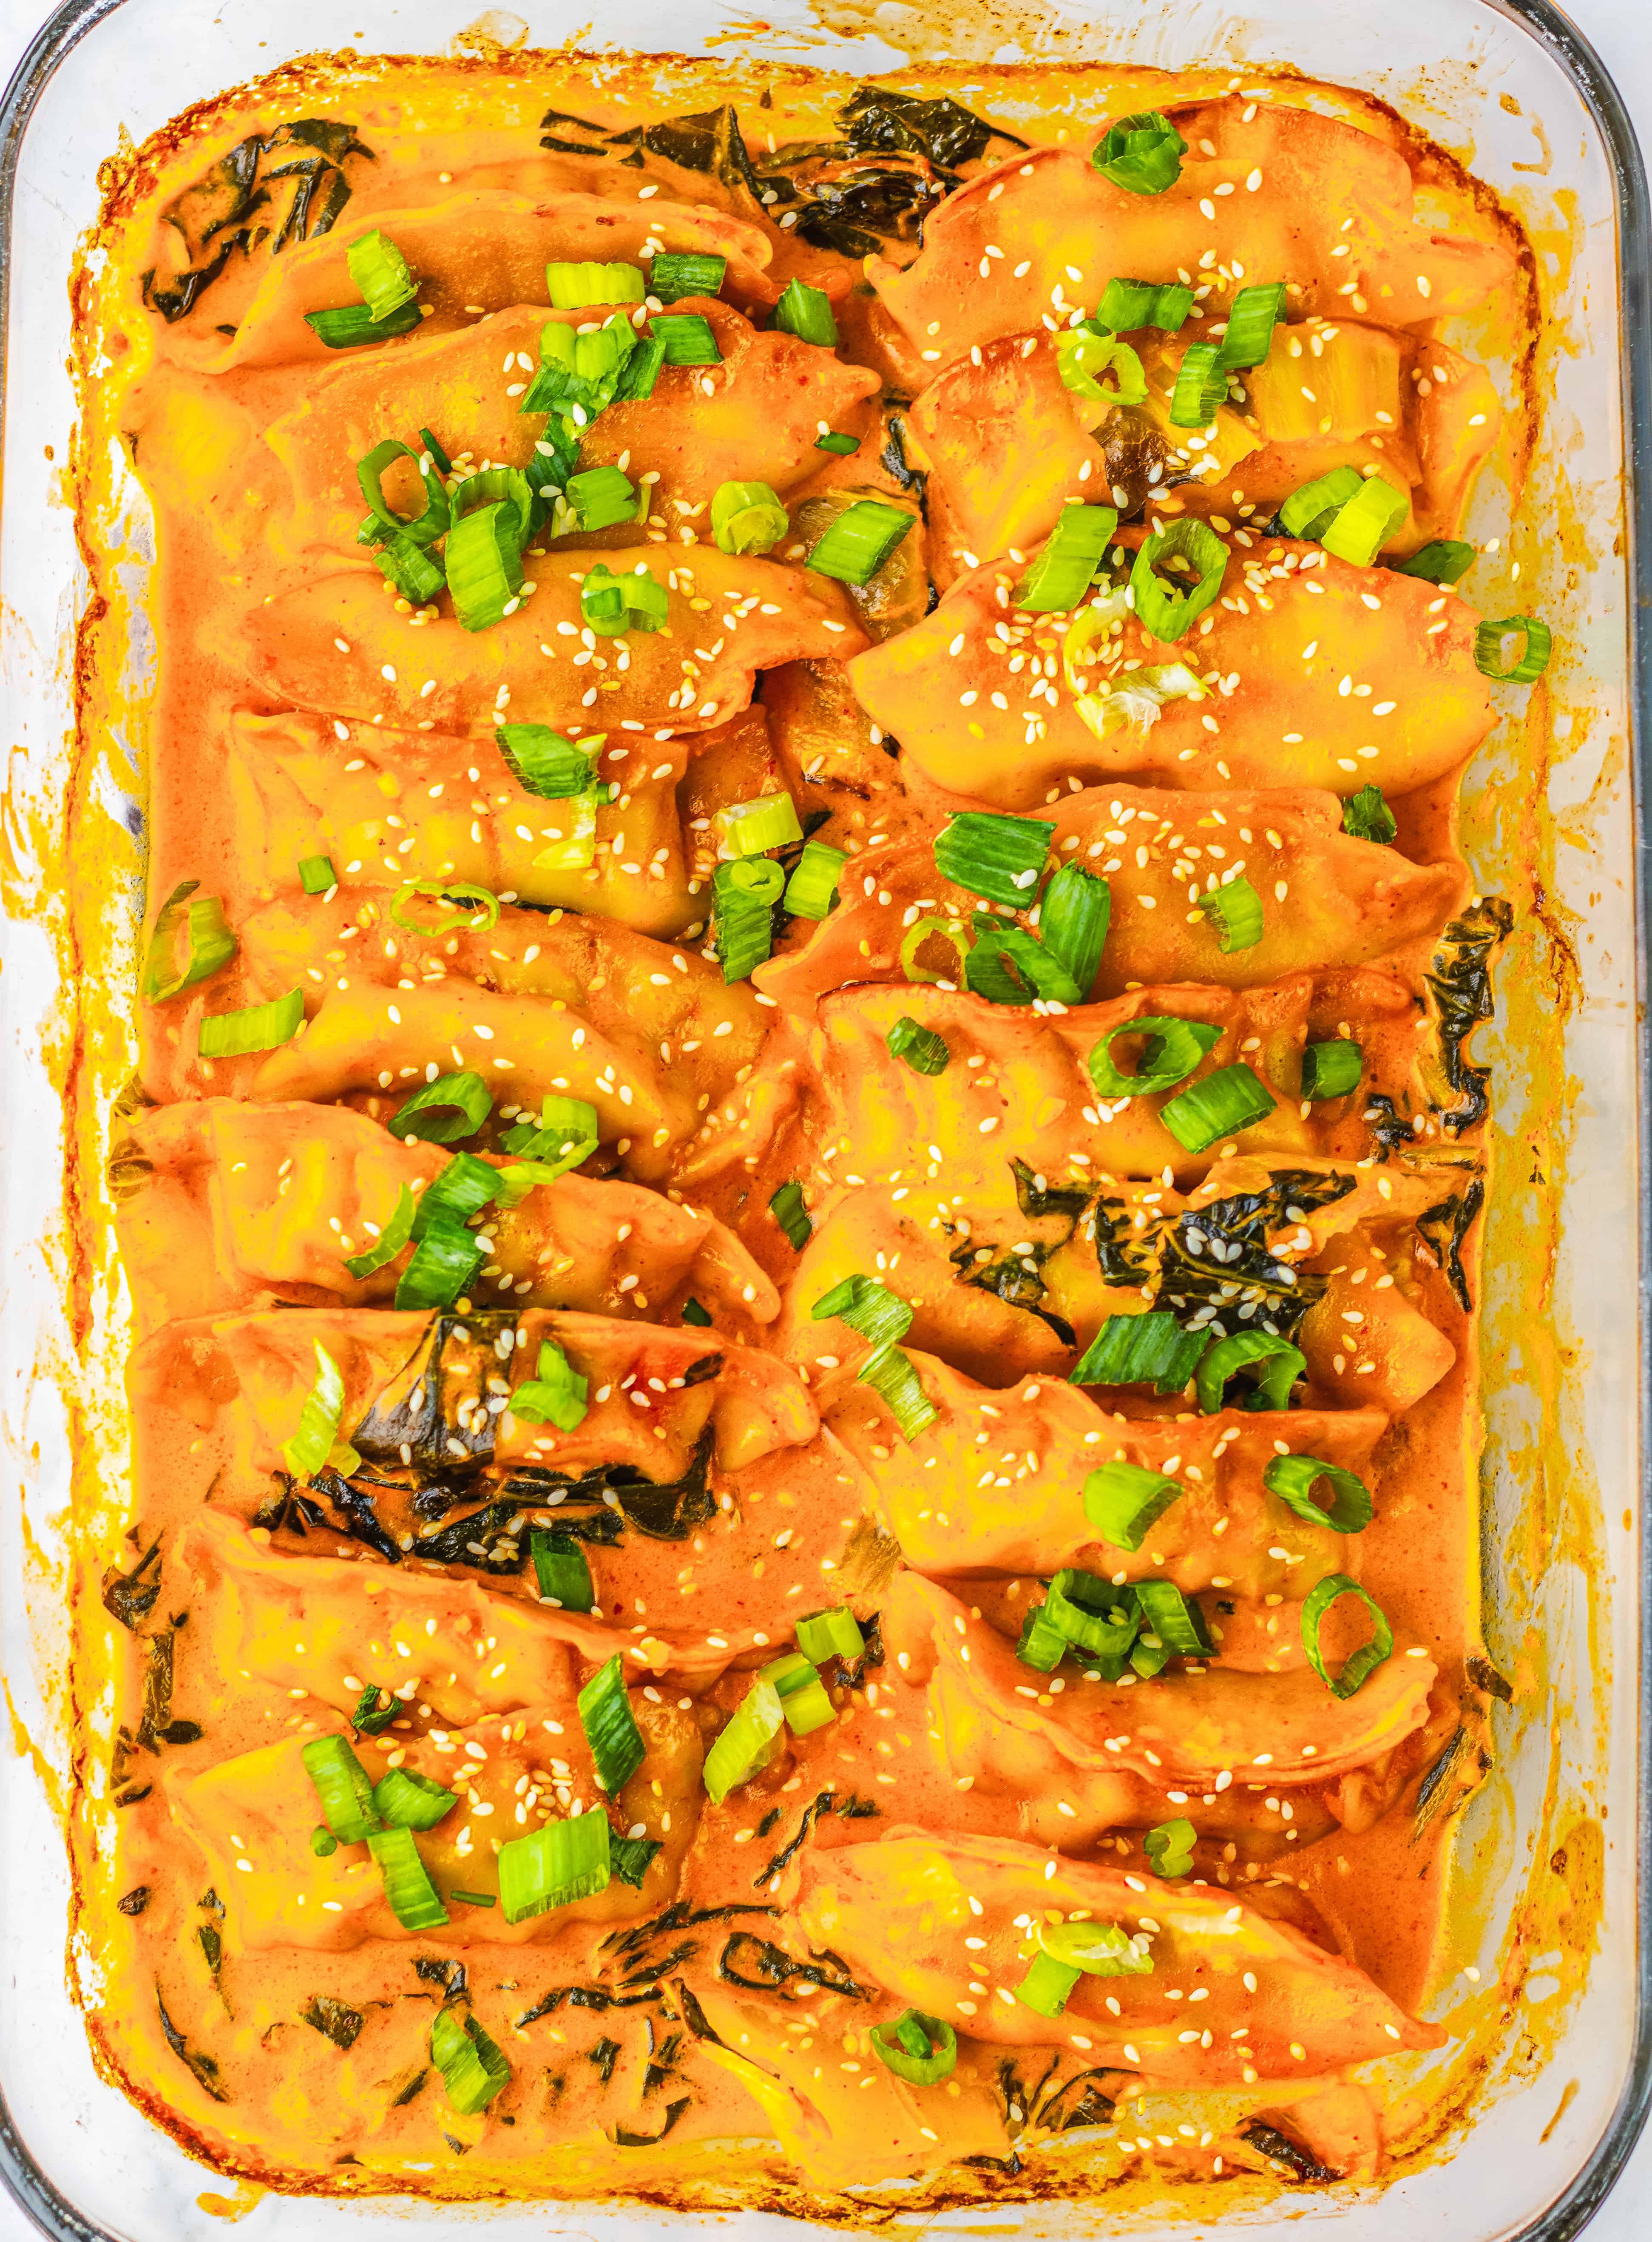
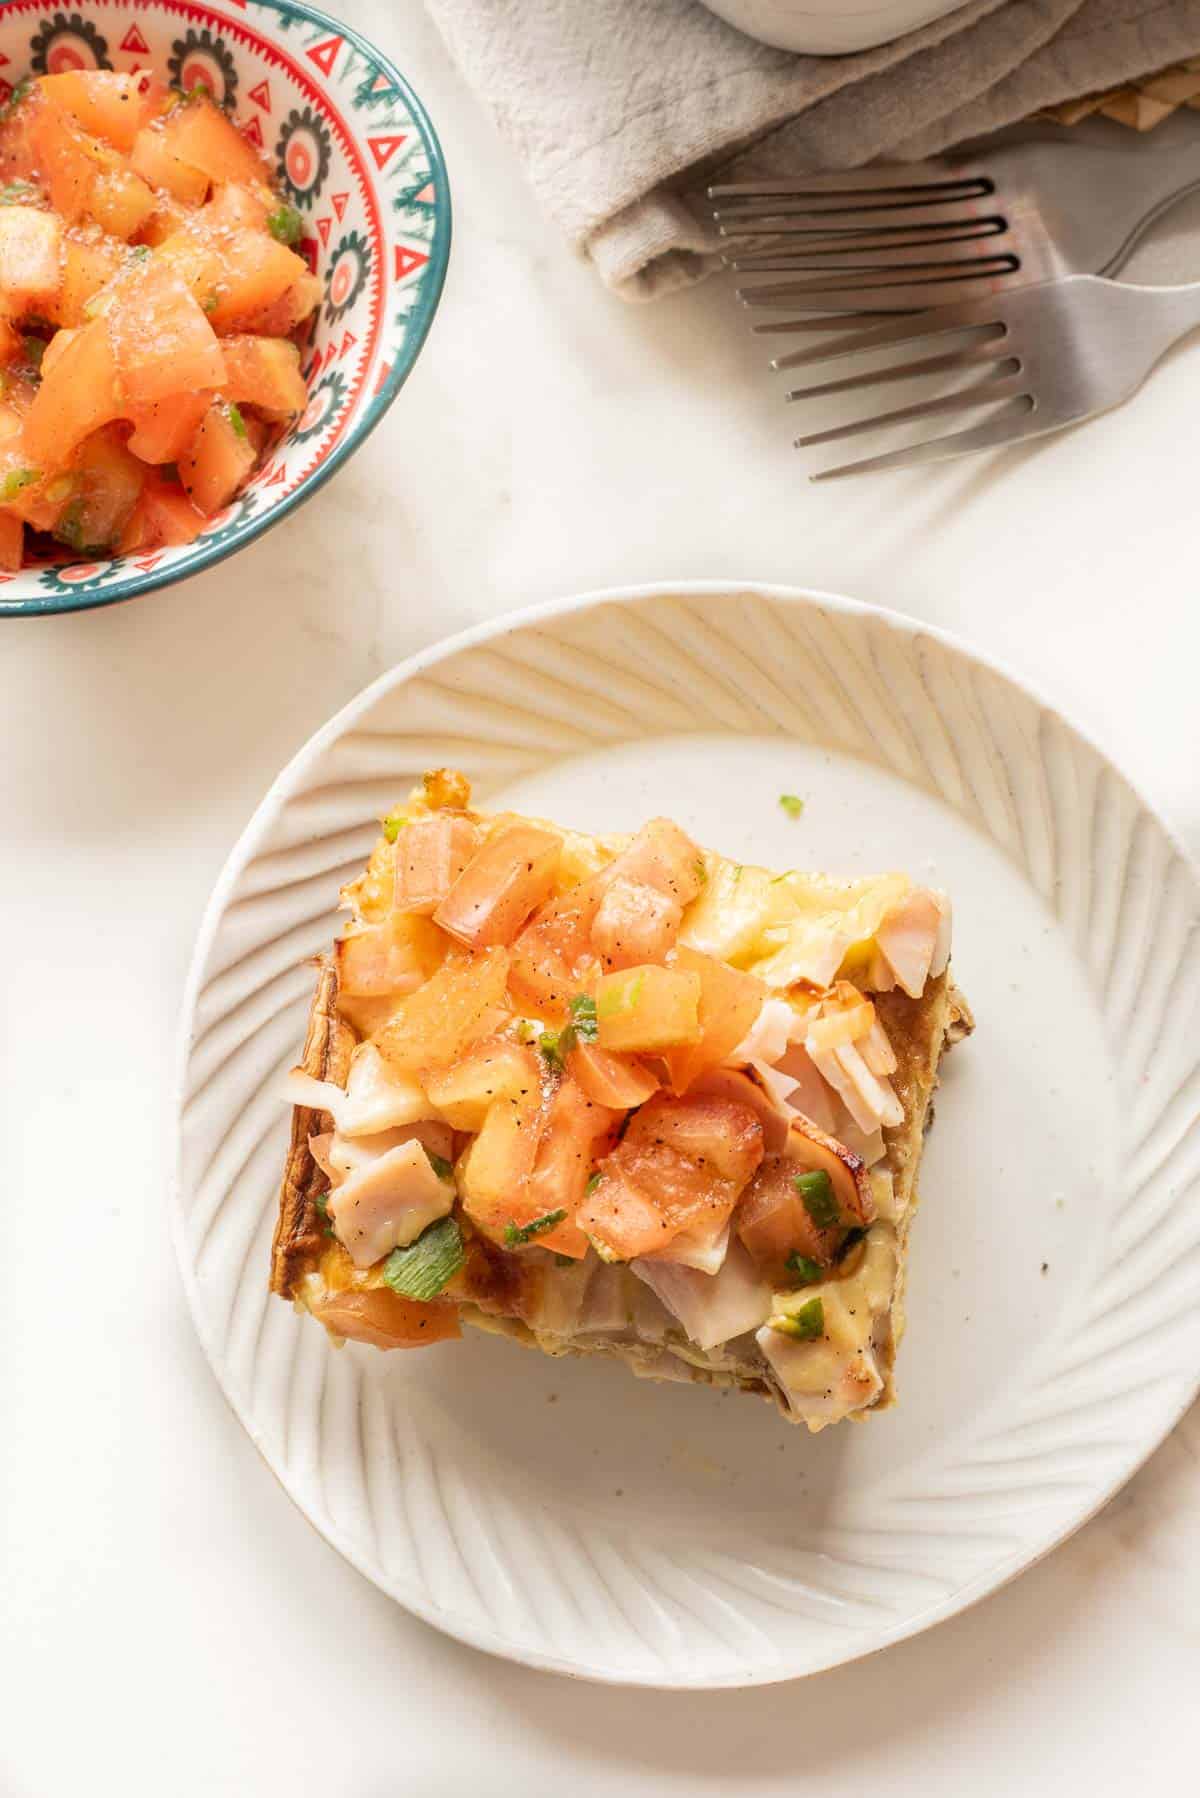
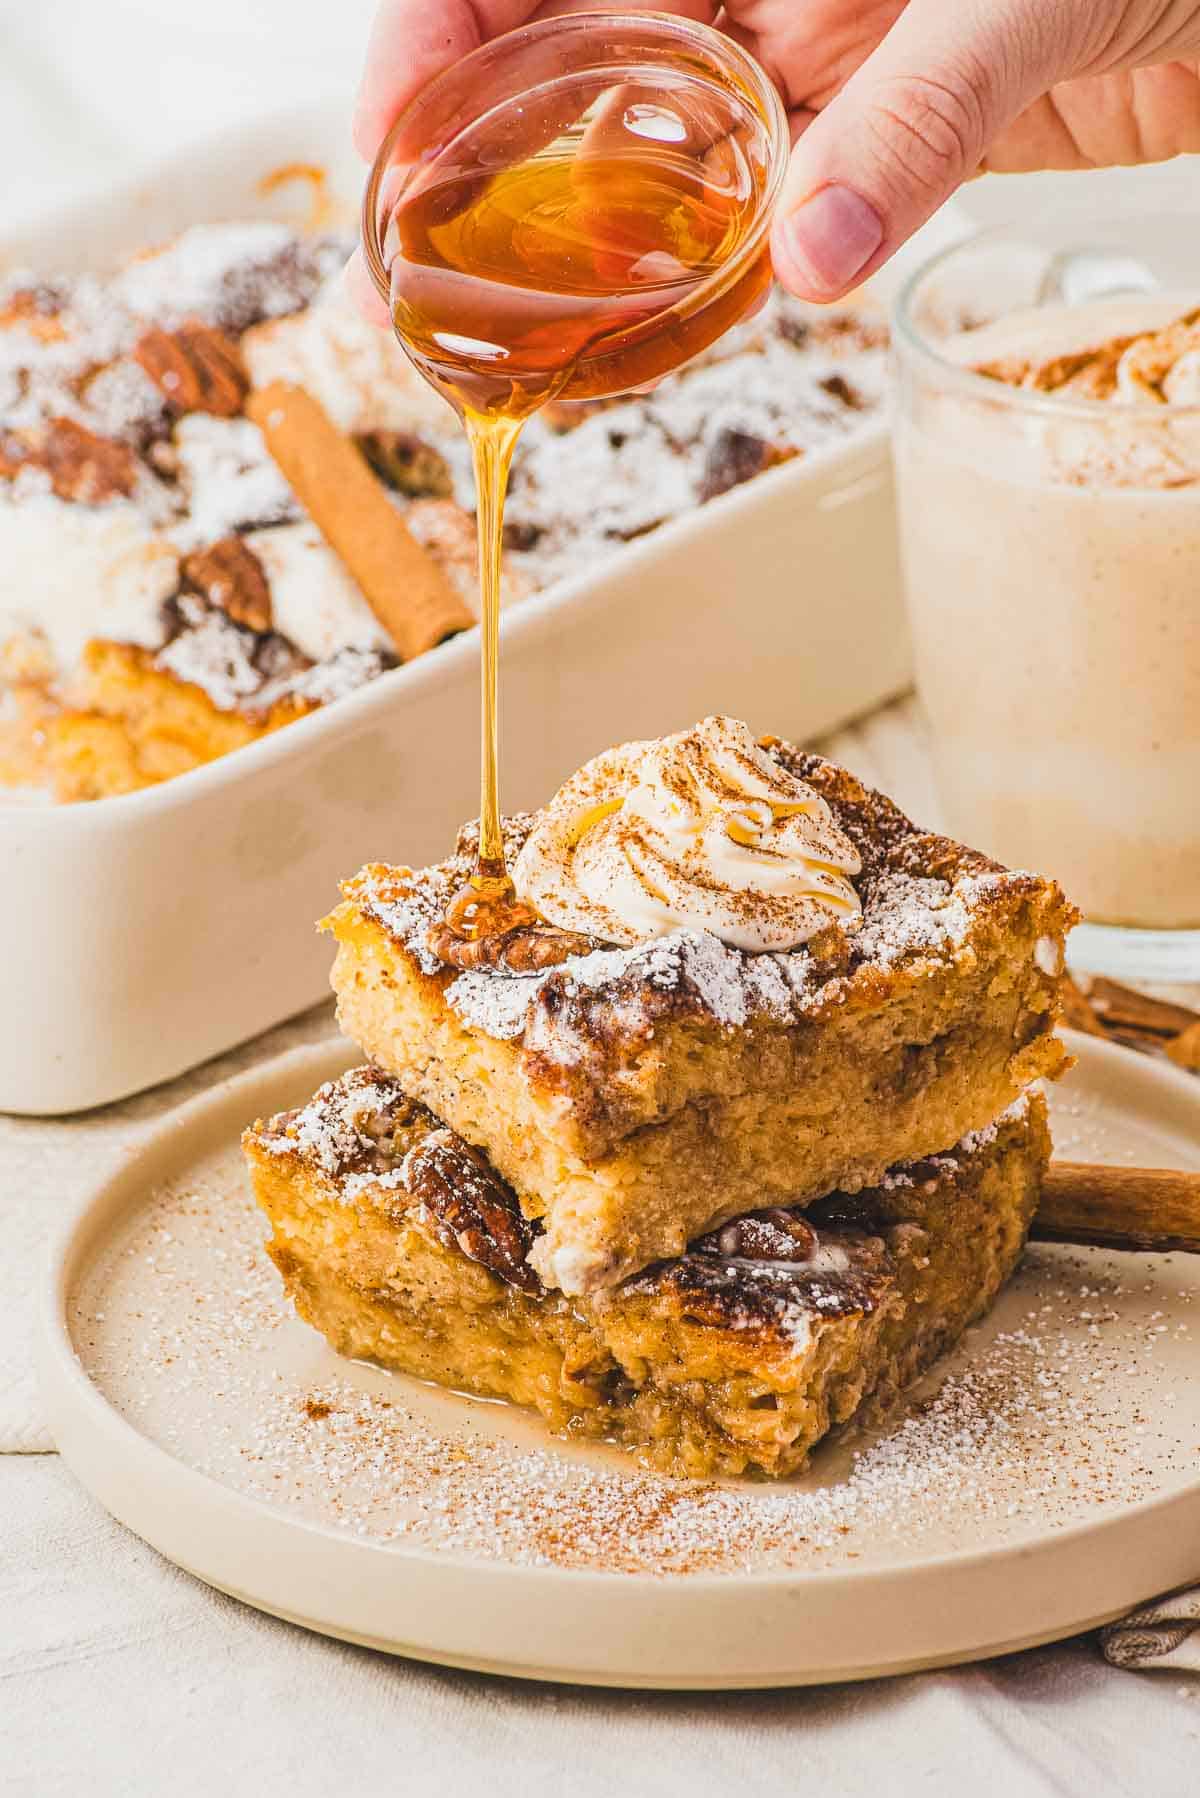
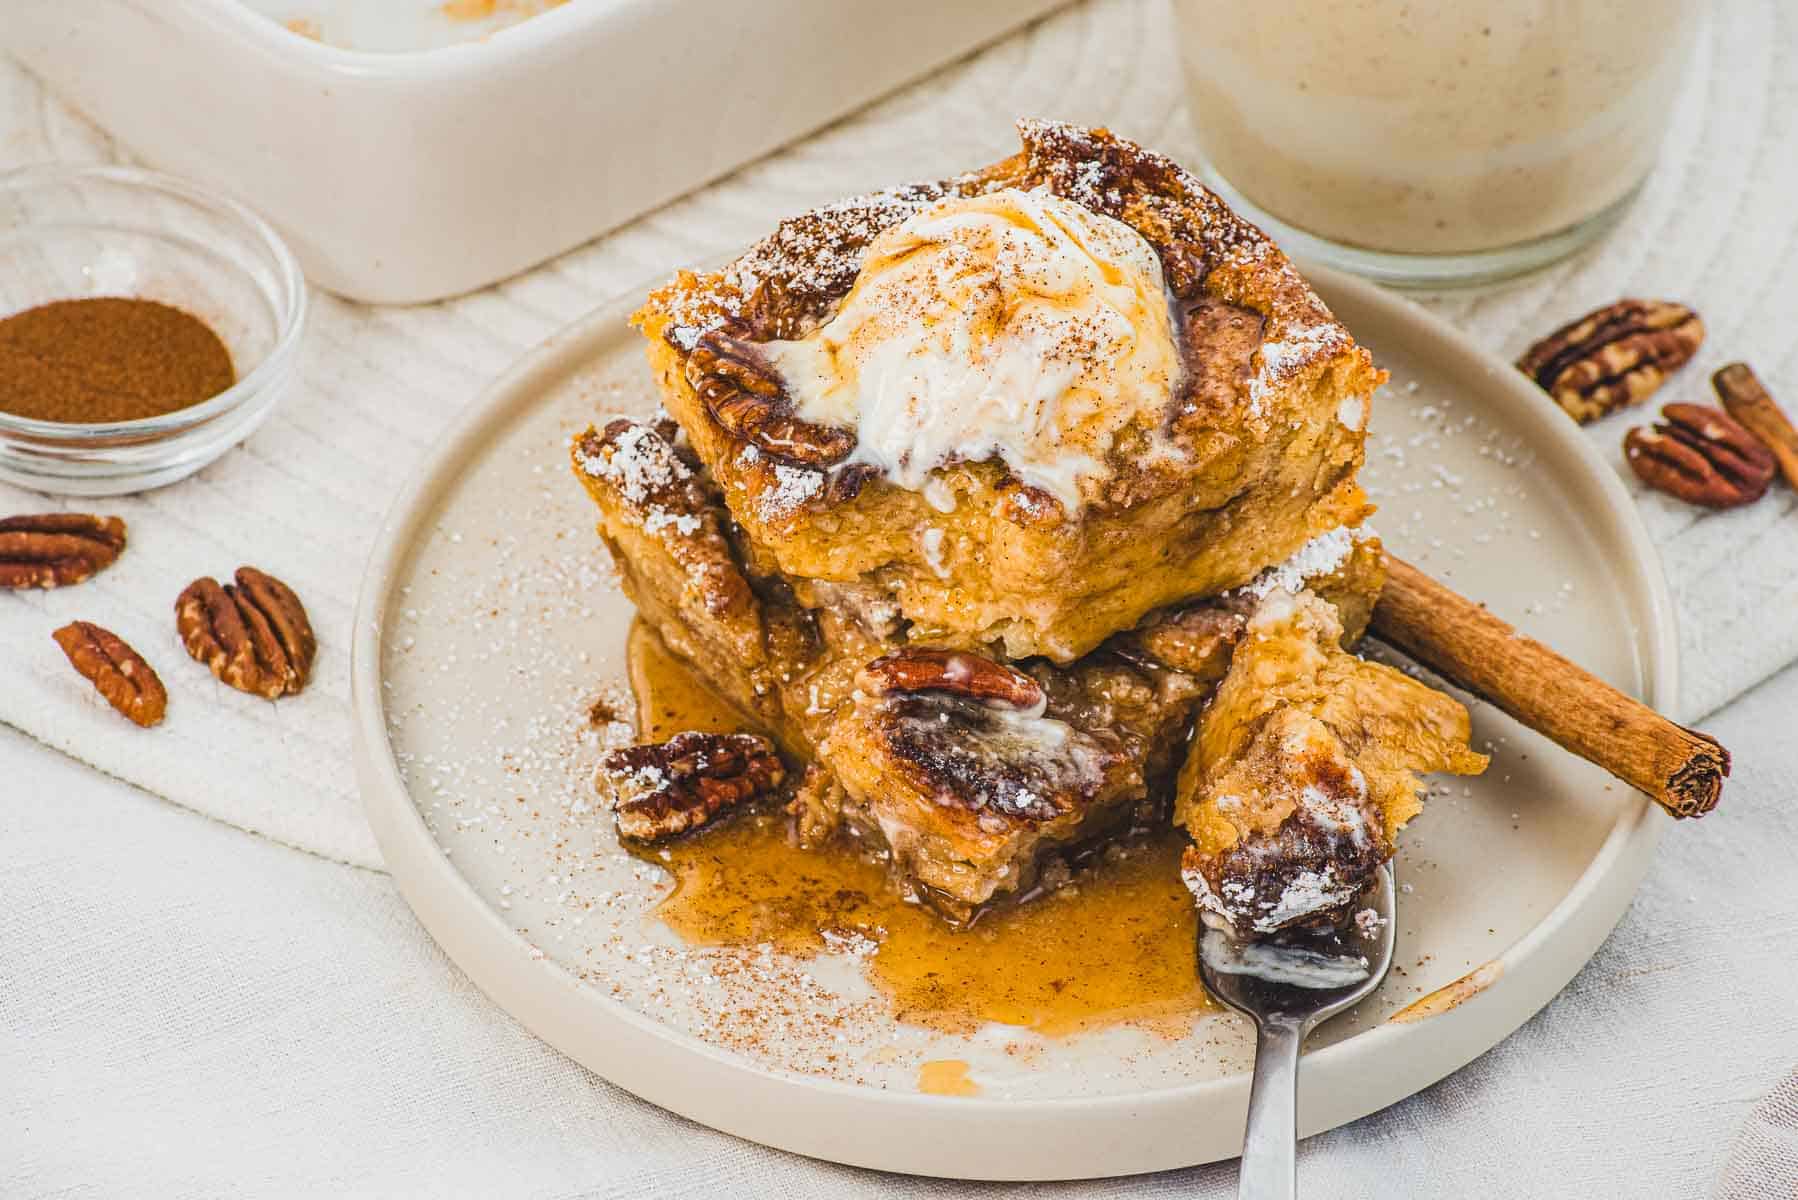
Serve and Enjoy
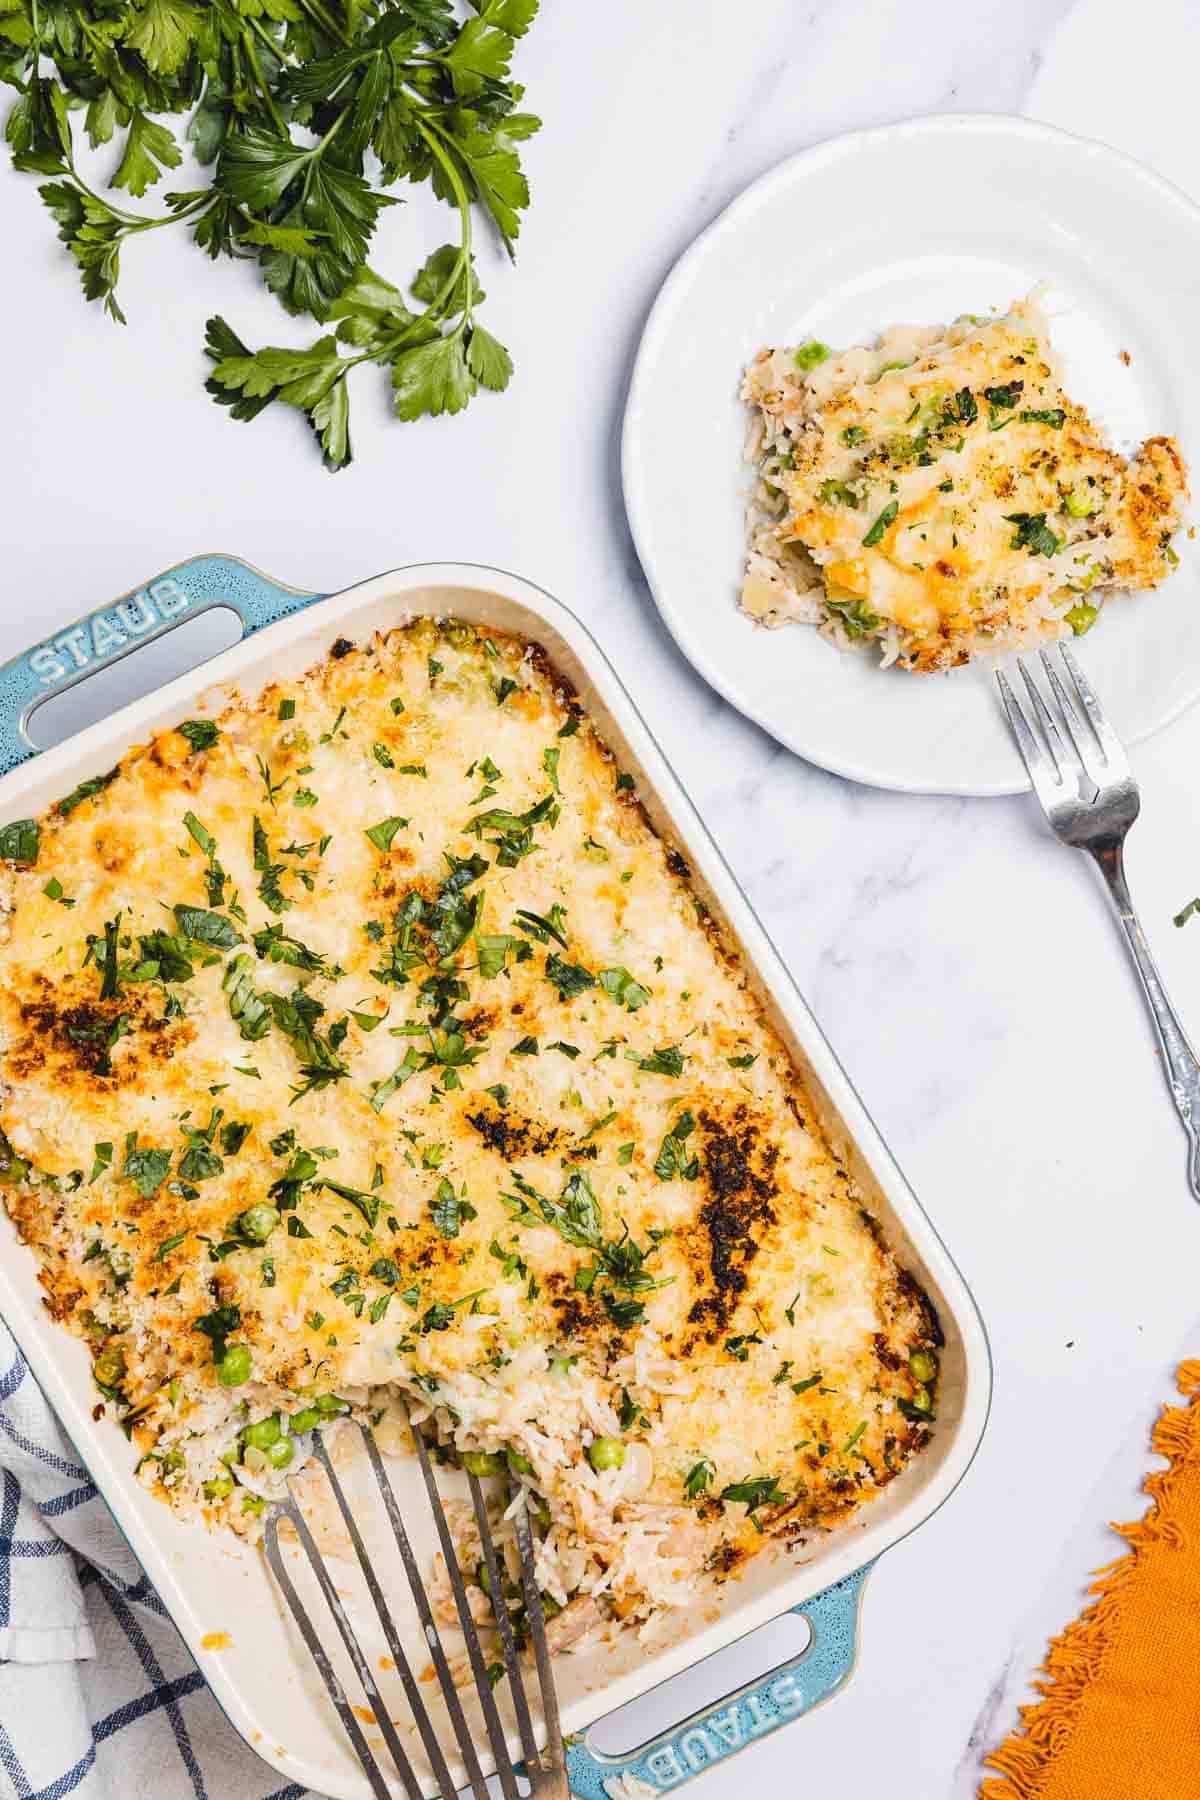
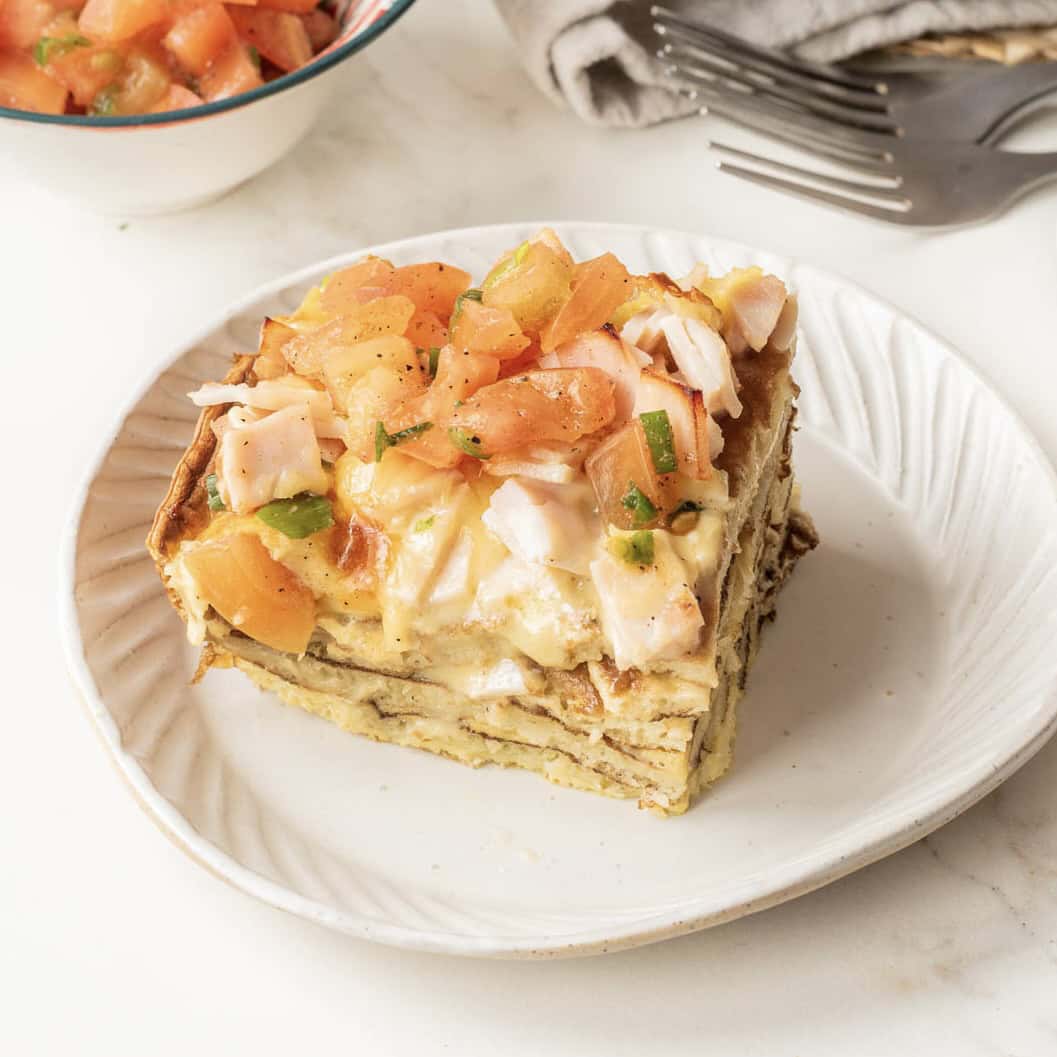
Let the casserole rest for a few minutes, then serve hot. Enjoy your easy tuna rice casserole!
Storage
Let the casserole cool to room temperature before storing. Transfer leftovers to an airtight container or cover the baking dish tightly. Keep it in the fridge for up to 3 days. Reheat in the oven at 325°F until warmed through, or microwave individual portions. The breadcrumb topping will soften in the fridge, so add a small sprinkle of fresh panko after reheating if you want extra crunch.
Top Tips for Tuna Rice Casserole
Drain the tuna well: Extra liquid makes the casserole heavy, so press the tuna lightly with a fork to remove as much water as possible.
Cook the rice in broth: Using broth instead of water adds more depth and keeps the casserole from tasting flat.
Mix the panko with oil: Coating the breadcrumbs in a little olive oil helps them brown evenly and stay crisp in the oven.
Recipe
Tried and loved this recipe? Please leave a 5-star review below! Your reviews mean a lot to me, so if you've got any questions, please let me know in a comment.
Vintage Tuna Rice Casserole (No Canned Soup!)
Ingredients
- 1 ½ cups long-grain white rice
- 3 cups chicken broth
- 2 cans 5 oz each tuna in water, drained
- 1 cup frozen peas
- 1 cup cheddar cheese shredded
- ½ cup heavy cream
- ¼ cup butter
- 1 onion diced
- 2 celery stalks diced
- 2 cloves garlic minced
- ½ cup panko breadcrumbs
- 2 tablespoon olive oil
- Salt and pepper to taste
Instructions
- Preheat oven to 375°F. Cook rice in chicken broth until tender, about 18 minutes. Drain excess liquid.
- Sauté onion and celery in butter until soft, 5 minutes. Add garlic, cook 1 minute more.
- Combine cooked rice, sautéed vegetables, tuna, peas, cheese, and cream in large bowl. Season with salt and pepper.
- Transfer to greased 9x13-inch baking dish.
- Toss breadcrumbs with olive oil, sprinkle over casserole.
- Bake 20-25 minutes until bubbly and golden.
- Serve hot.