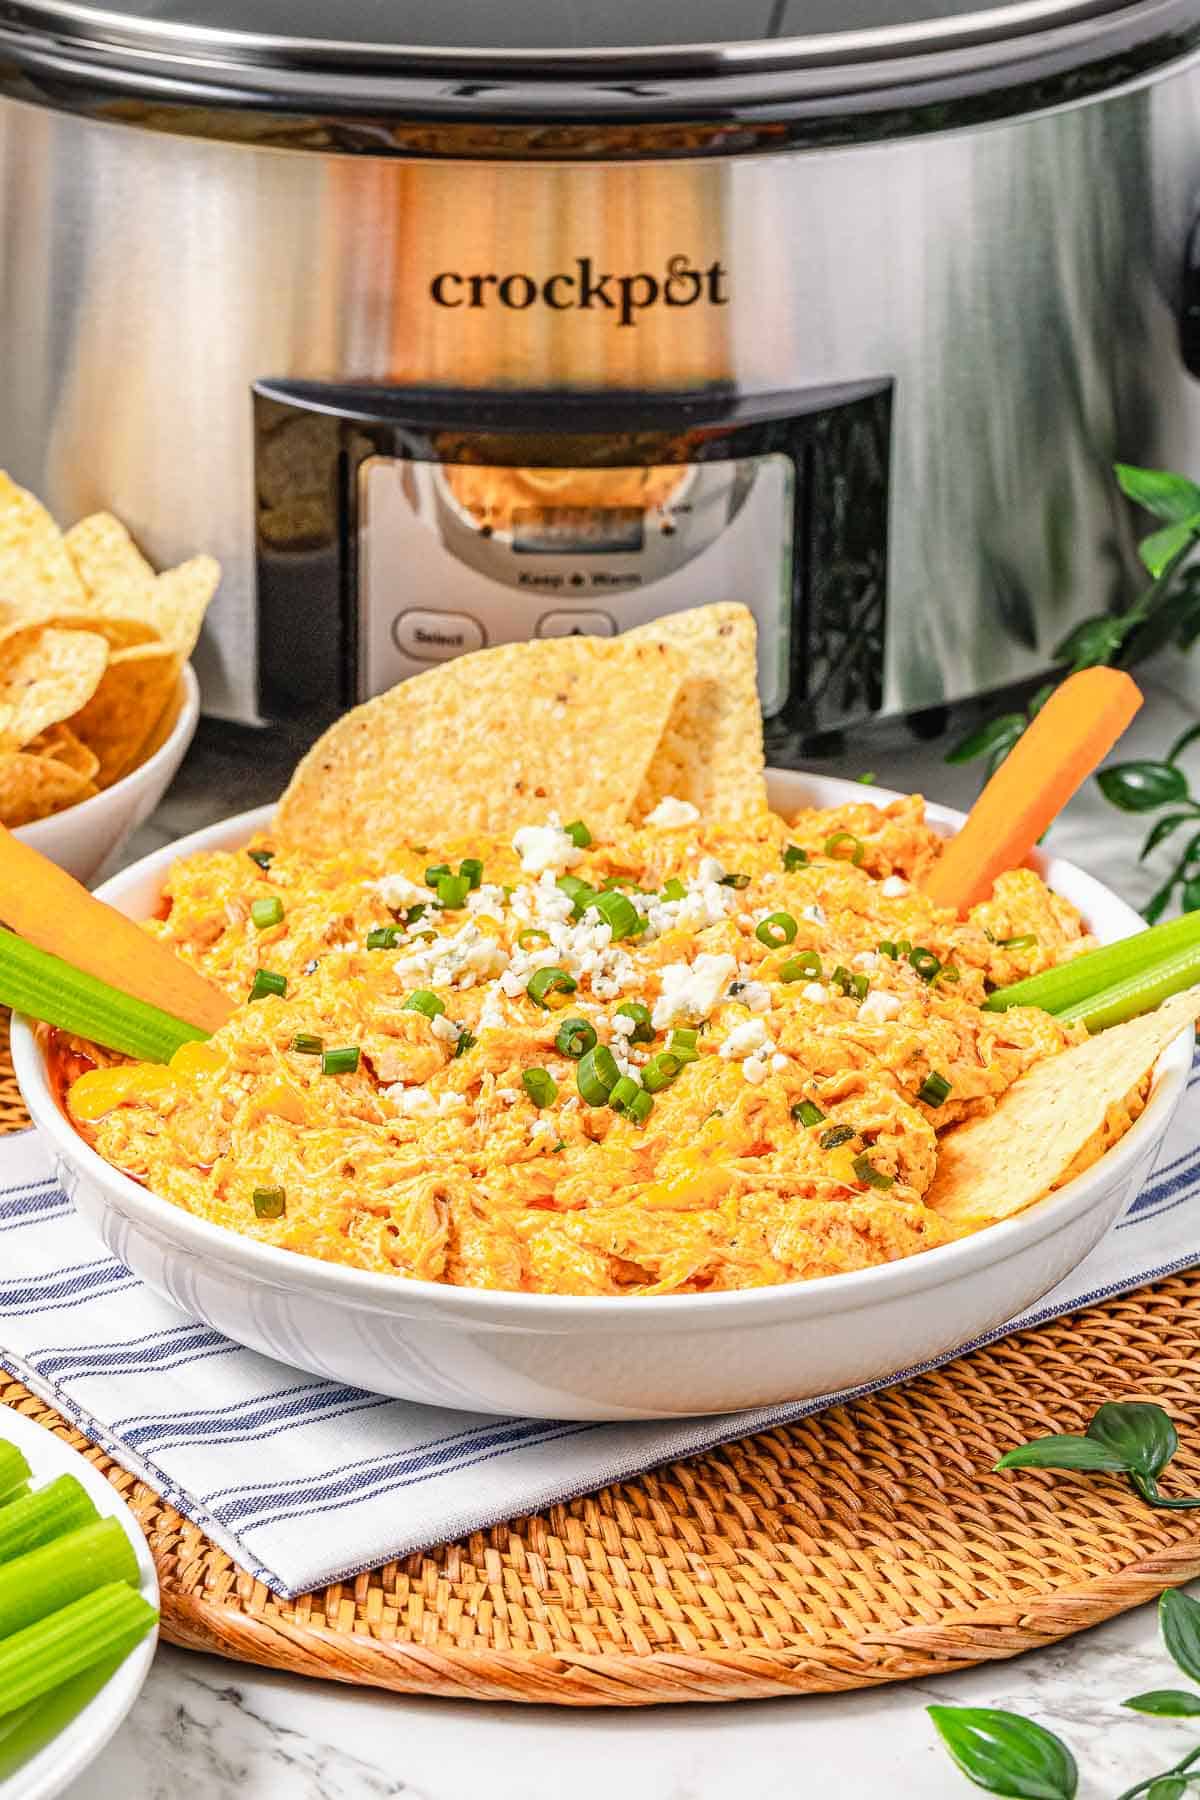
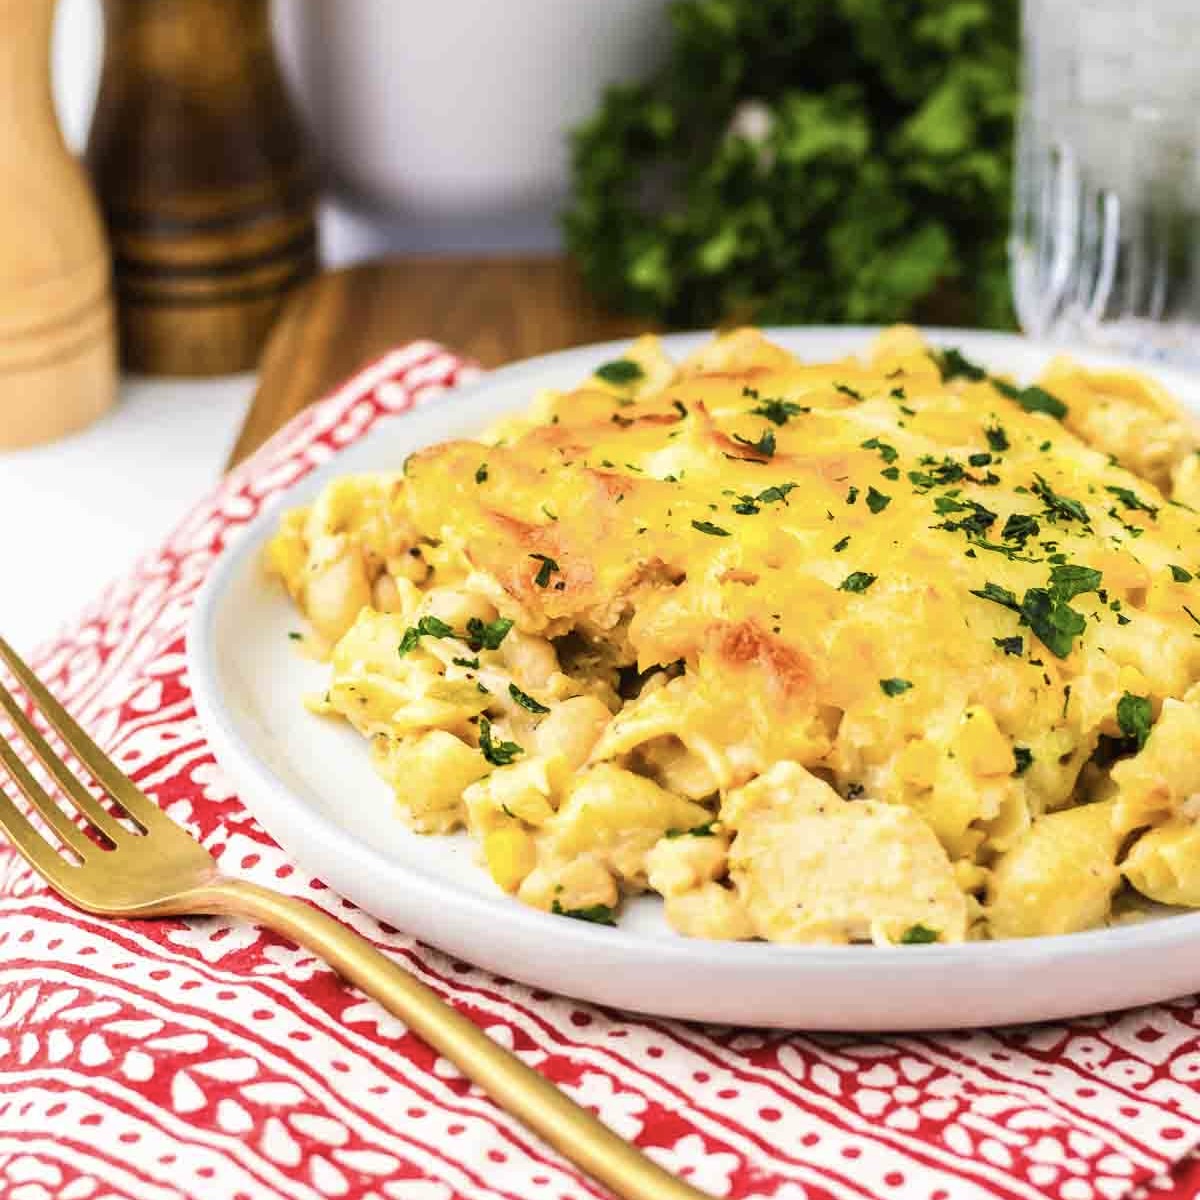
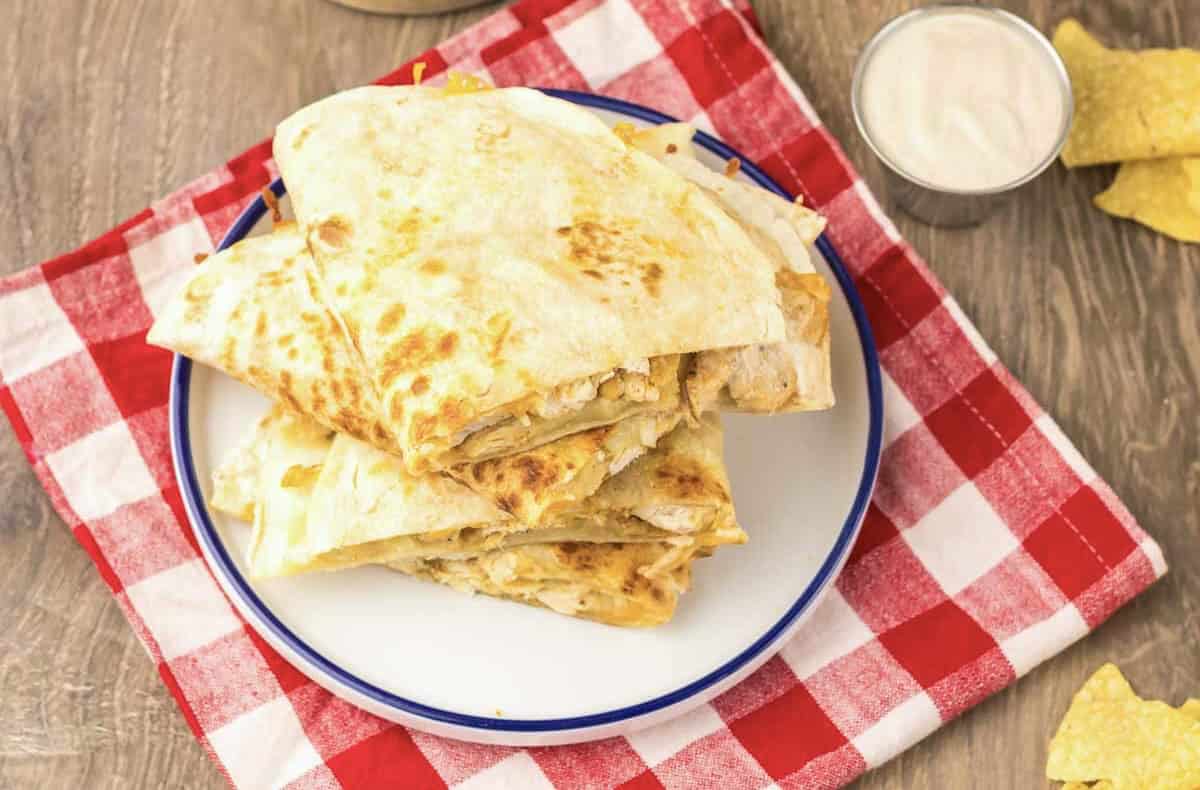
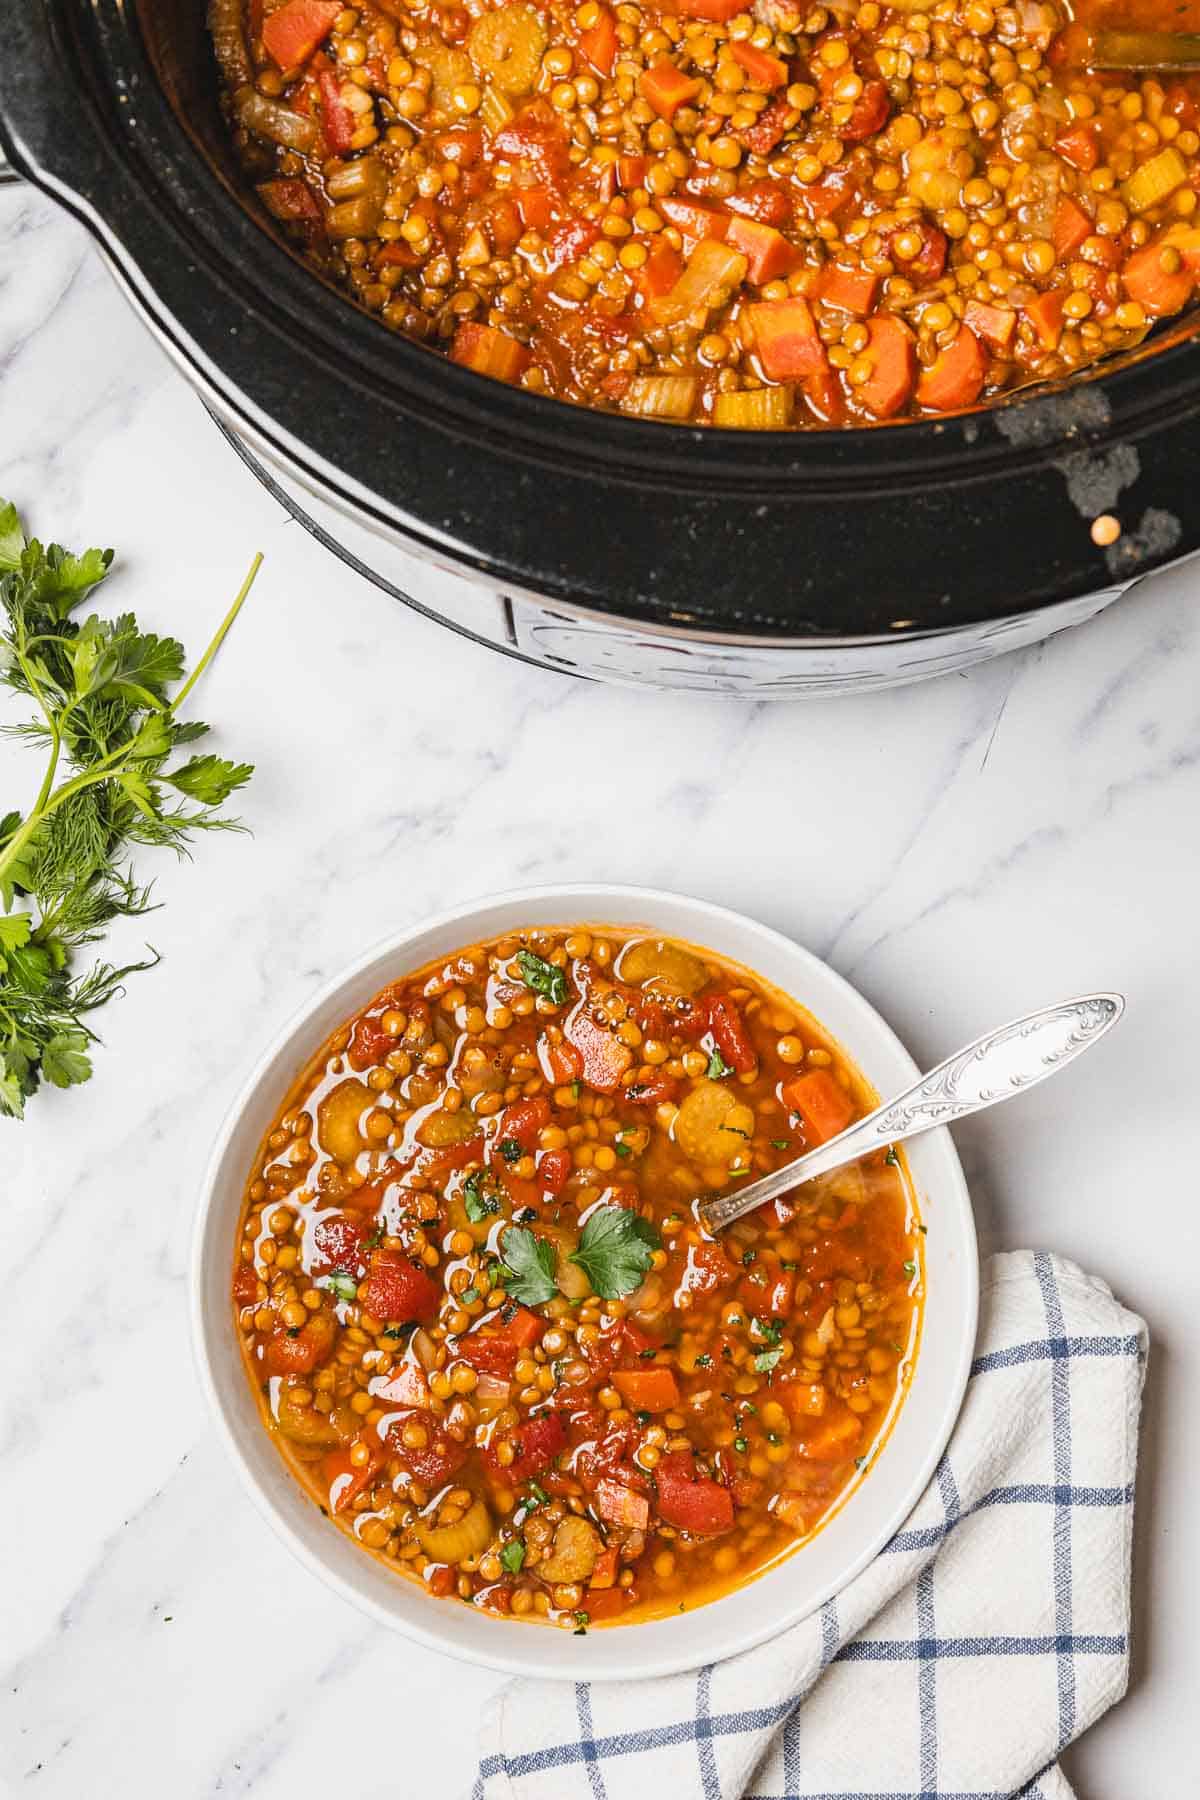
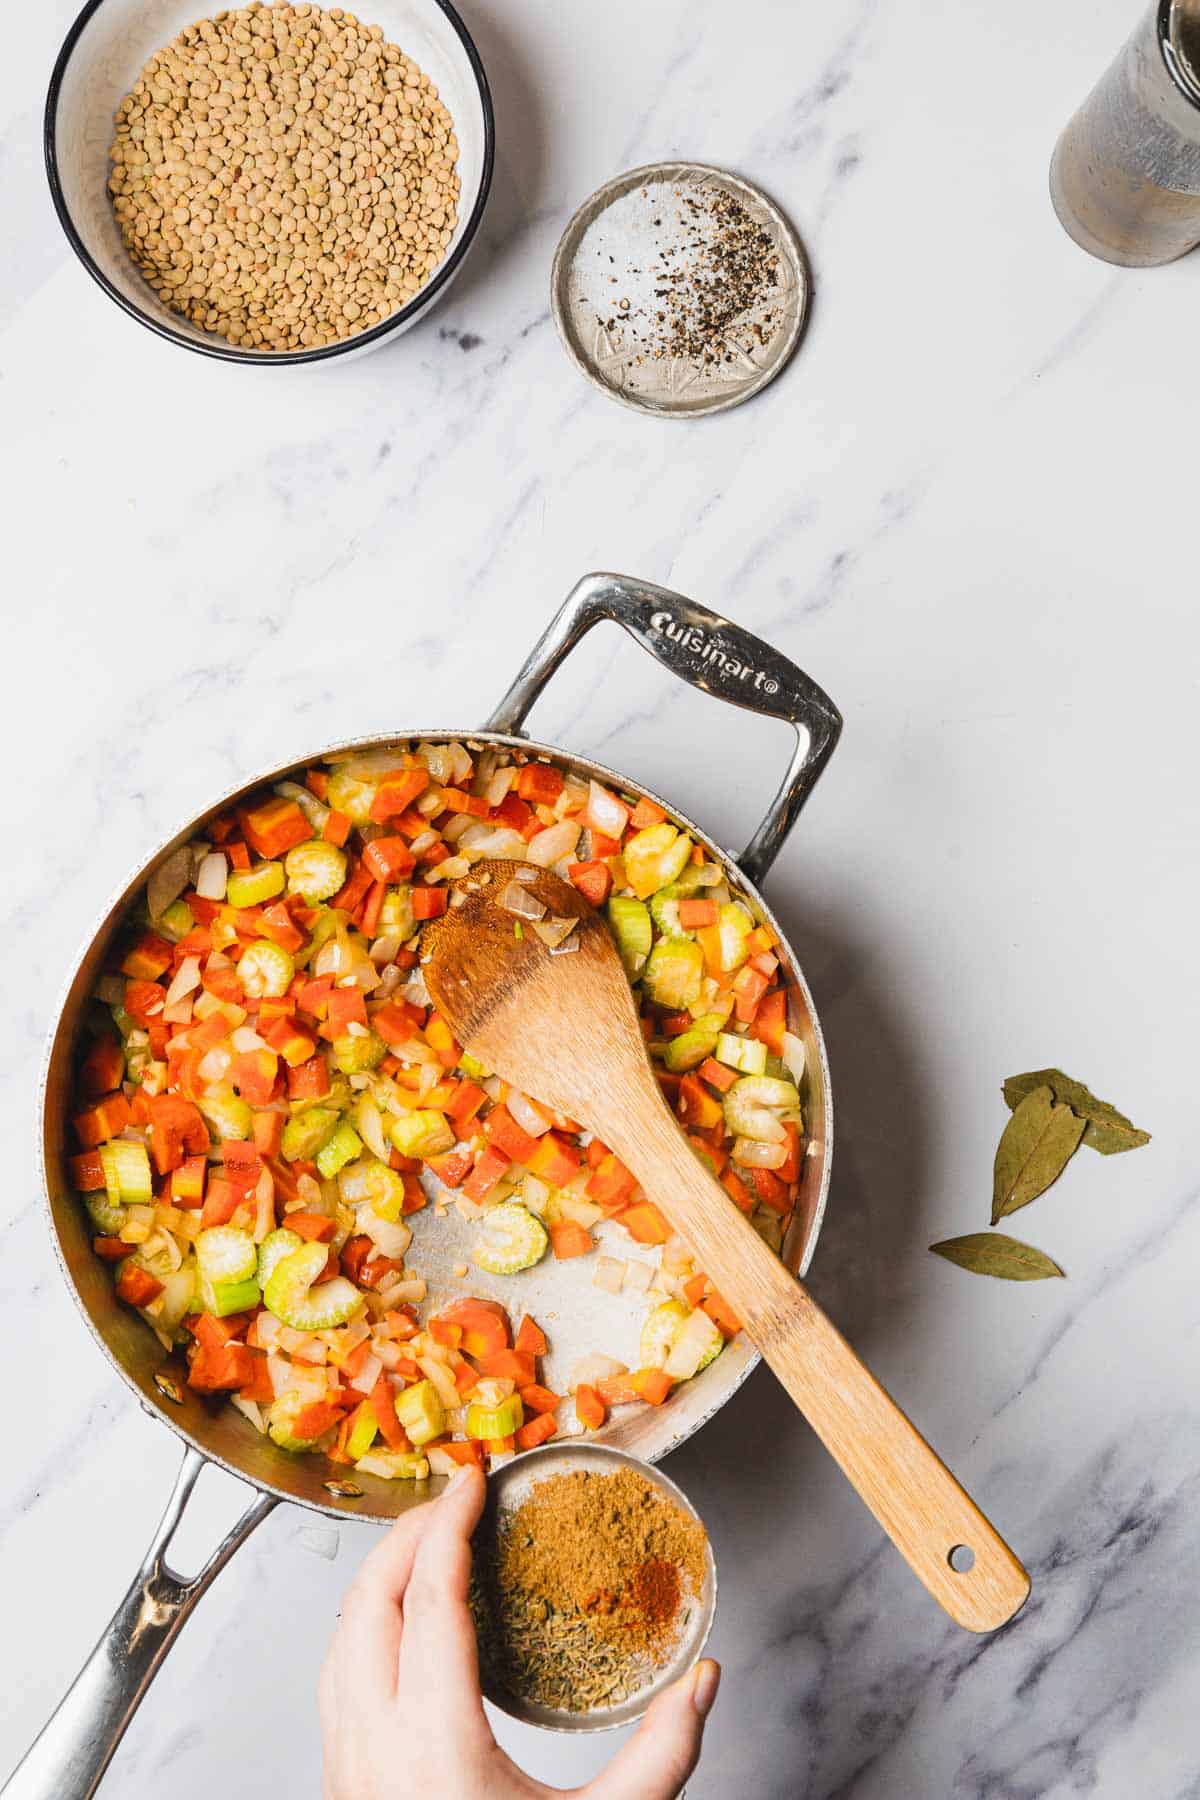
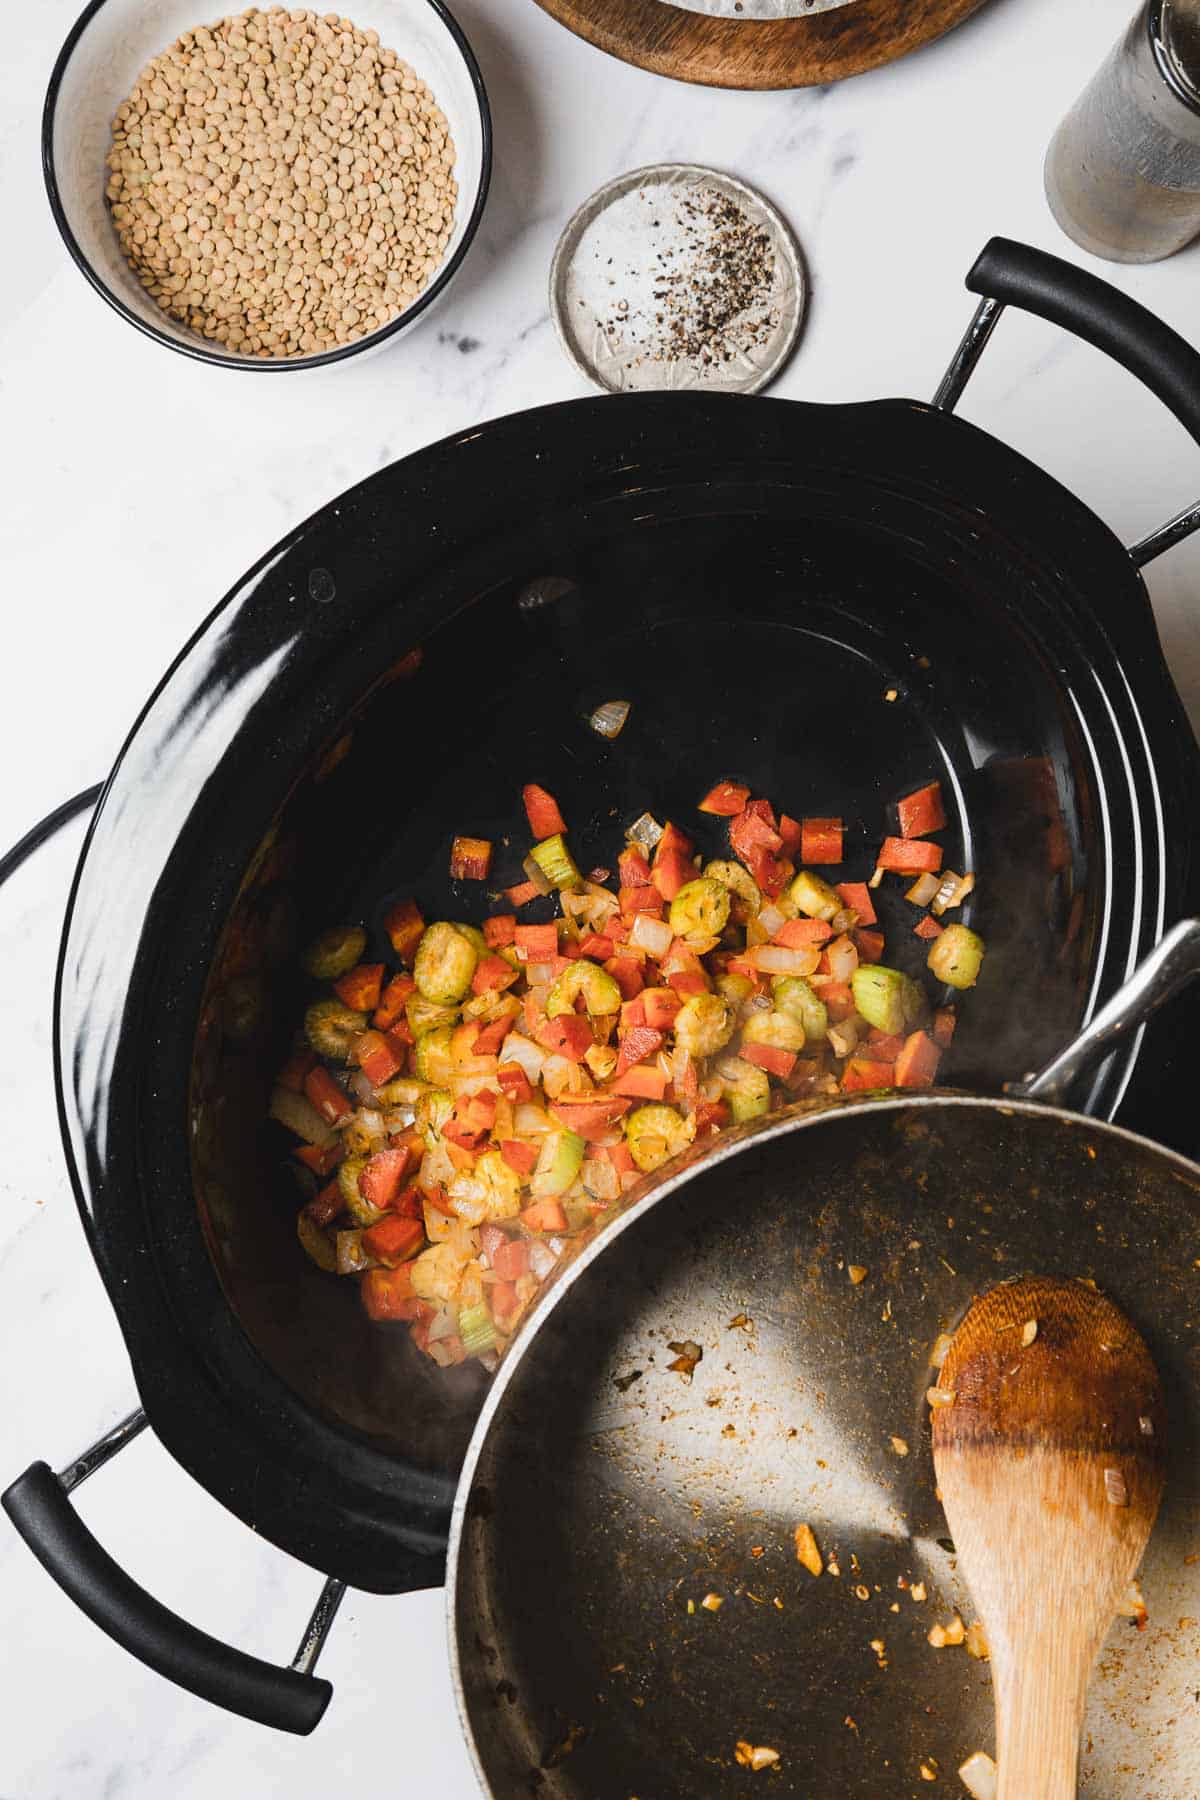
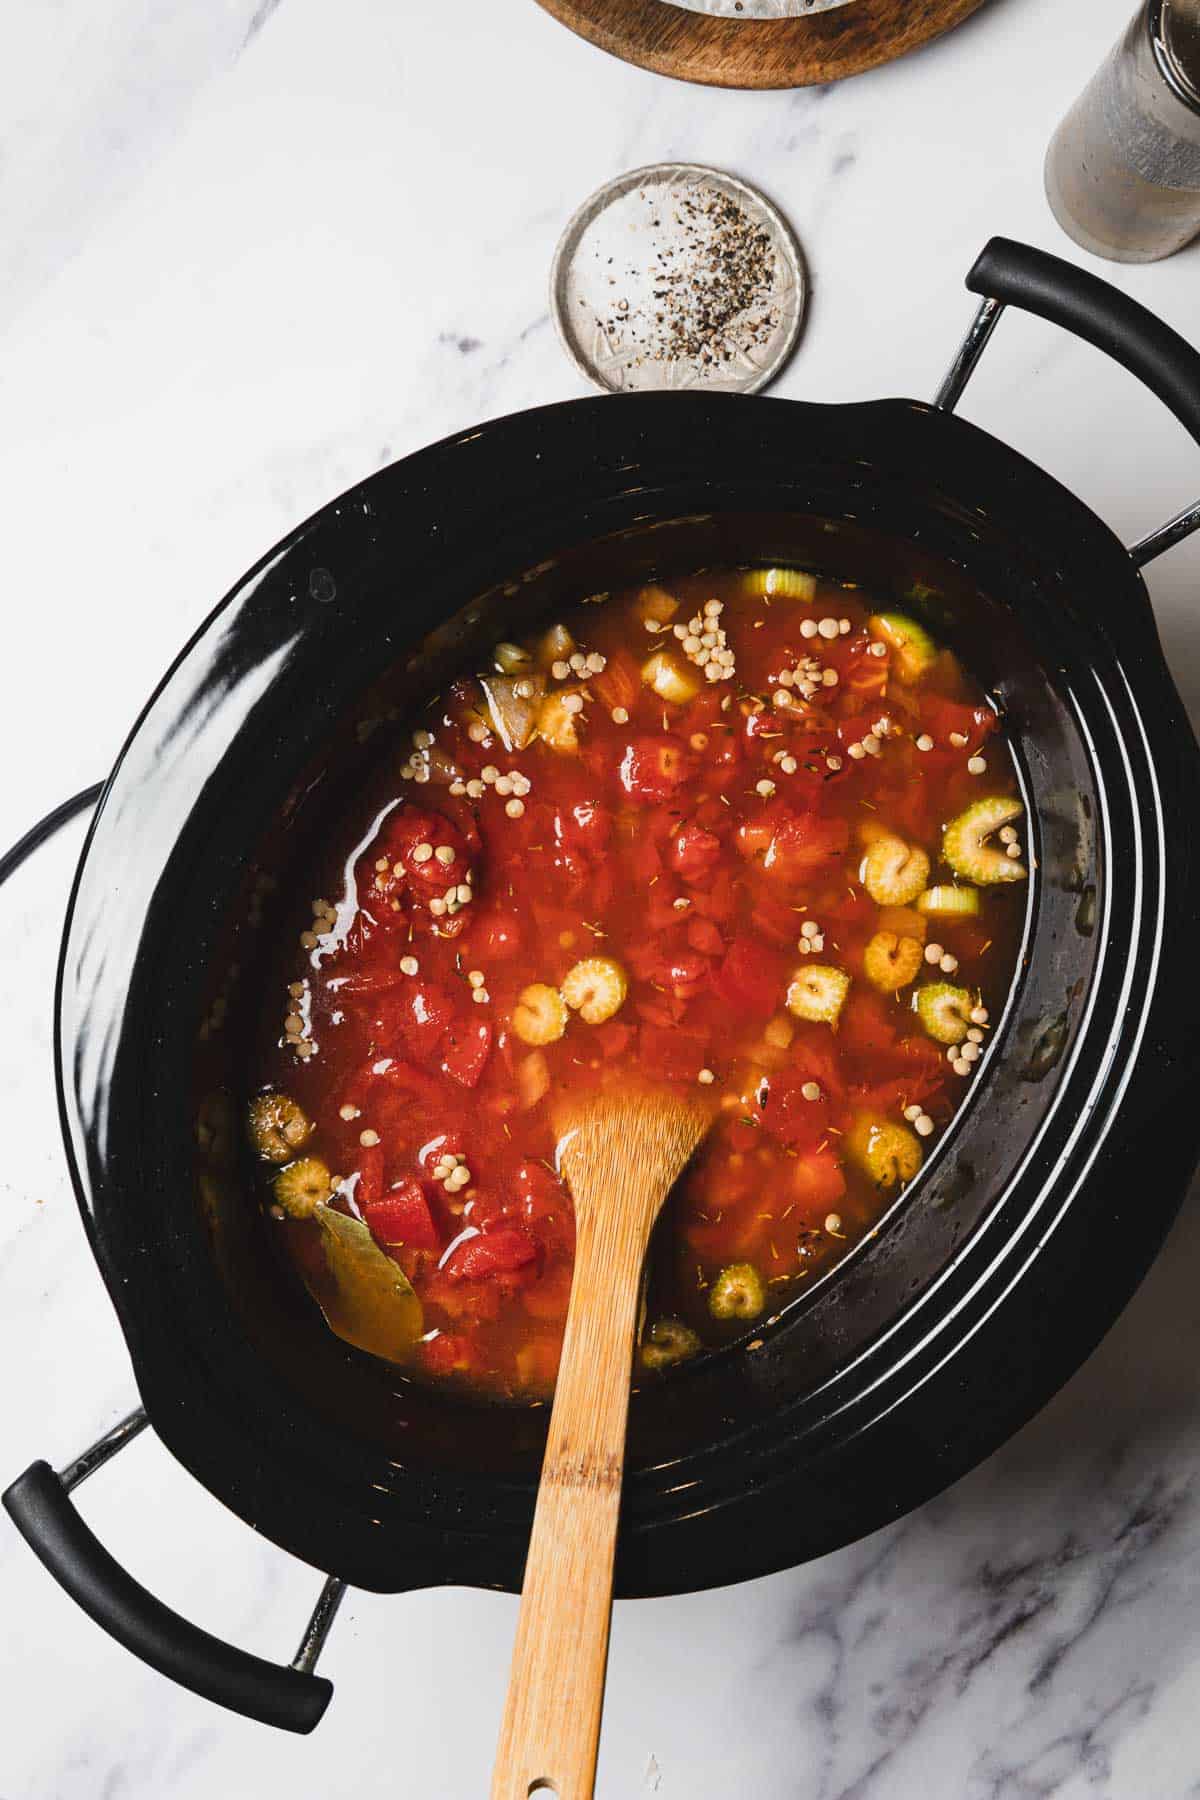
Classic King Ranch chicken casserole layered with corn tortillas, rotisserie chicken, Rotel, and sharp cheddar. Creamy, sliceable, and perfect for busy weeknights.

This king ranch chicken casserole is one of my favorite vintage recipes. It's actually a Tex-Mex casserole recipe from the '70s, and I instantly thought of this when I started utilizing rotisserie chicken in my recipes because it made the whole thing even easier.
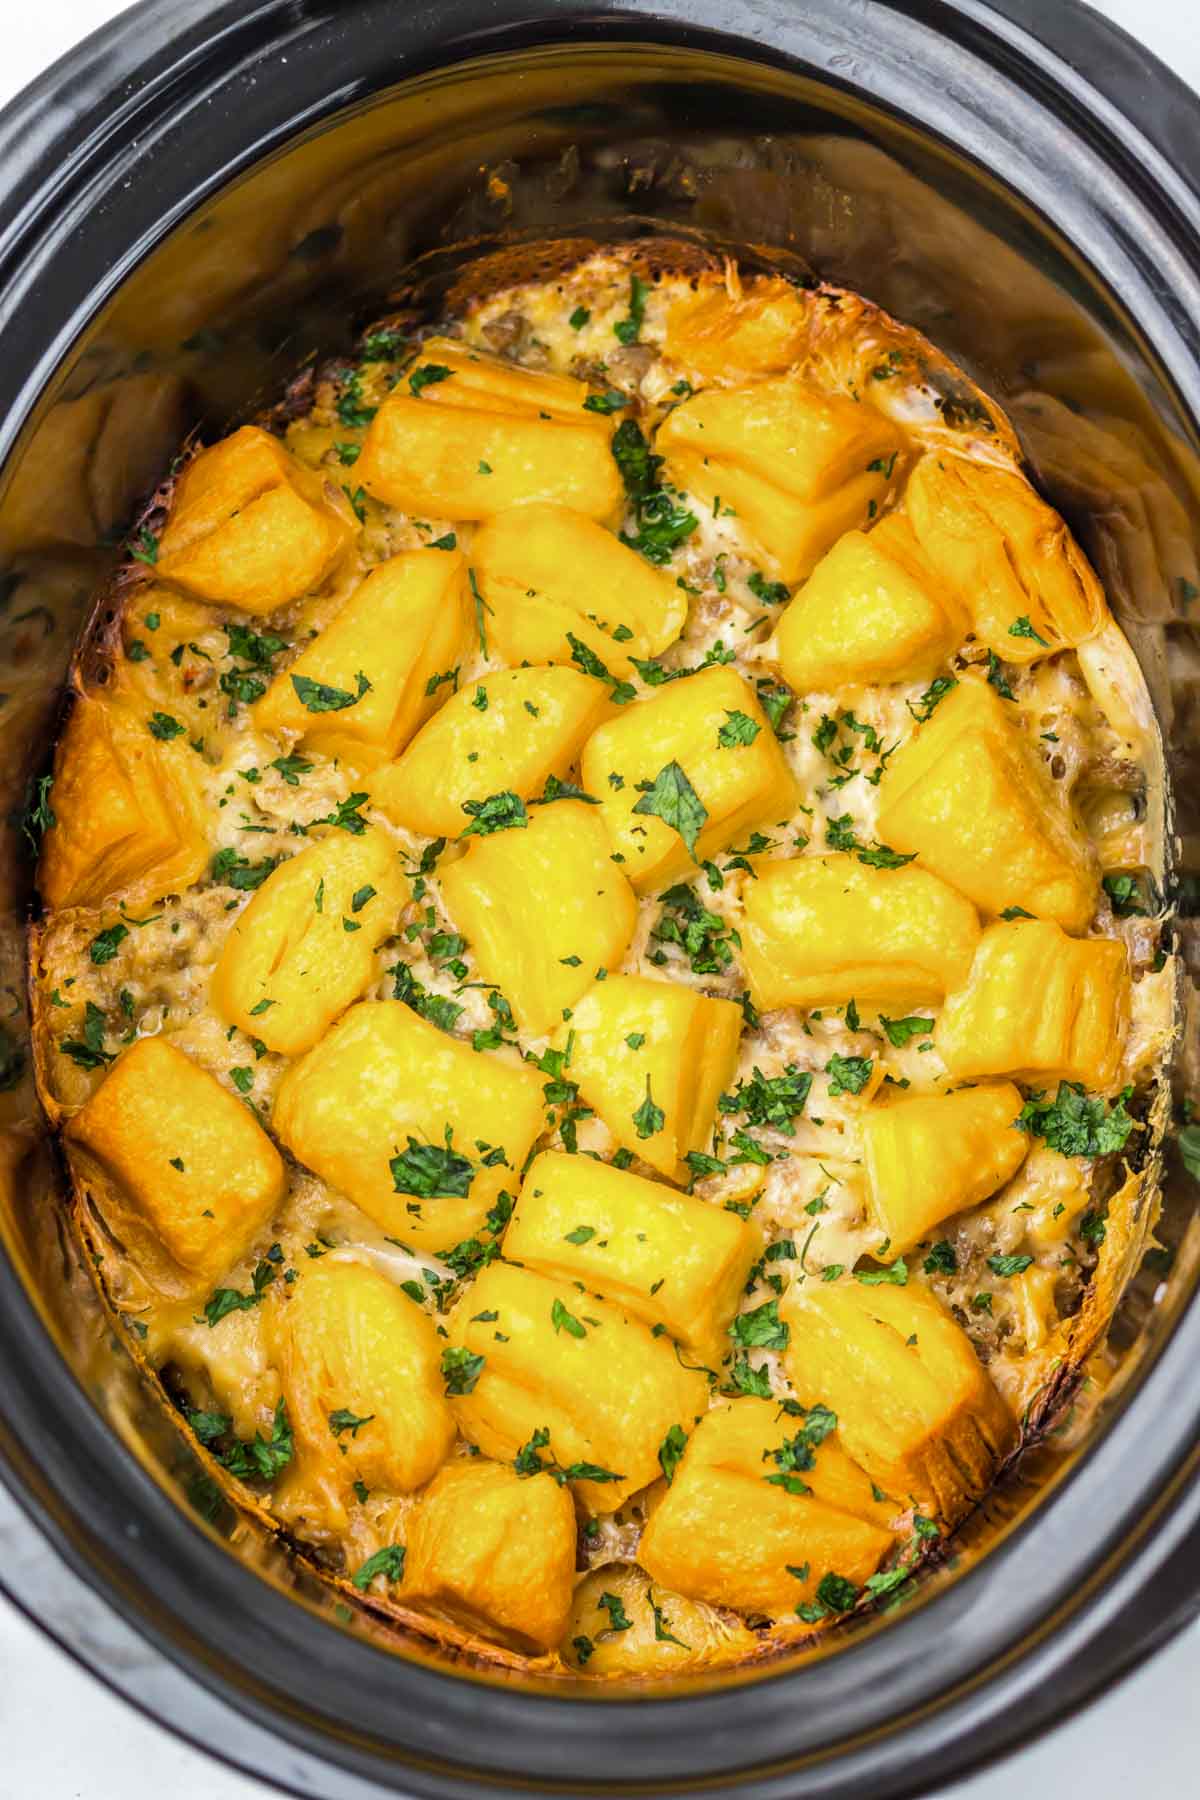
The reason this casserole holds together in perfect slices instead of becoming soupy in the oven is how the corn tortillas absorb liquid as they bake, acting like a structural layer that binds everything together.
Flour tortillas don't work the same way because they get gummy and pasty instead of softening into that cohesive texture, which I learned when I tried substituting them once and the whole thing turned into a sticky, unpleasant texture that nobody wanted to eat. The cream of chicken soup and Rotel create that rich base without needing to make sauce from scratch, and the Rotel's acidity cuts through the heaviness so it doesn't coat your mouth in a way that makes you stop eating after a few bites. The cheese needs to be sharp cheddar because mild cheddar gets lost in all the other flavors and you end up with something that tastes bland and one-dimensional instead of complex and satisfying.
What I love about this casserole is how the rotisserie chicken makes it so much more approachable for busy weeknights. Instead of having to poach or bake chicken separately, I just grab one from the store, shred it, and I'm already halfway done.
My family requests this constantly, and I make it especially when my parents are over. It's one of those retro recipes that actually lives up to the hype, and now I understand why people have been making this same casserole for decades without changing a thing.
If you want other vintage recipes that I swear by, try my slow cooker beef bourguignon, french onion chicken and rice casserole, and slow cooker turkey pot pie.
Ingredients
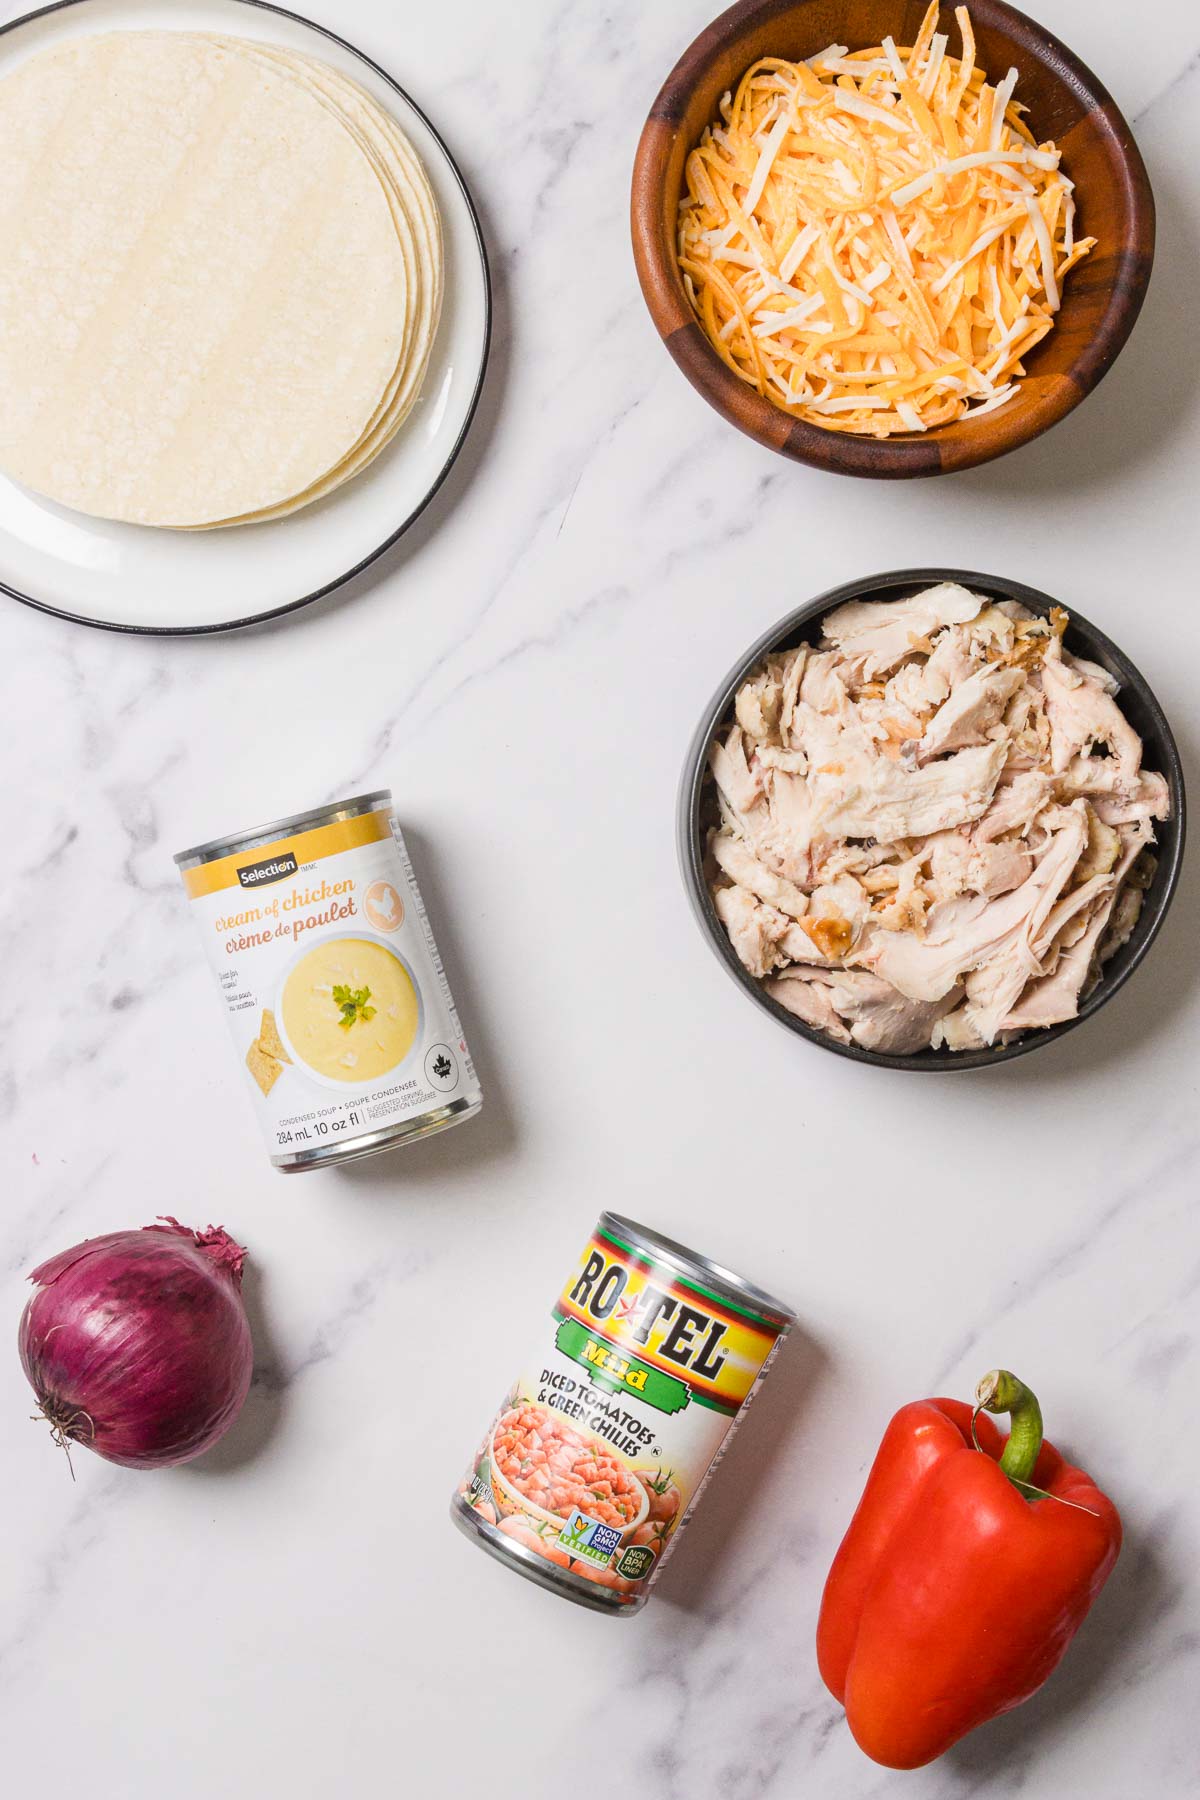
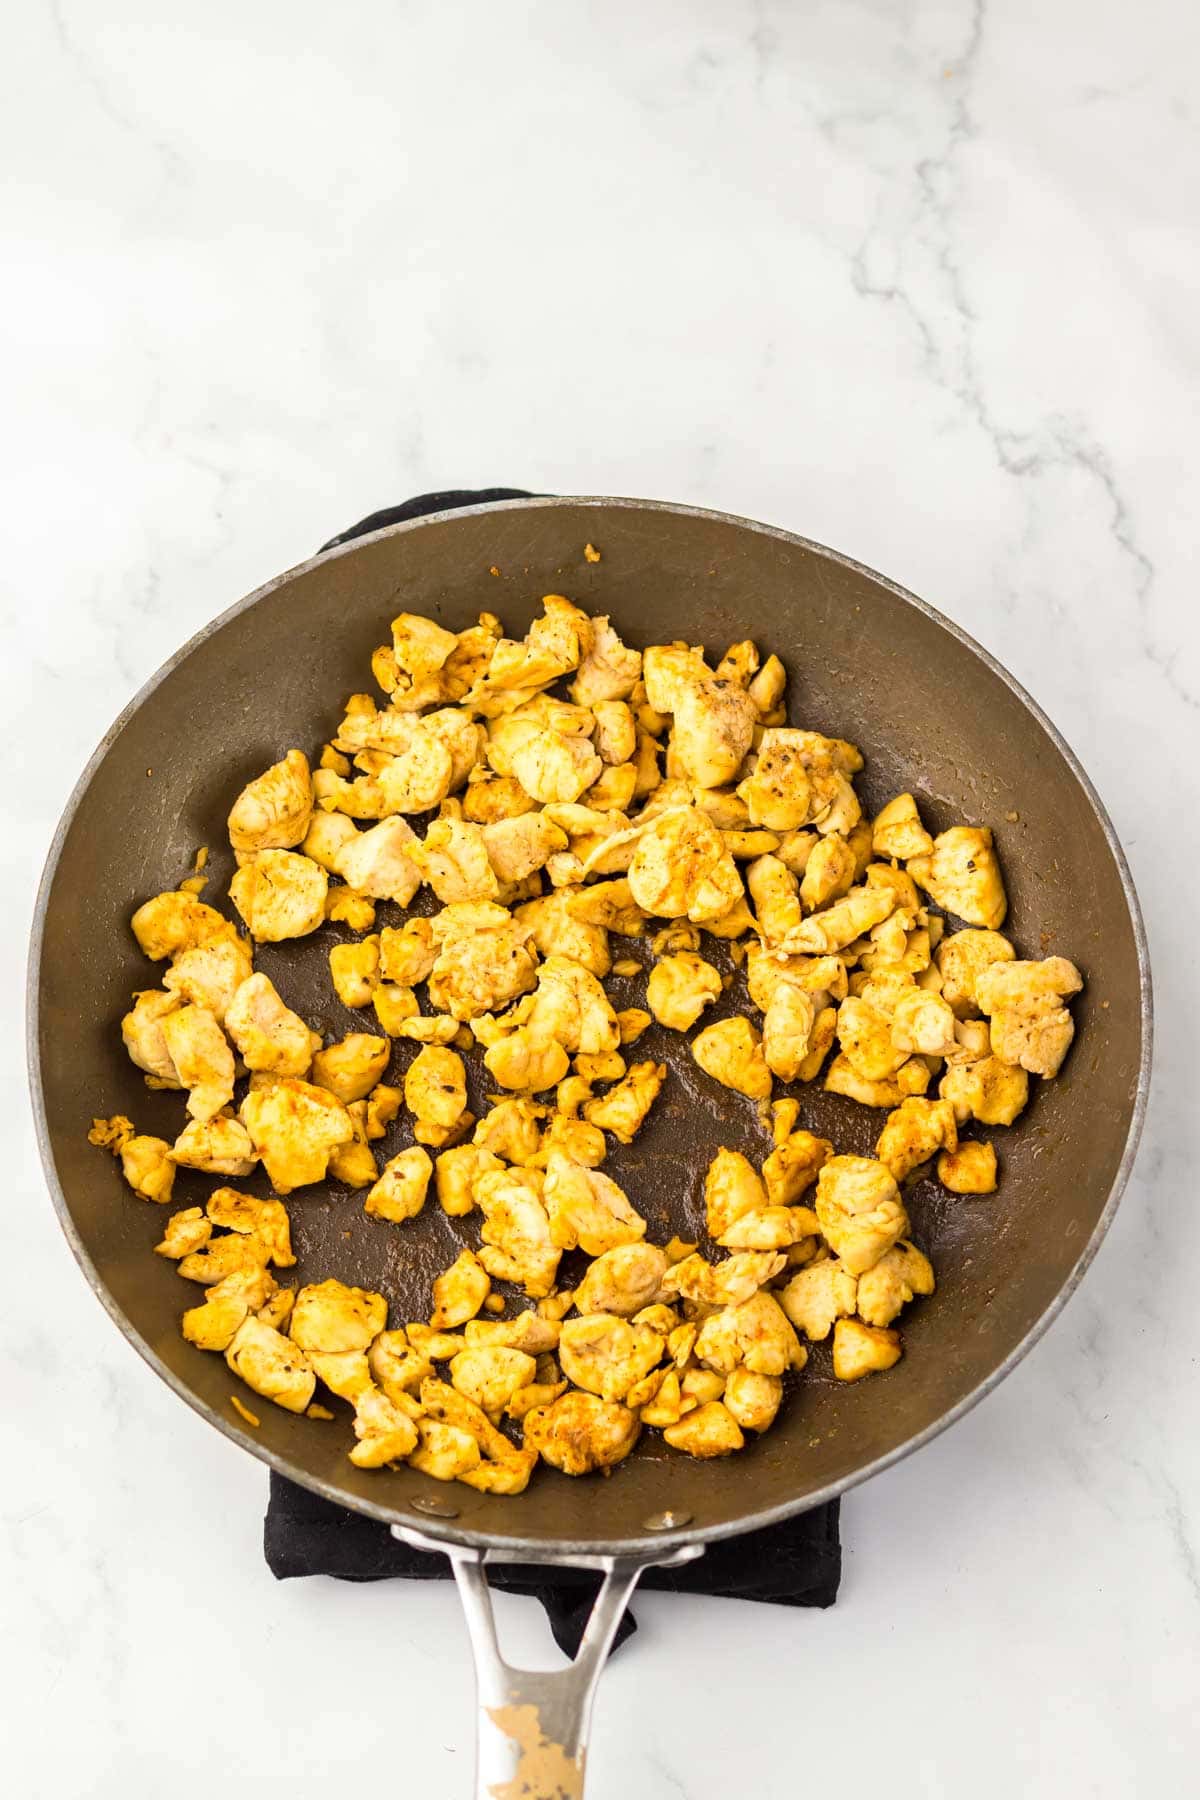
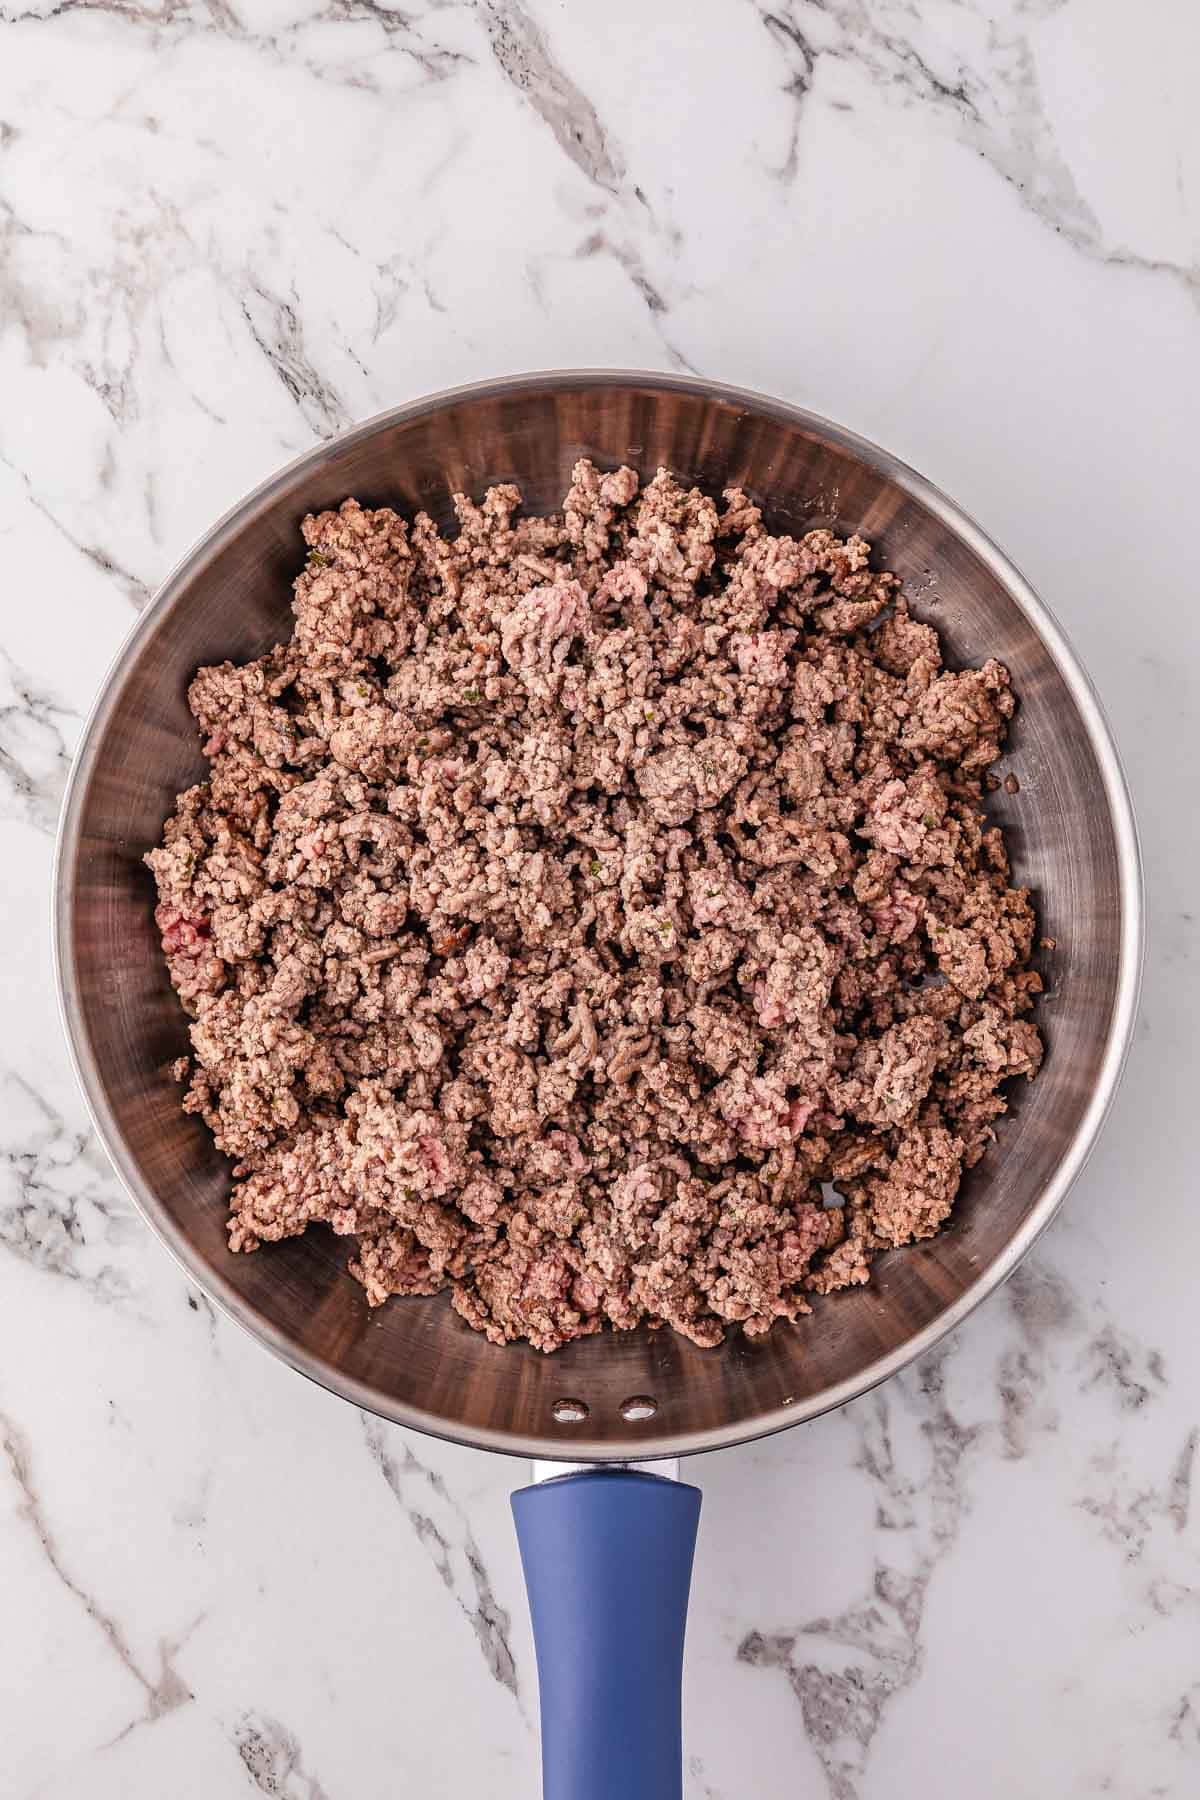
Shredded cooked chicken makes the base of this king ranch chicken casserole. Rotisserie chicken works especially well because it's already seasoned and stays moist during baking. If you're cooking chicken from scratch, don't overcook it since it'll bake again in the oven.
Corn tortillas are essential for the structure because they soften as they bake and soak up the creamy sauce, creating those classic layered slices. Flour tortillas can work in a pinch, but they turn softer and slightly gummy compared to corn.
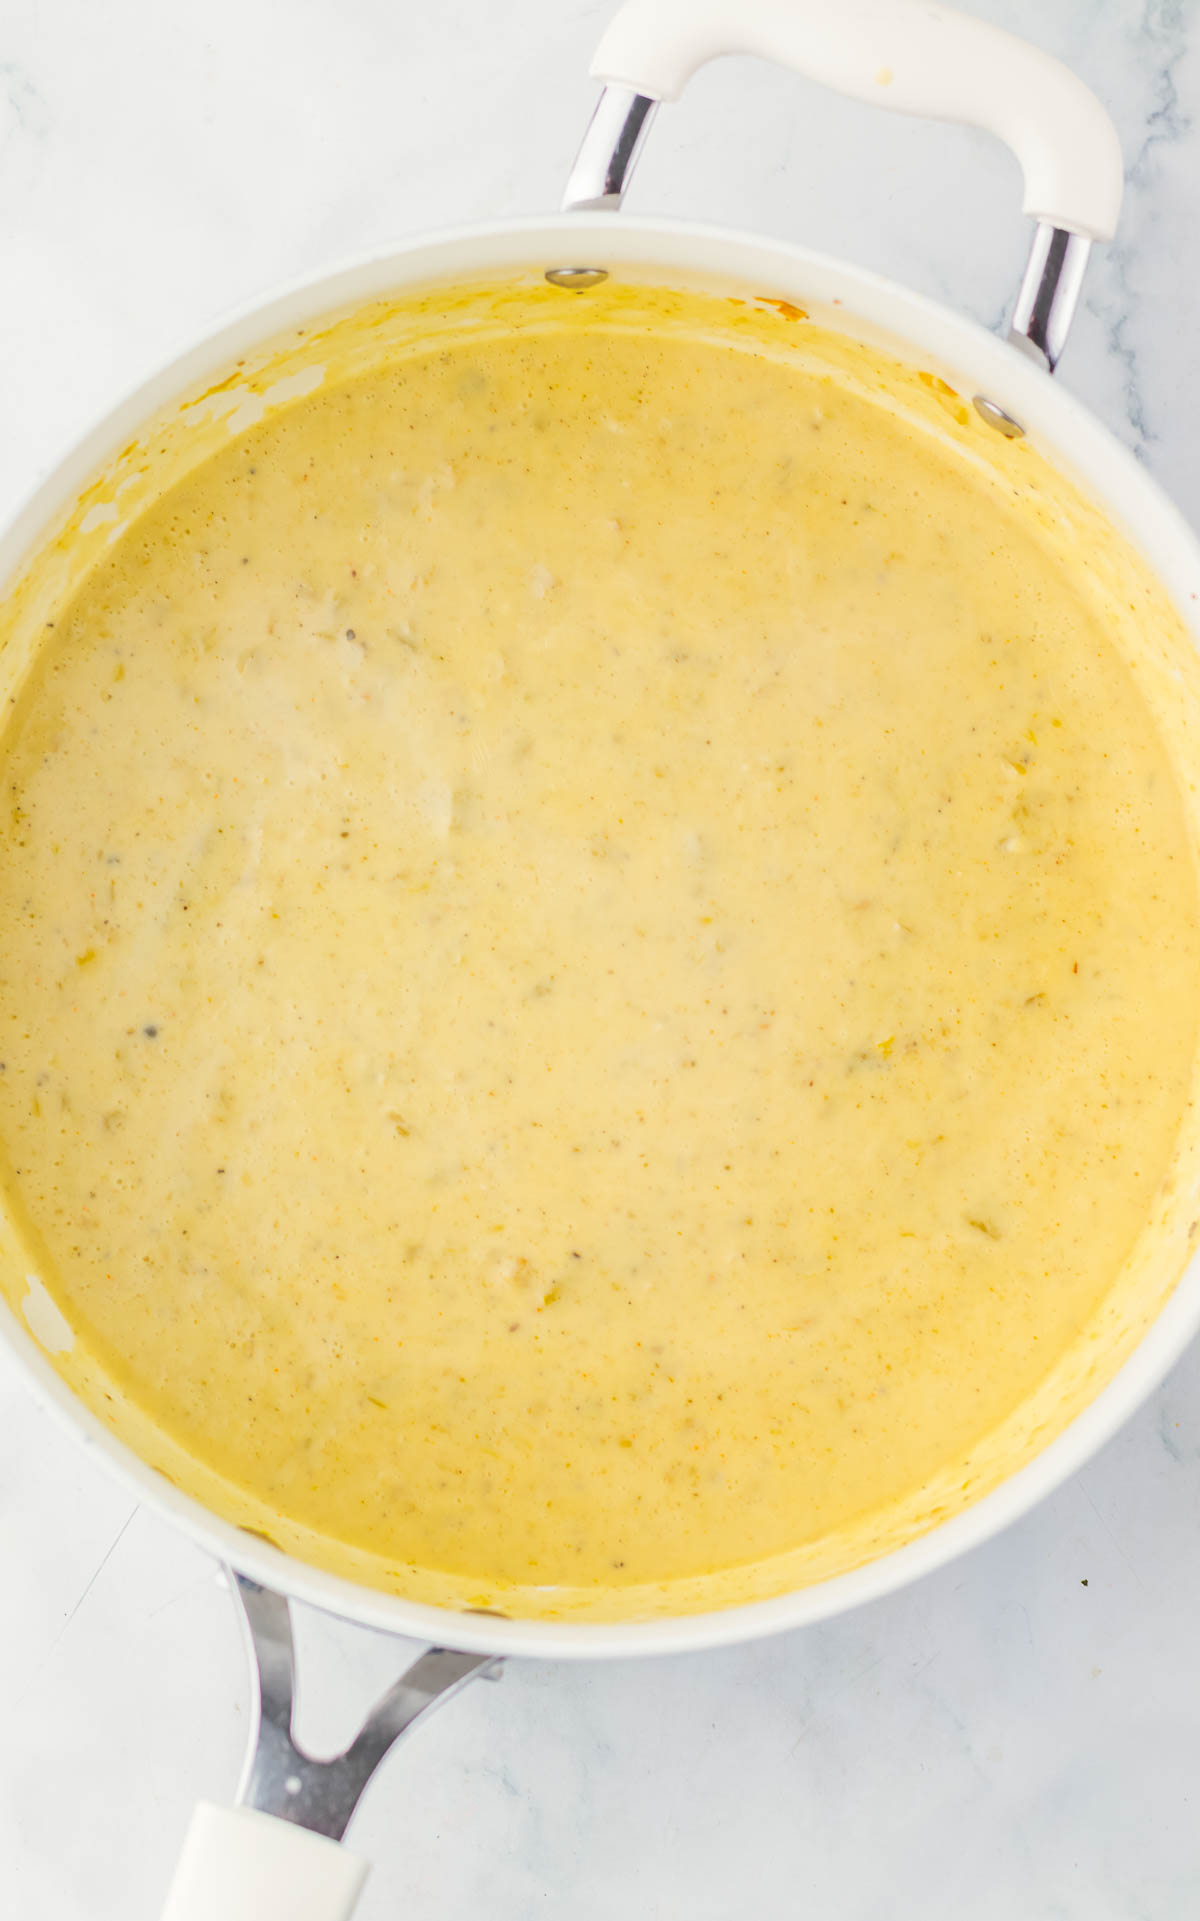
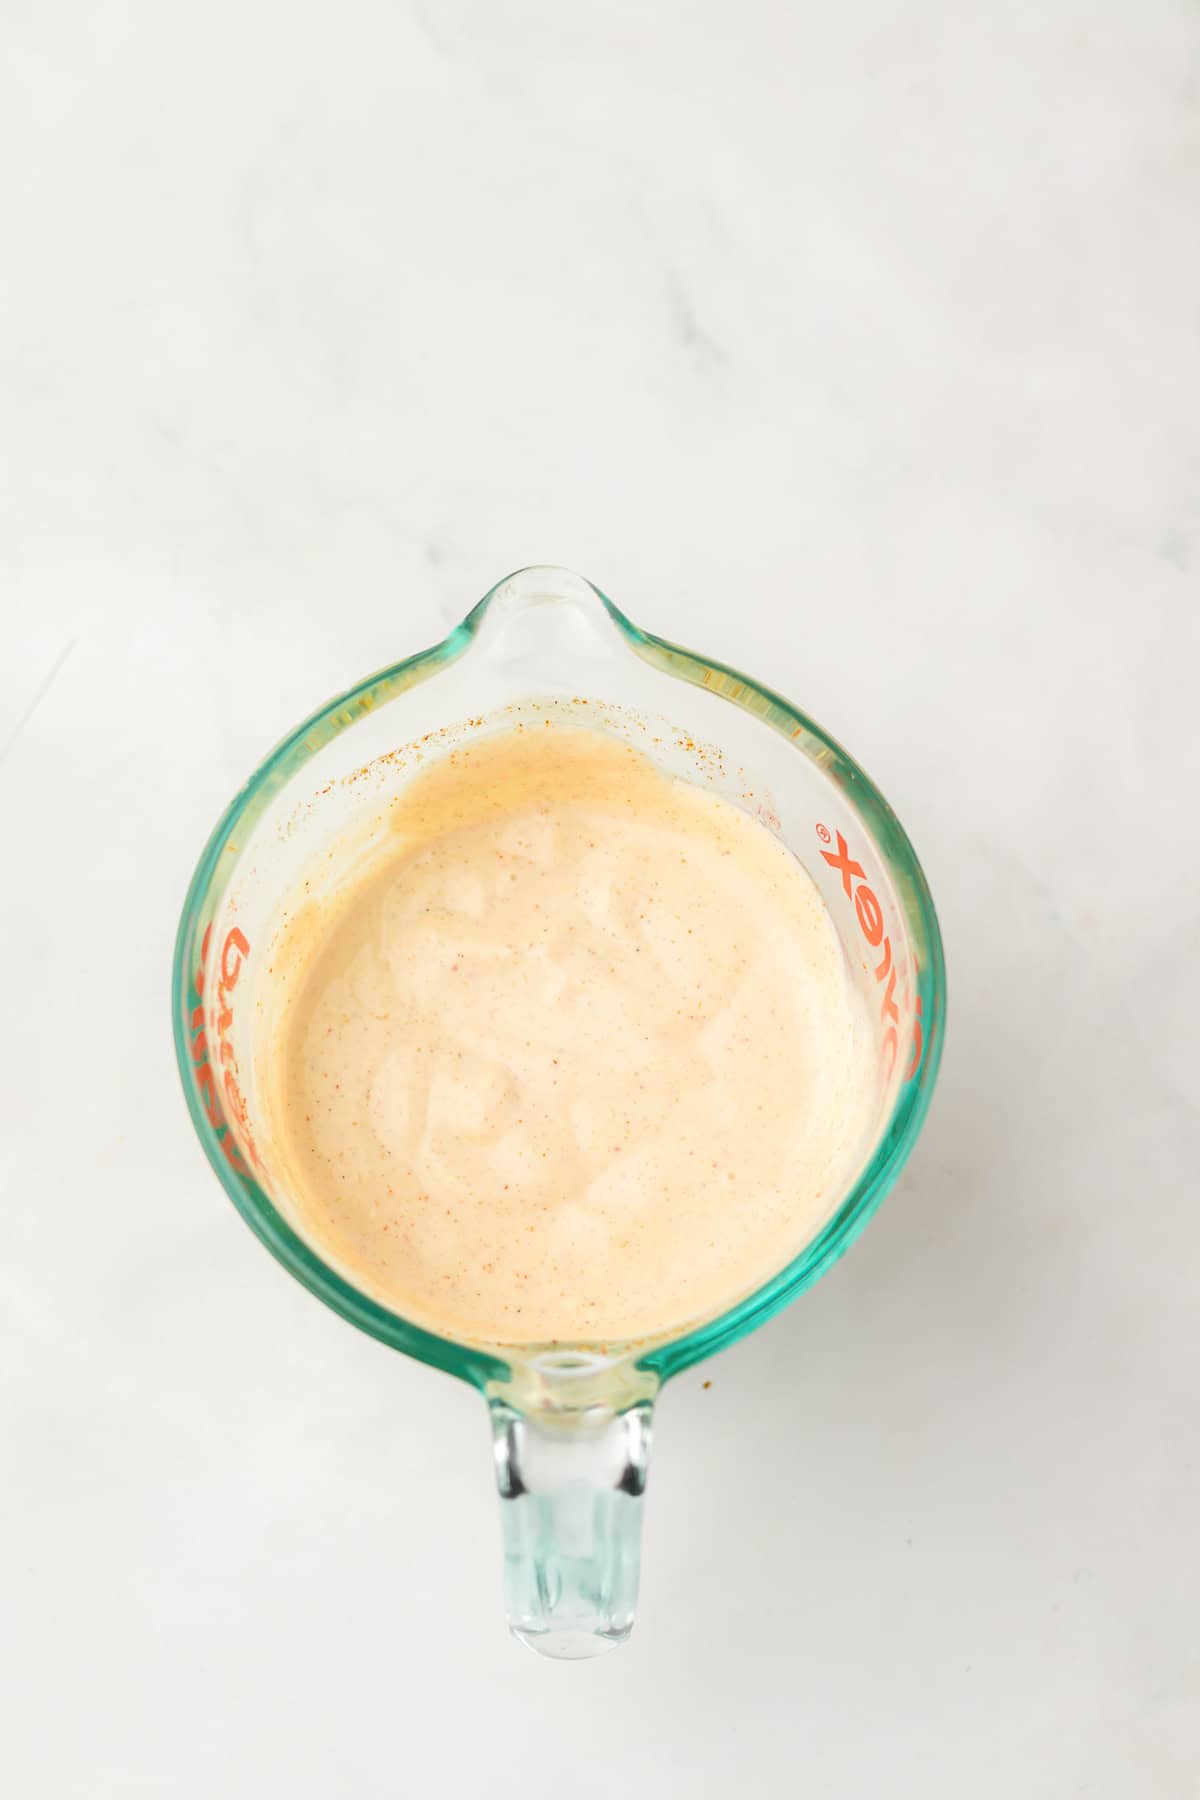
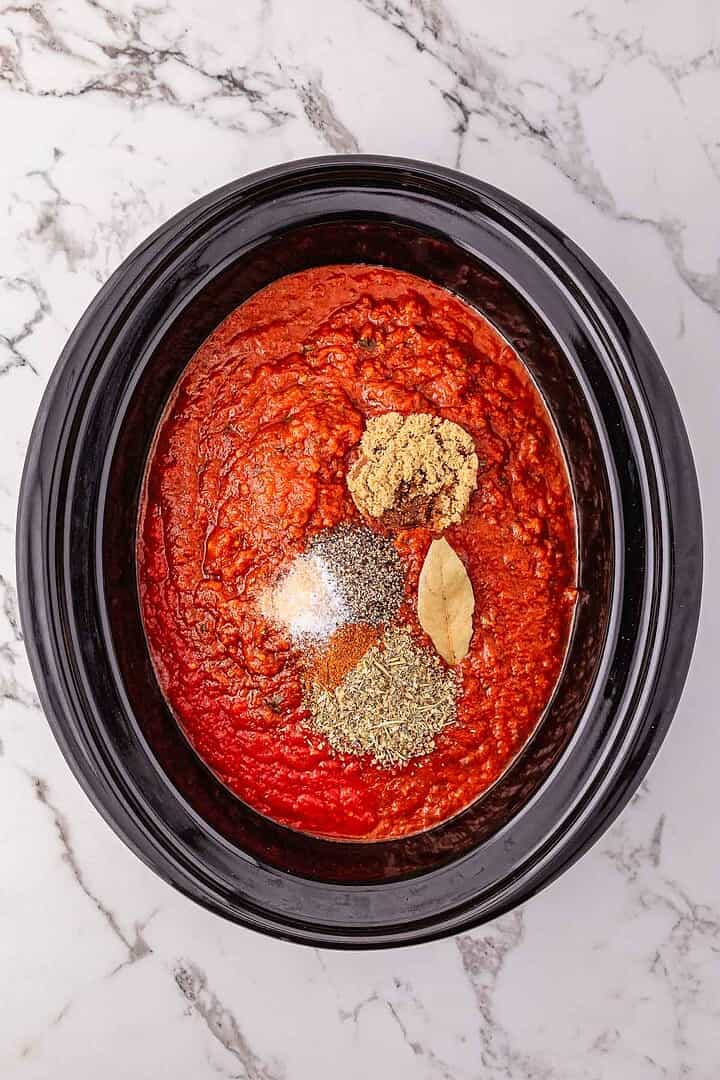
Cream of chicken soup and Rotel diced tomatoes with chilies create the creamy base. The soup makes that rich, cohesive sauce without extra steps, while Rotel adds acidity and mild heat. If you want less spice, go with a mild version.
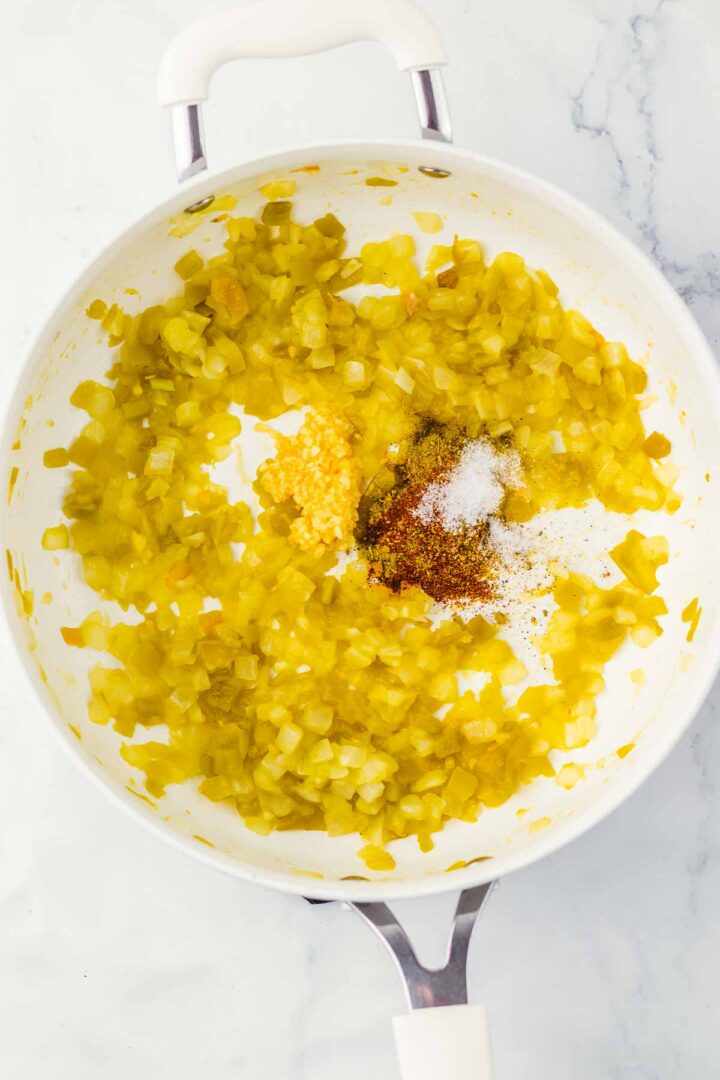
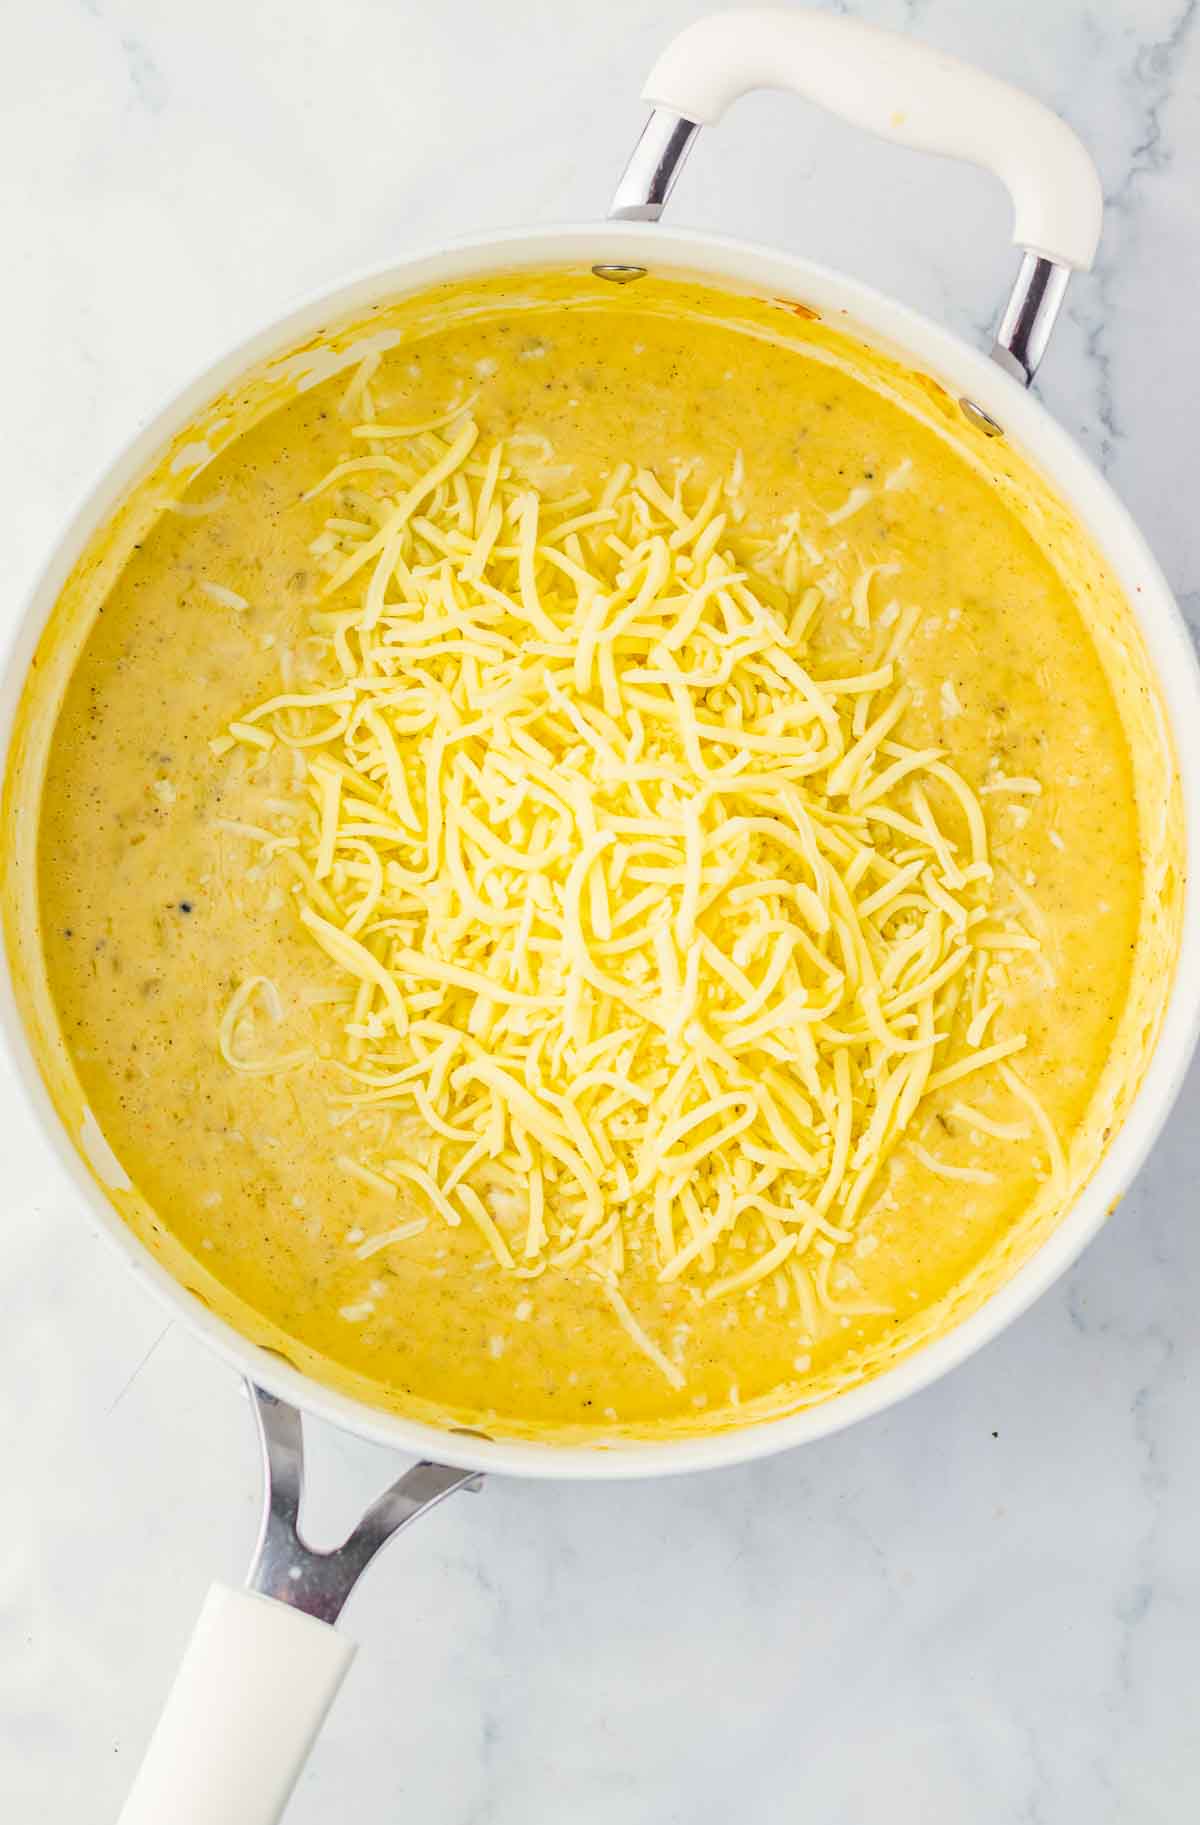
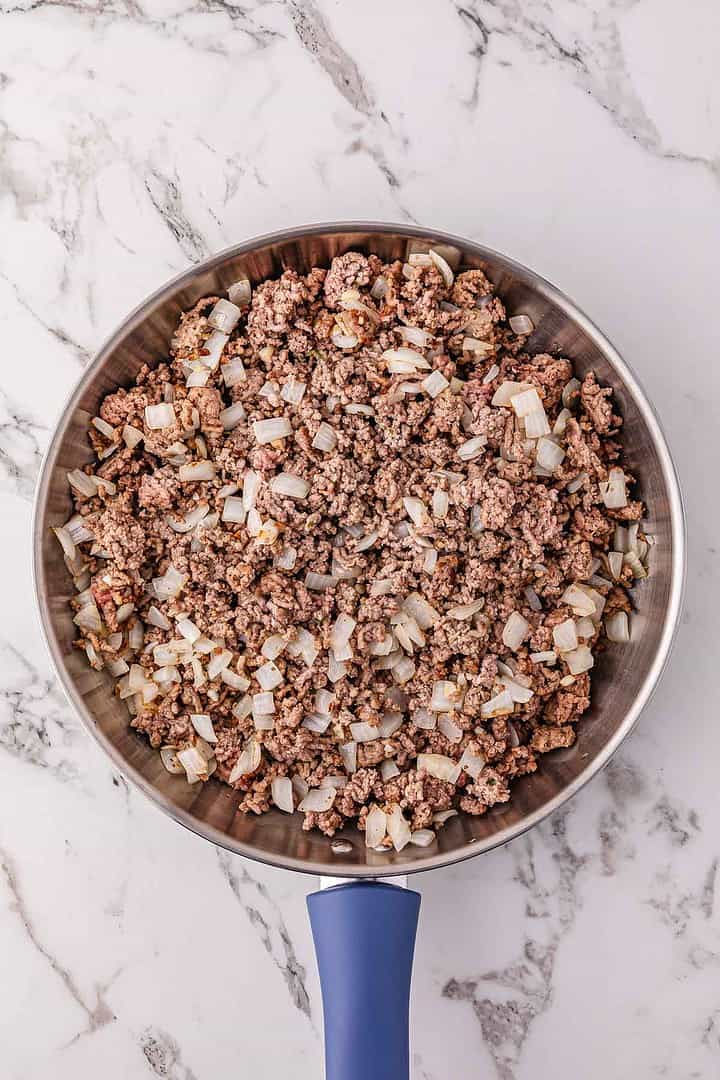
Sharp cheddar cheese melts smoothly and adds bold flavor to every layer. Diced onion and bell pepper add texture and keep the casserole from feeling too heavy or one-note.
See the recipe card for exact quantities.
How to Make King Ranch Chicken Casserole?

This king ranch chicken casserole comes together in simple layers and bakes into a creamy, cheesy dish that slices easily and serves well for a crowd.
Prep the Oven and Baking Dish
Preheat your oven to 350°F. Lightly grease a 9x13-inch baking dish with nonstick spray or a thin layer of oil. This helps prevent sticking and makes serving easier.
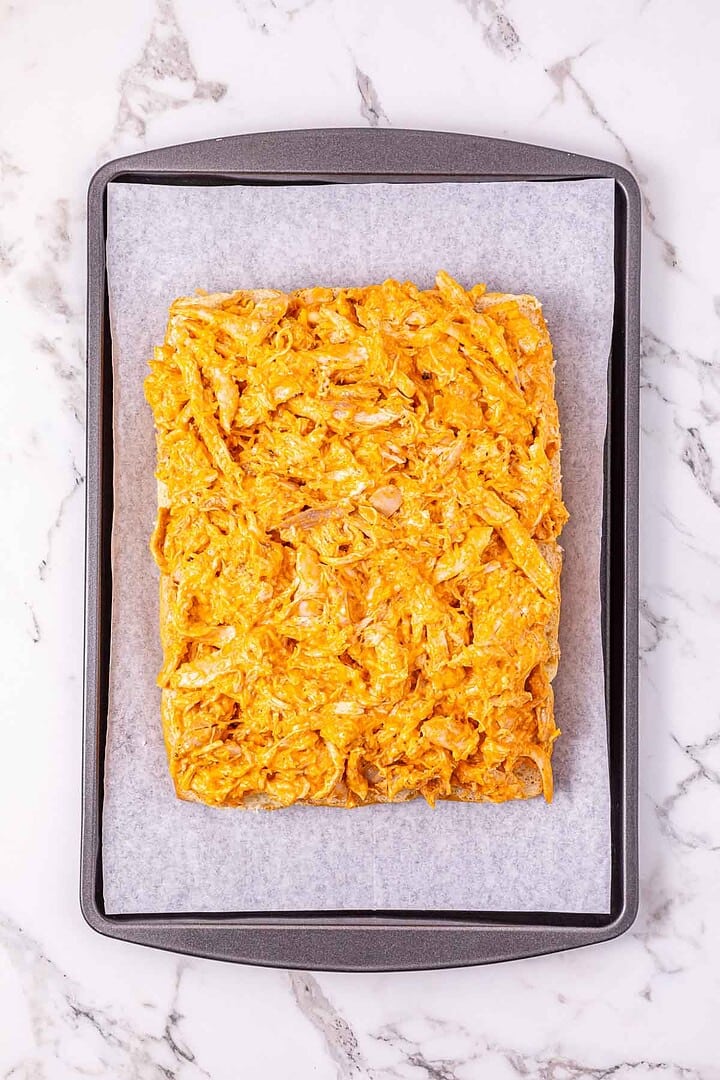
Start the First Layer

Spread half of the cut corn tortilla strips evenly across the bottom of the prepared baking dish. Try to cover the base as evenly as possible so each bite has structure.
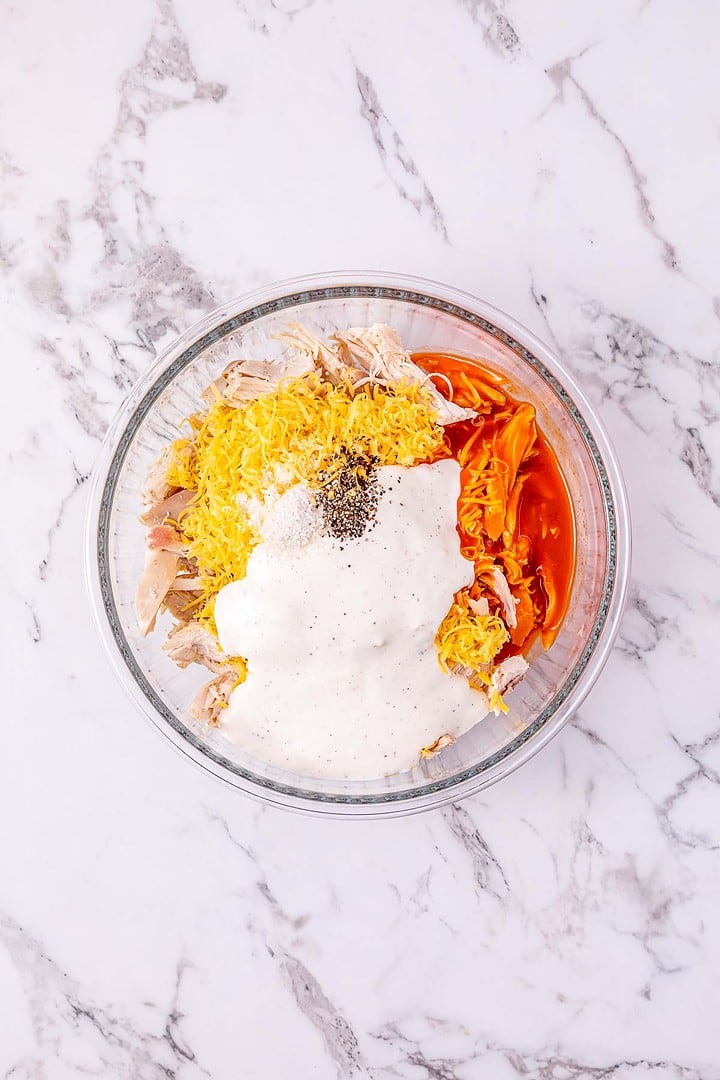
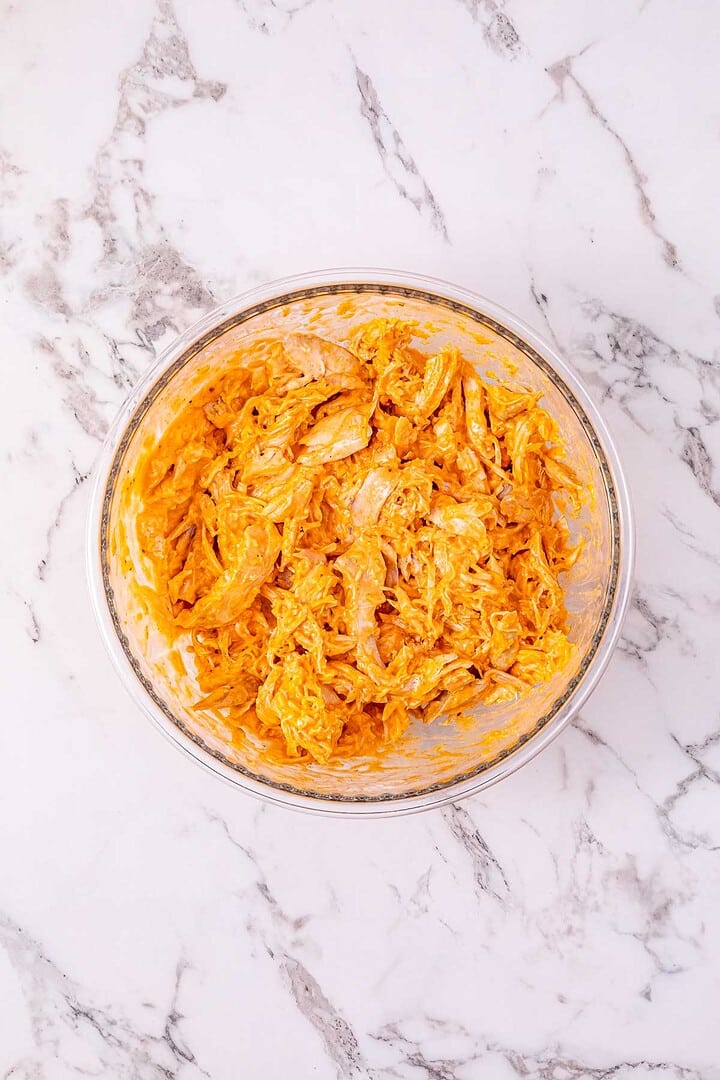
Mix the Filling

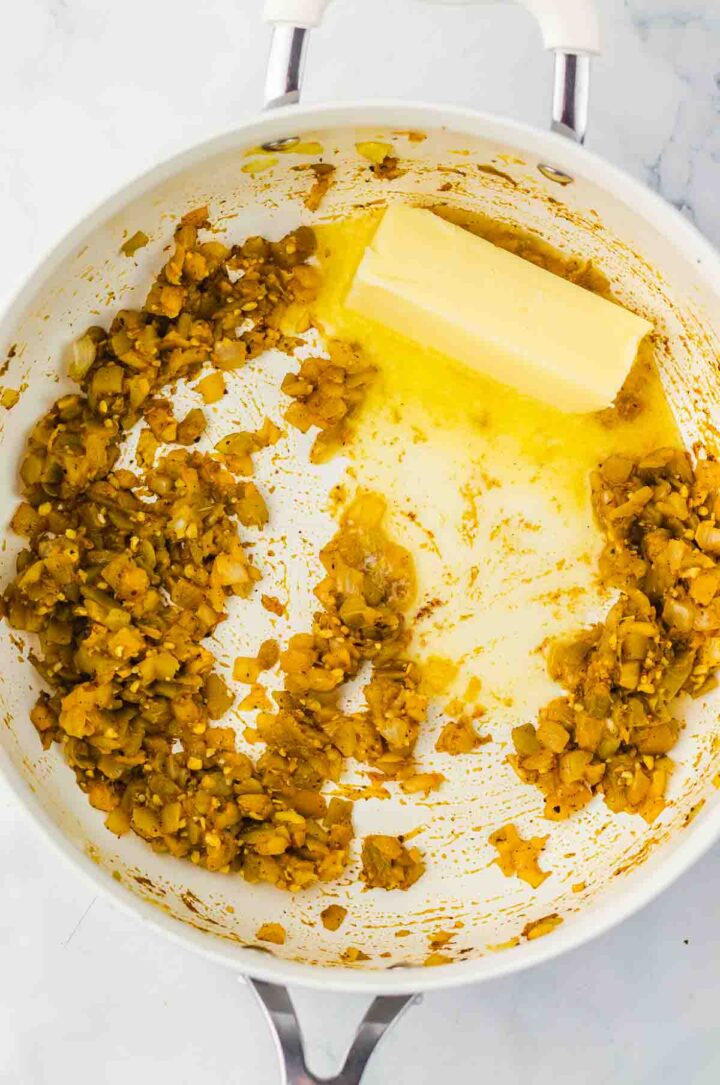
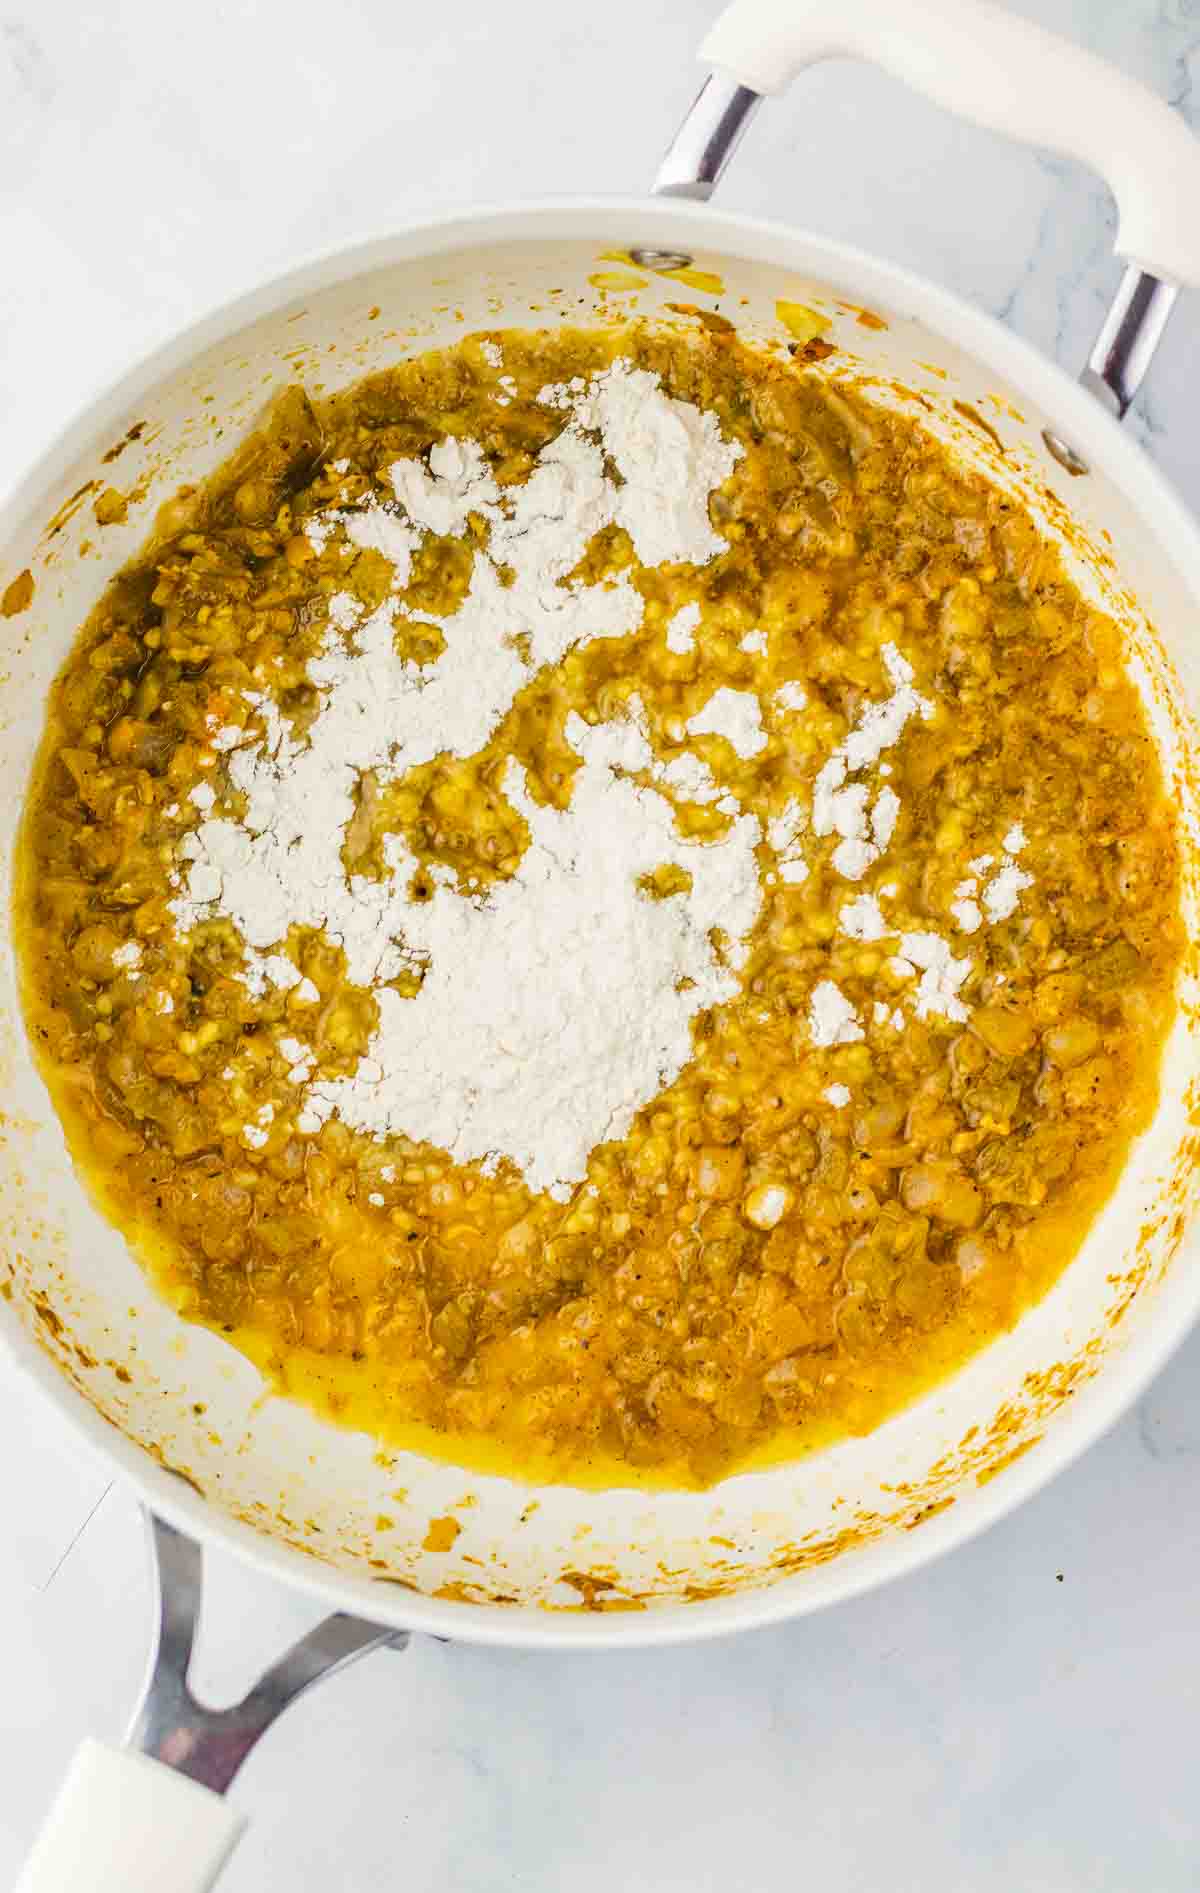
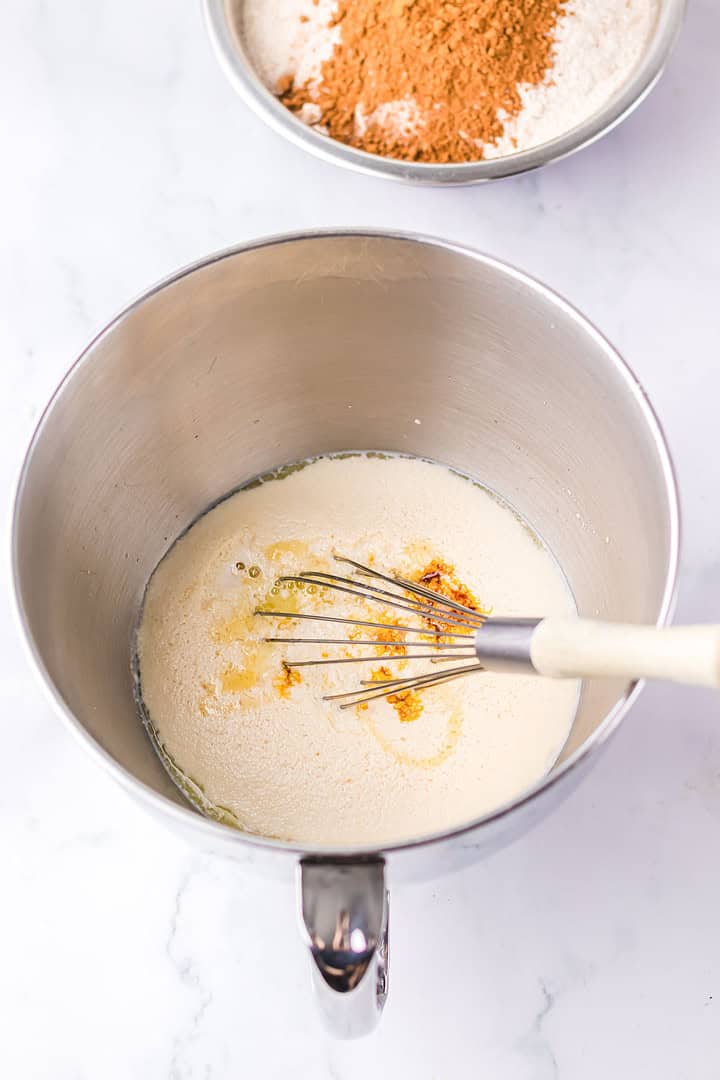
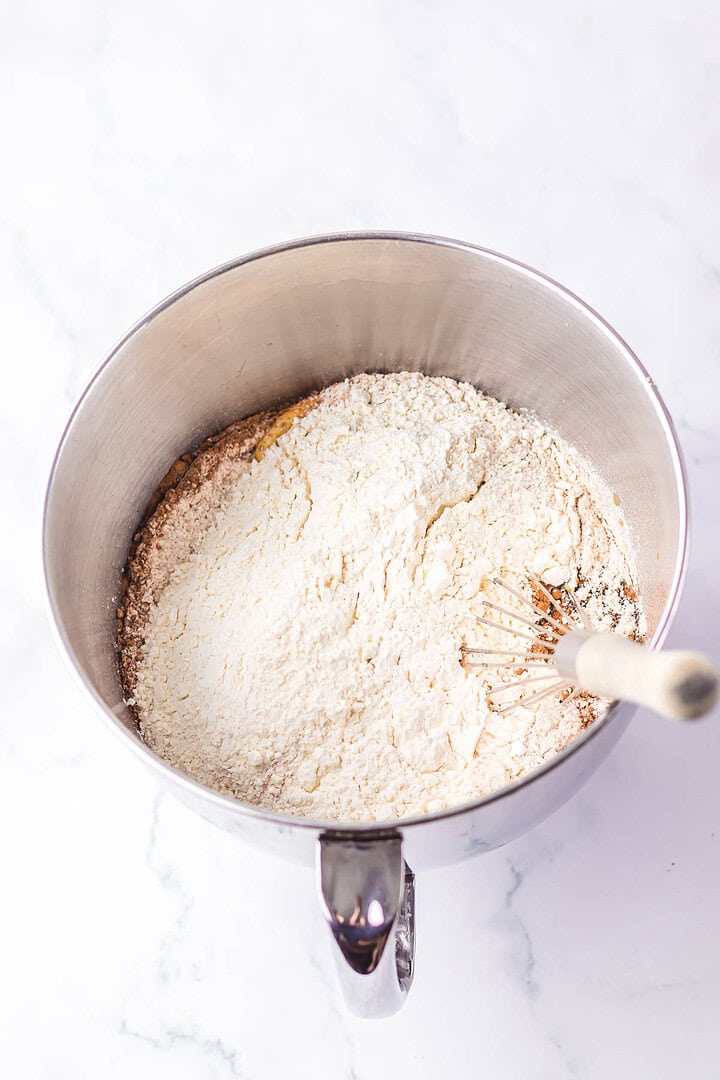
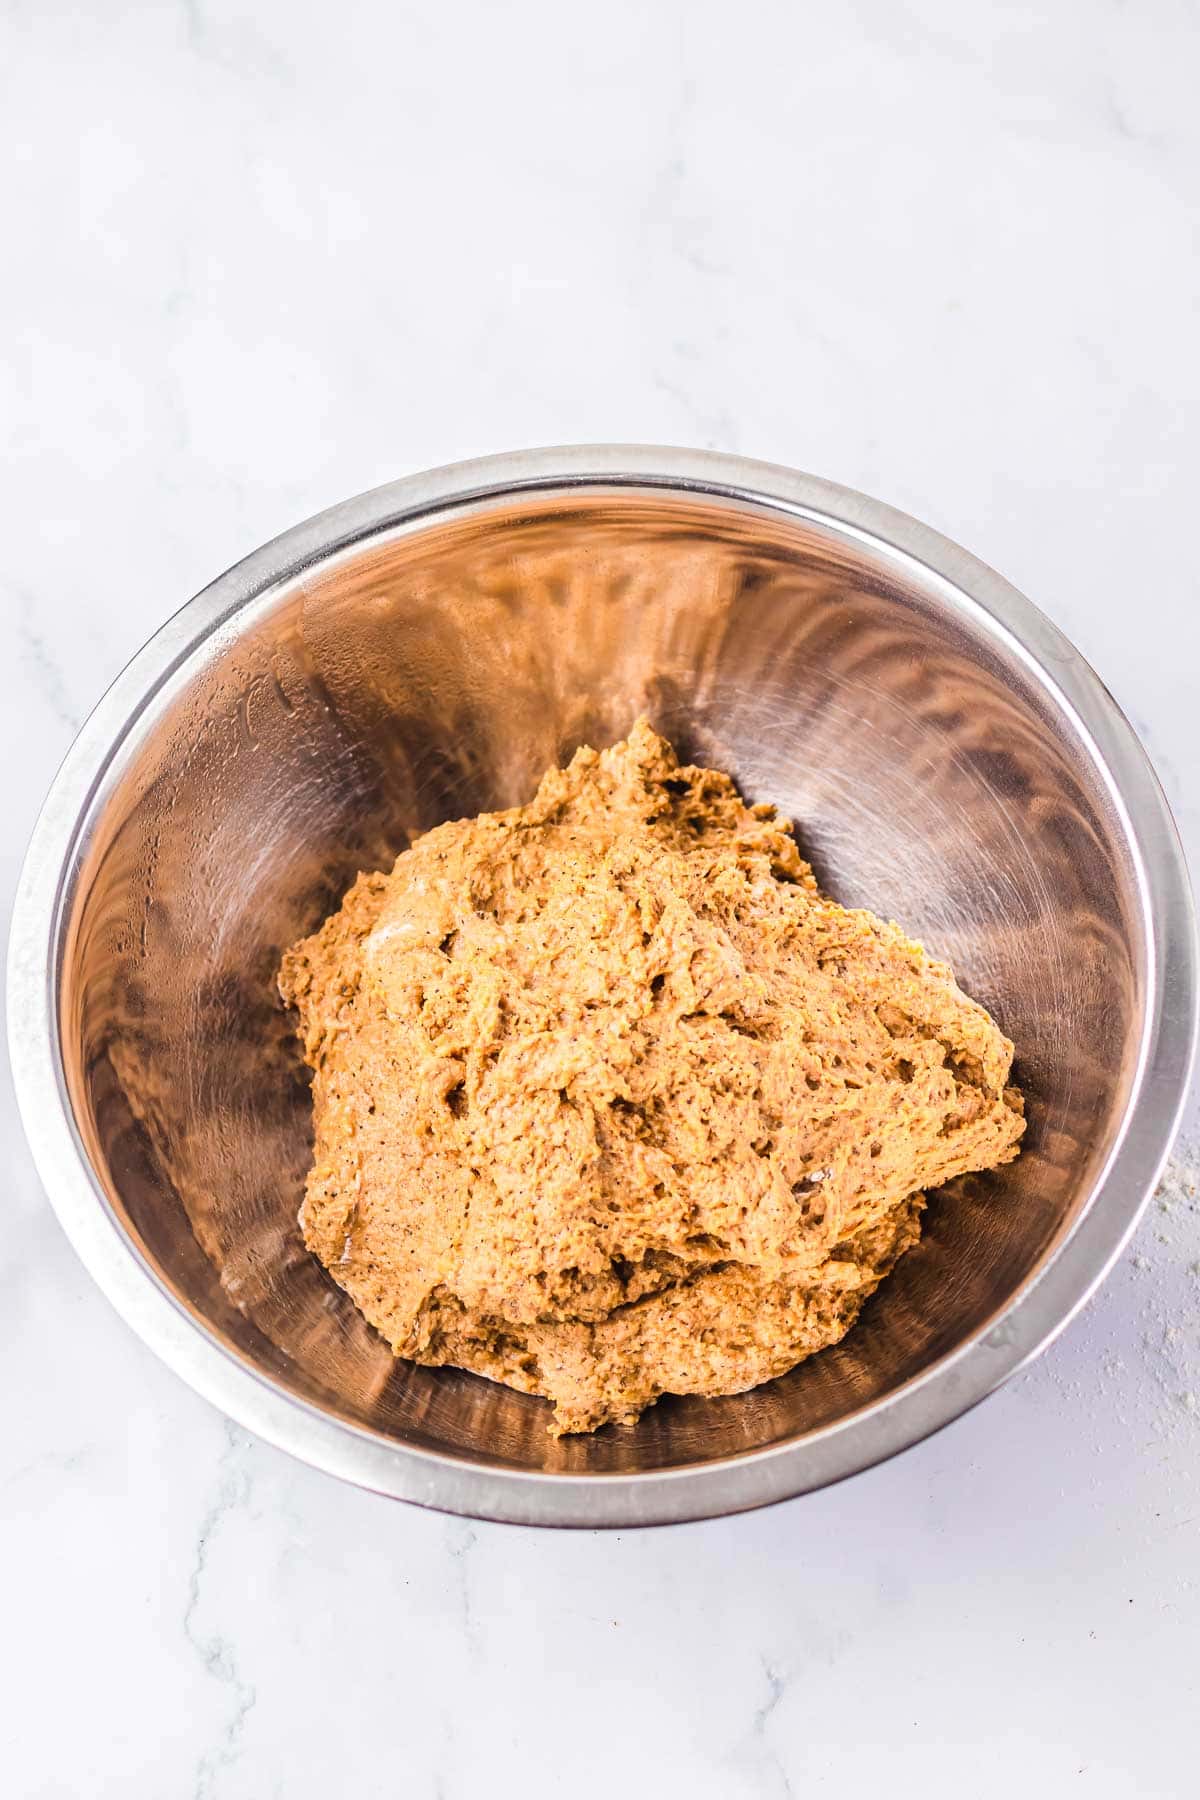
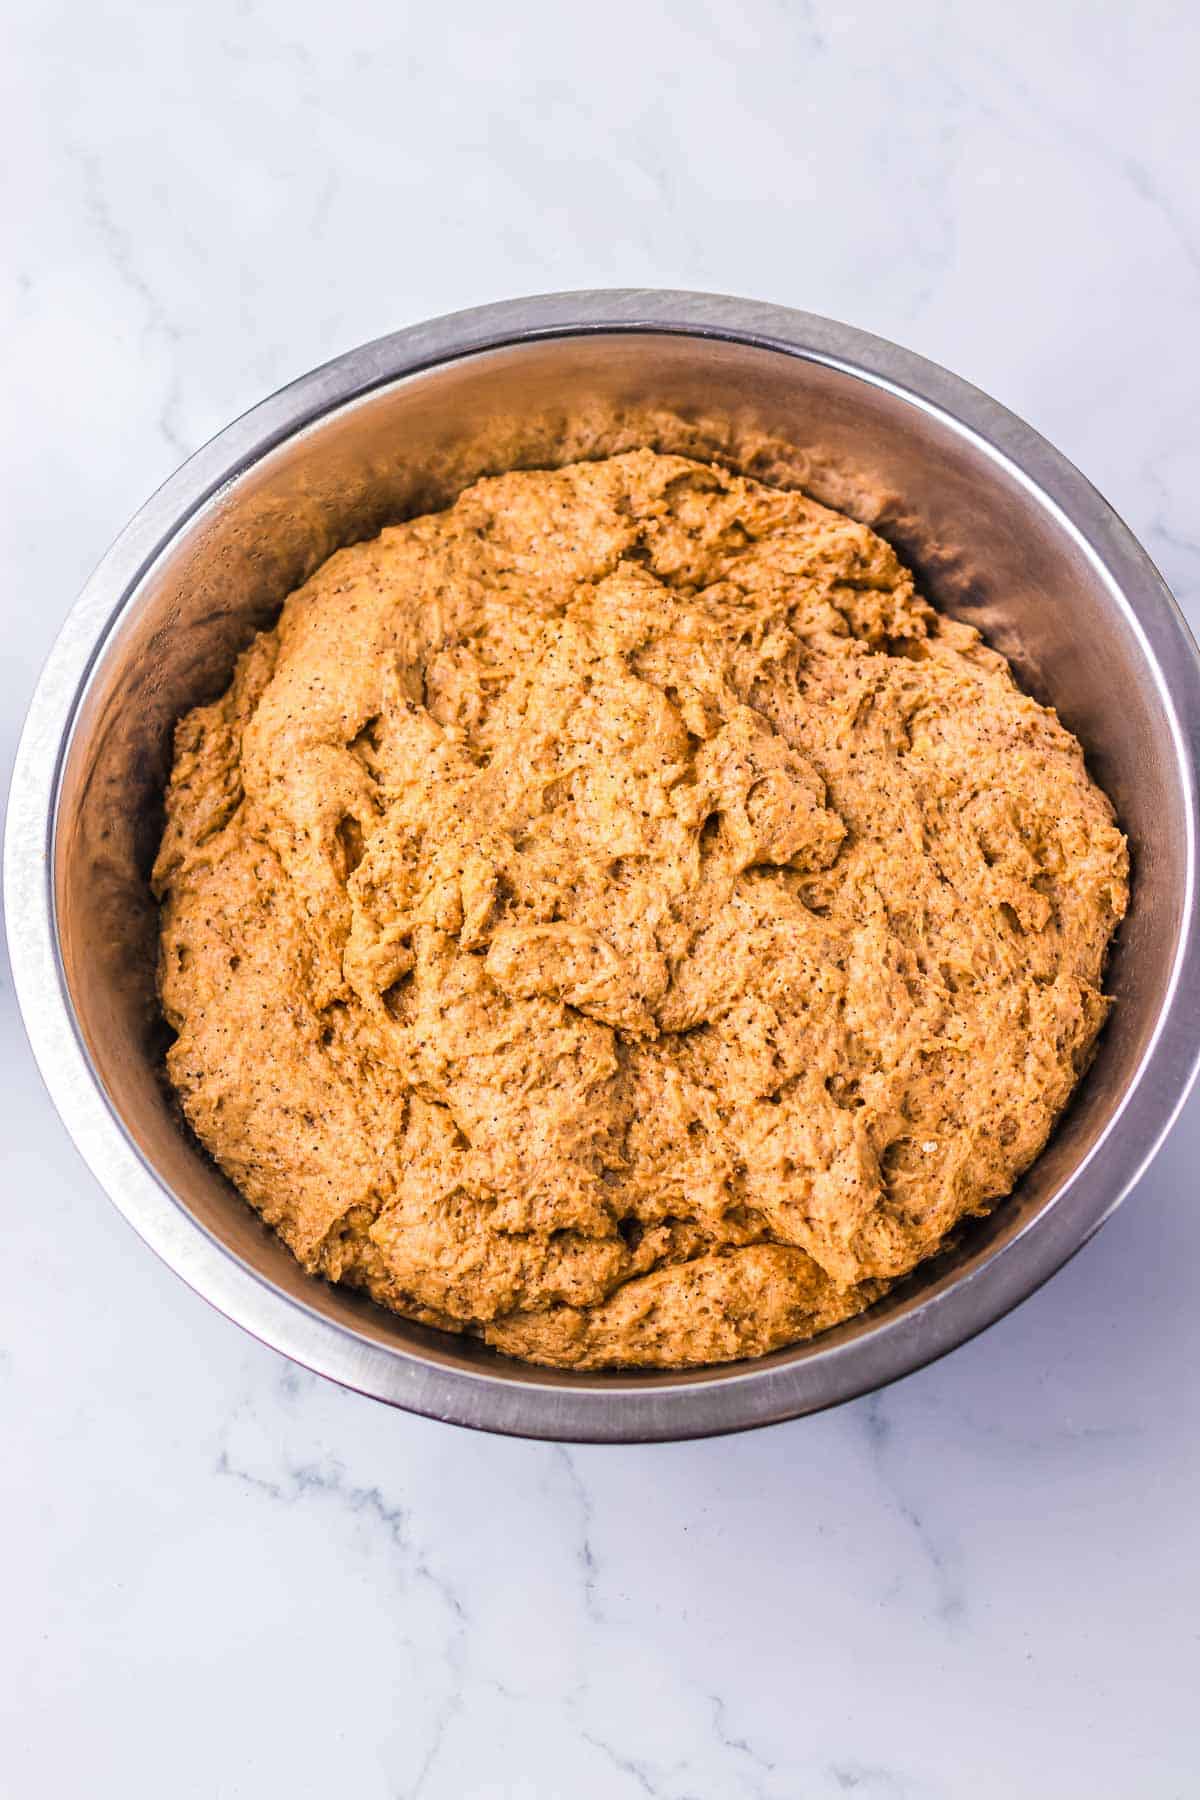
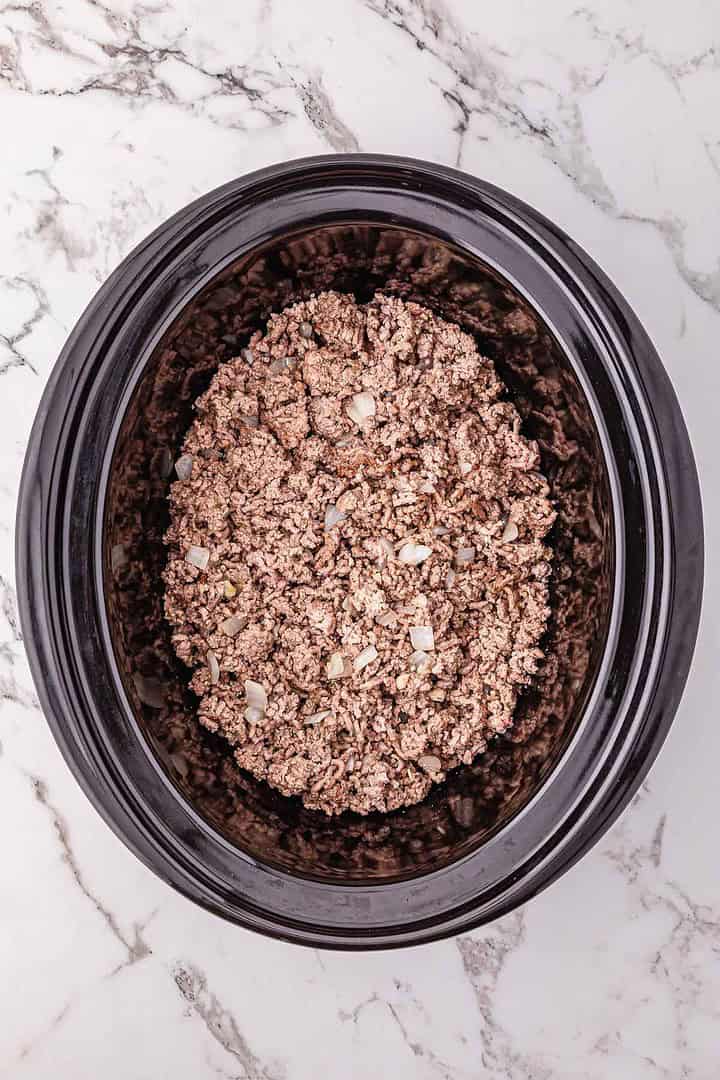
In a large bowl, combine the shredded chicken, cream of chicken soup, Rotel diced tomatoes with chilies, diced onion, and diced bell pepper. Stir until everything is evenly mixed and coated in the sauce.
Build the Layers

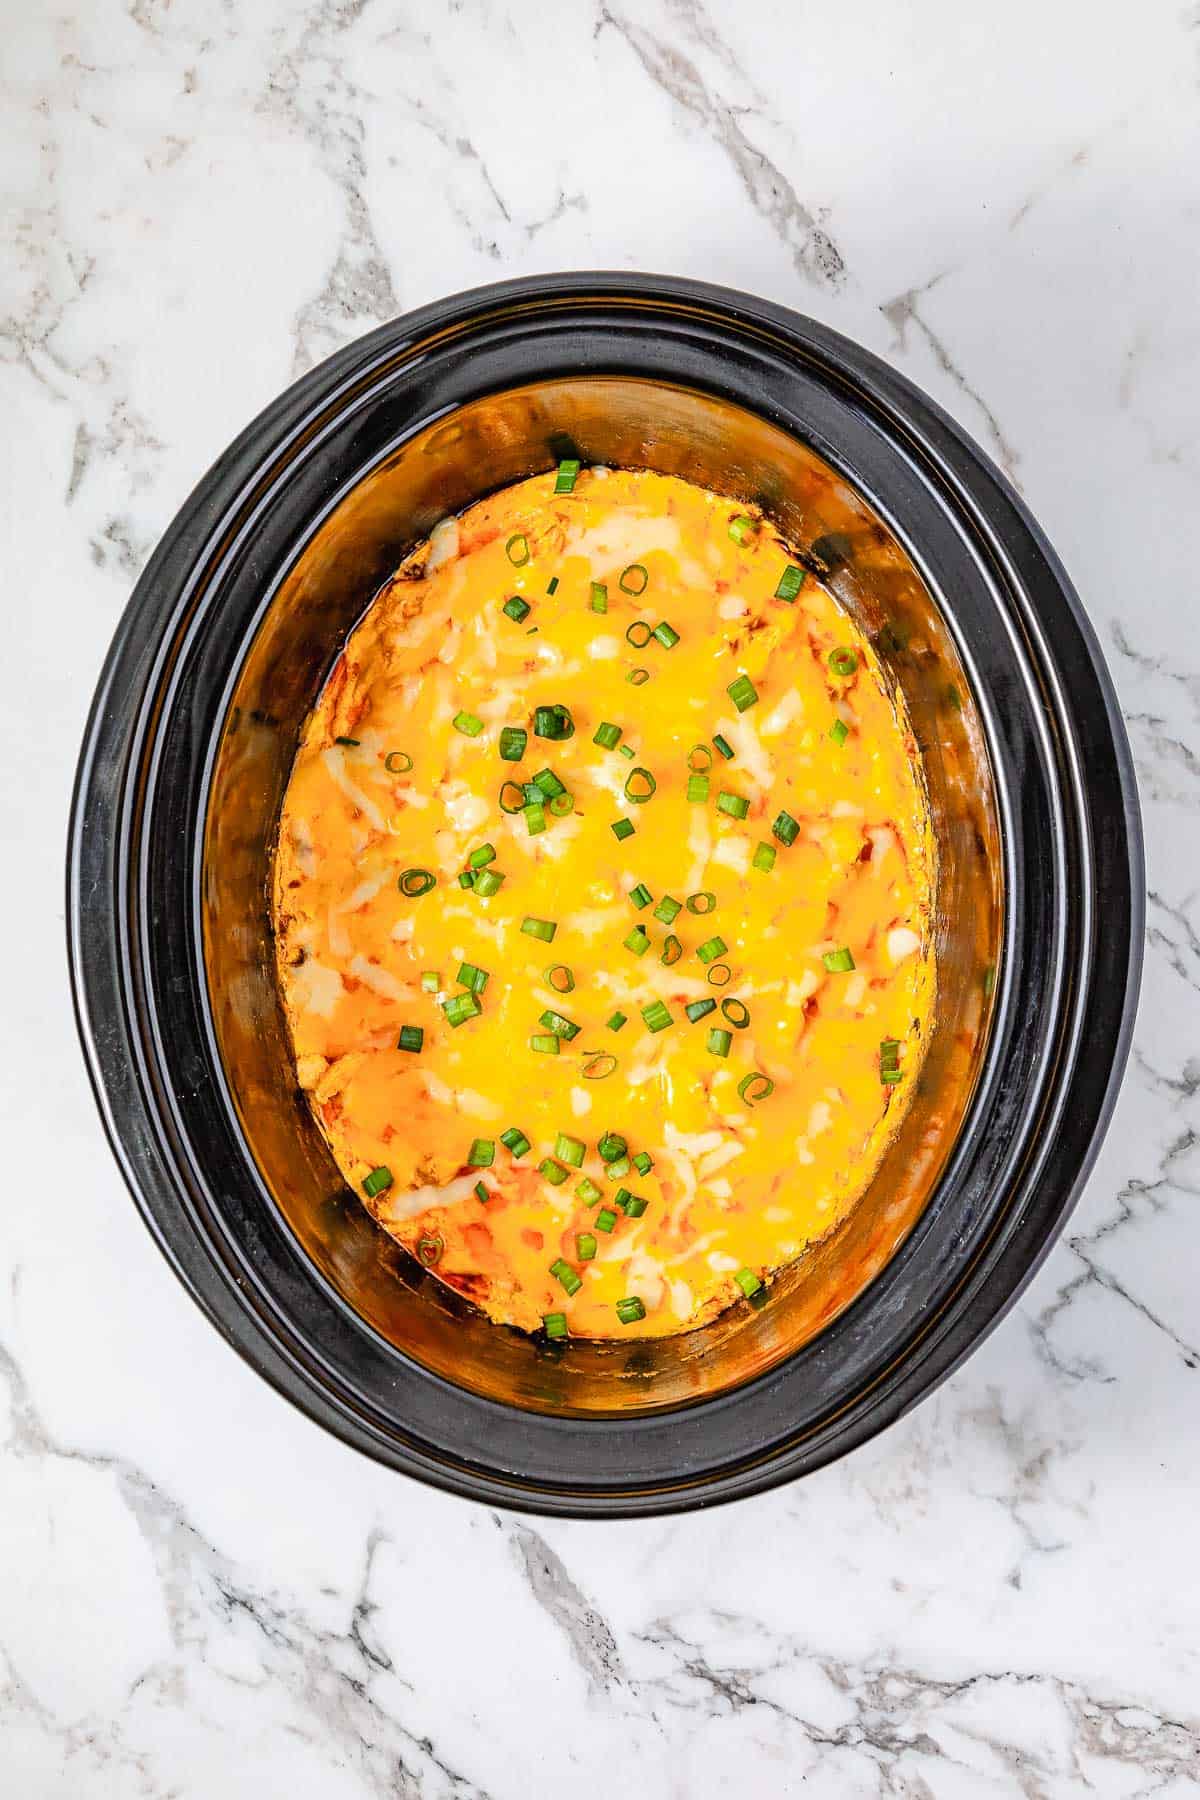
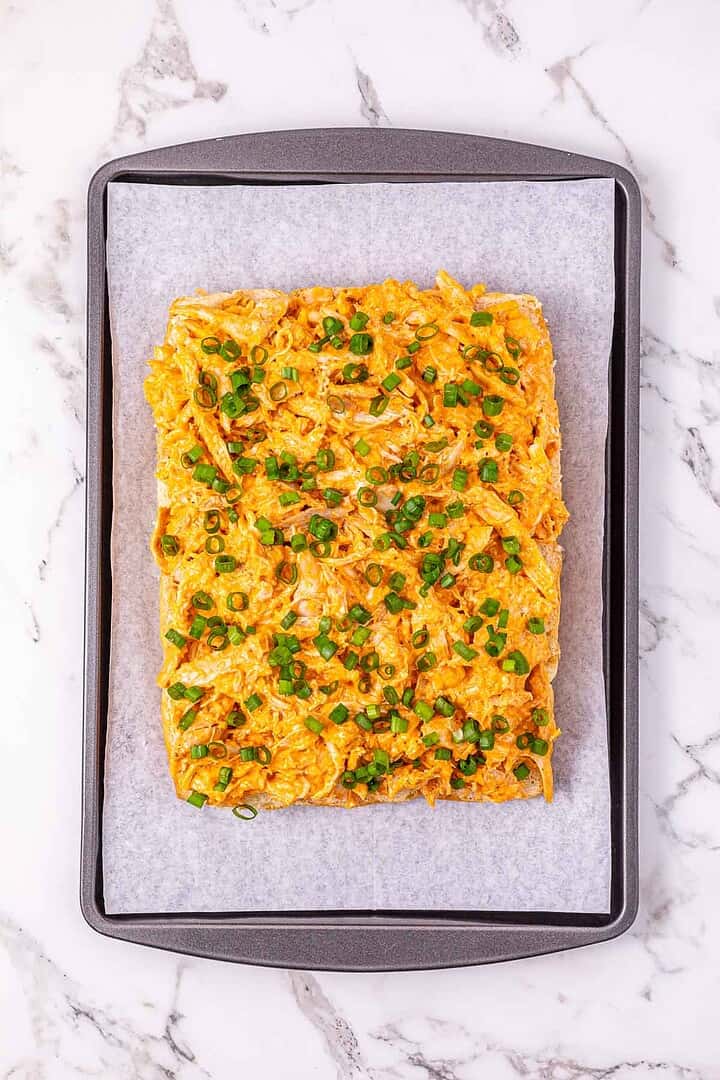
Spoon half of the chicken mixture over the tortilla layer and spread it out evenly. Sprinkle 1 cup of shredded cheddar cheese over the top.

Repeat the process with the remaining tortilla strips, then the rest of the chicken mixture. Finish by topping everything with the remaining 1 cup of cheddar cheese.
Bake

Gemini said
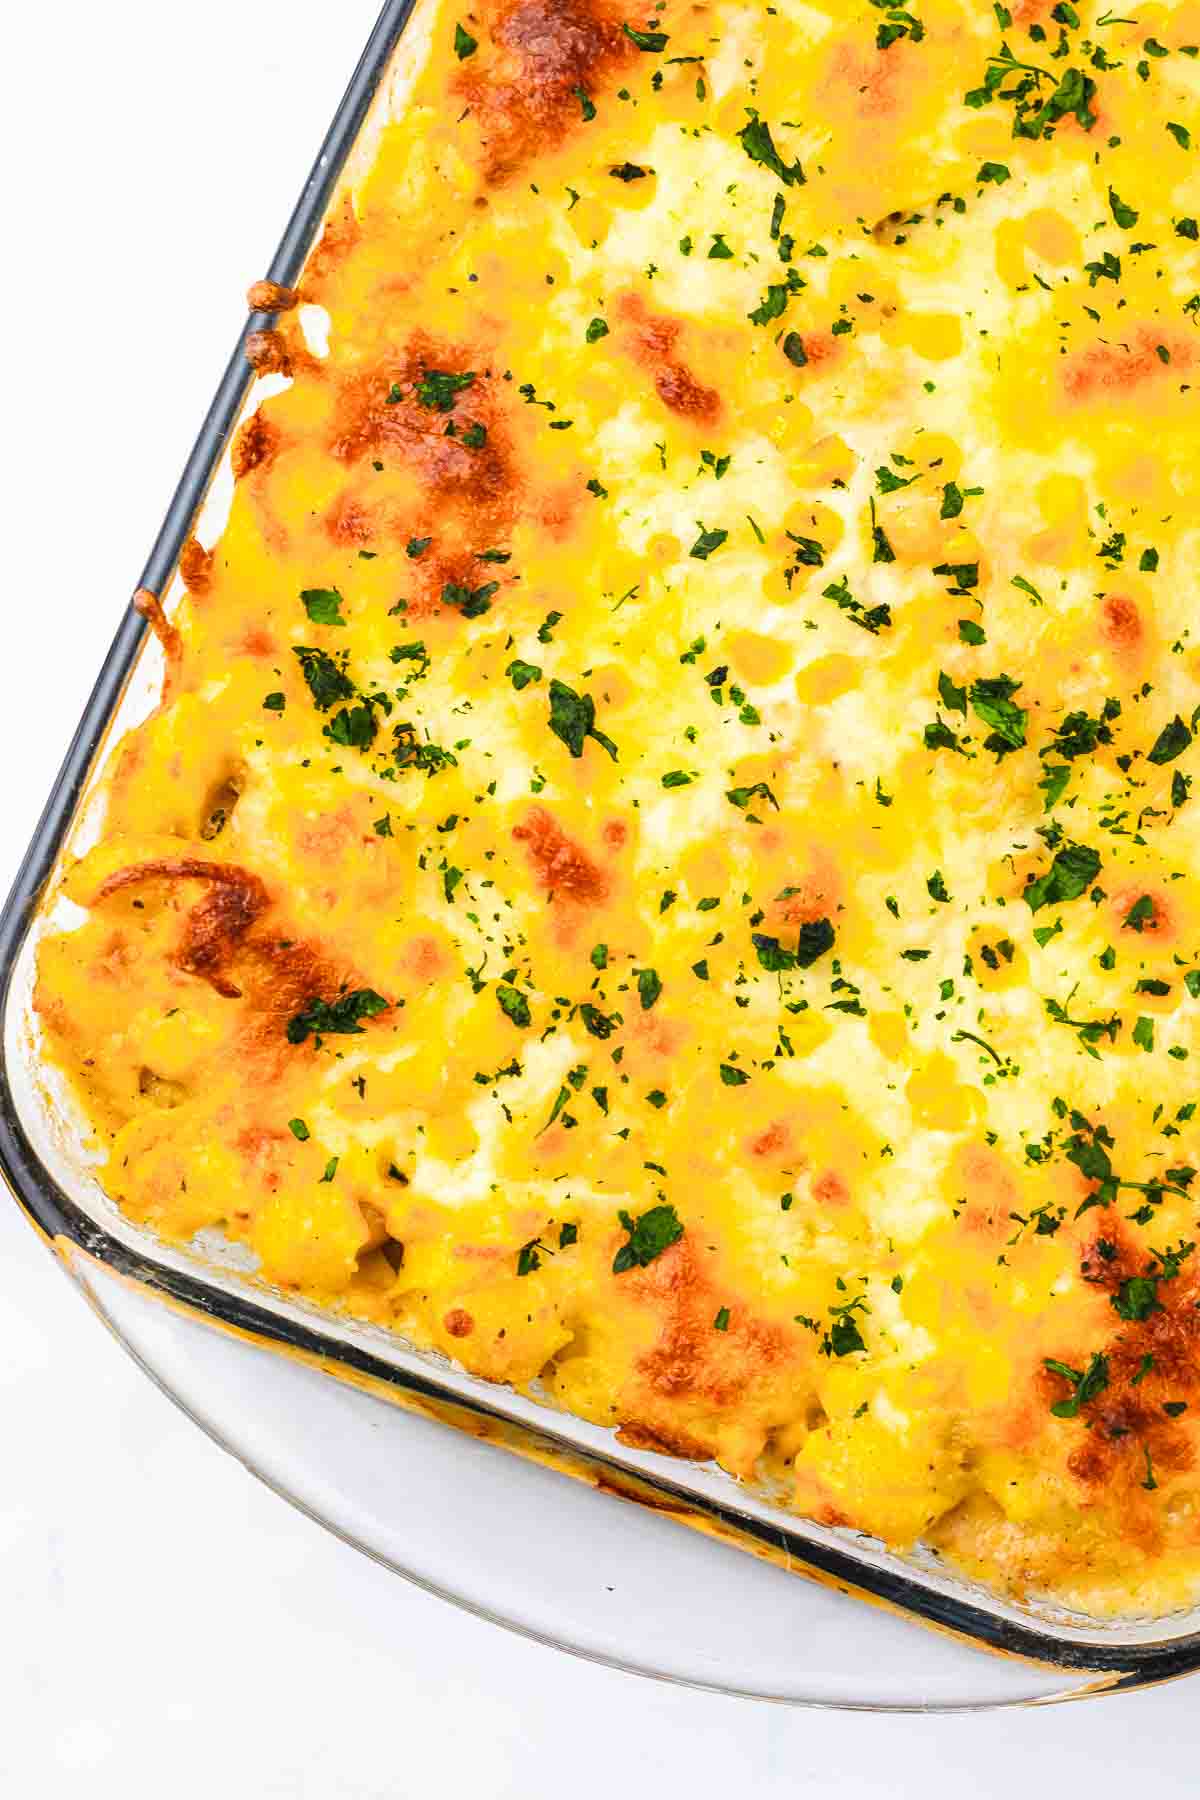
Place the casserole in the preheated oven and bake for 25–30 minutes until the cheese melts and the edges bubble.
Serve

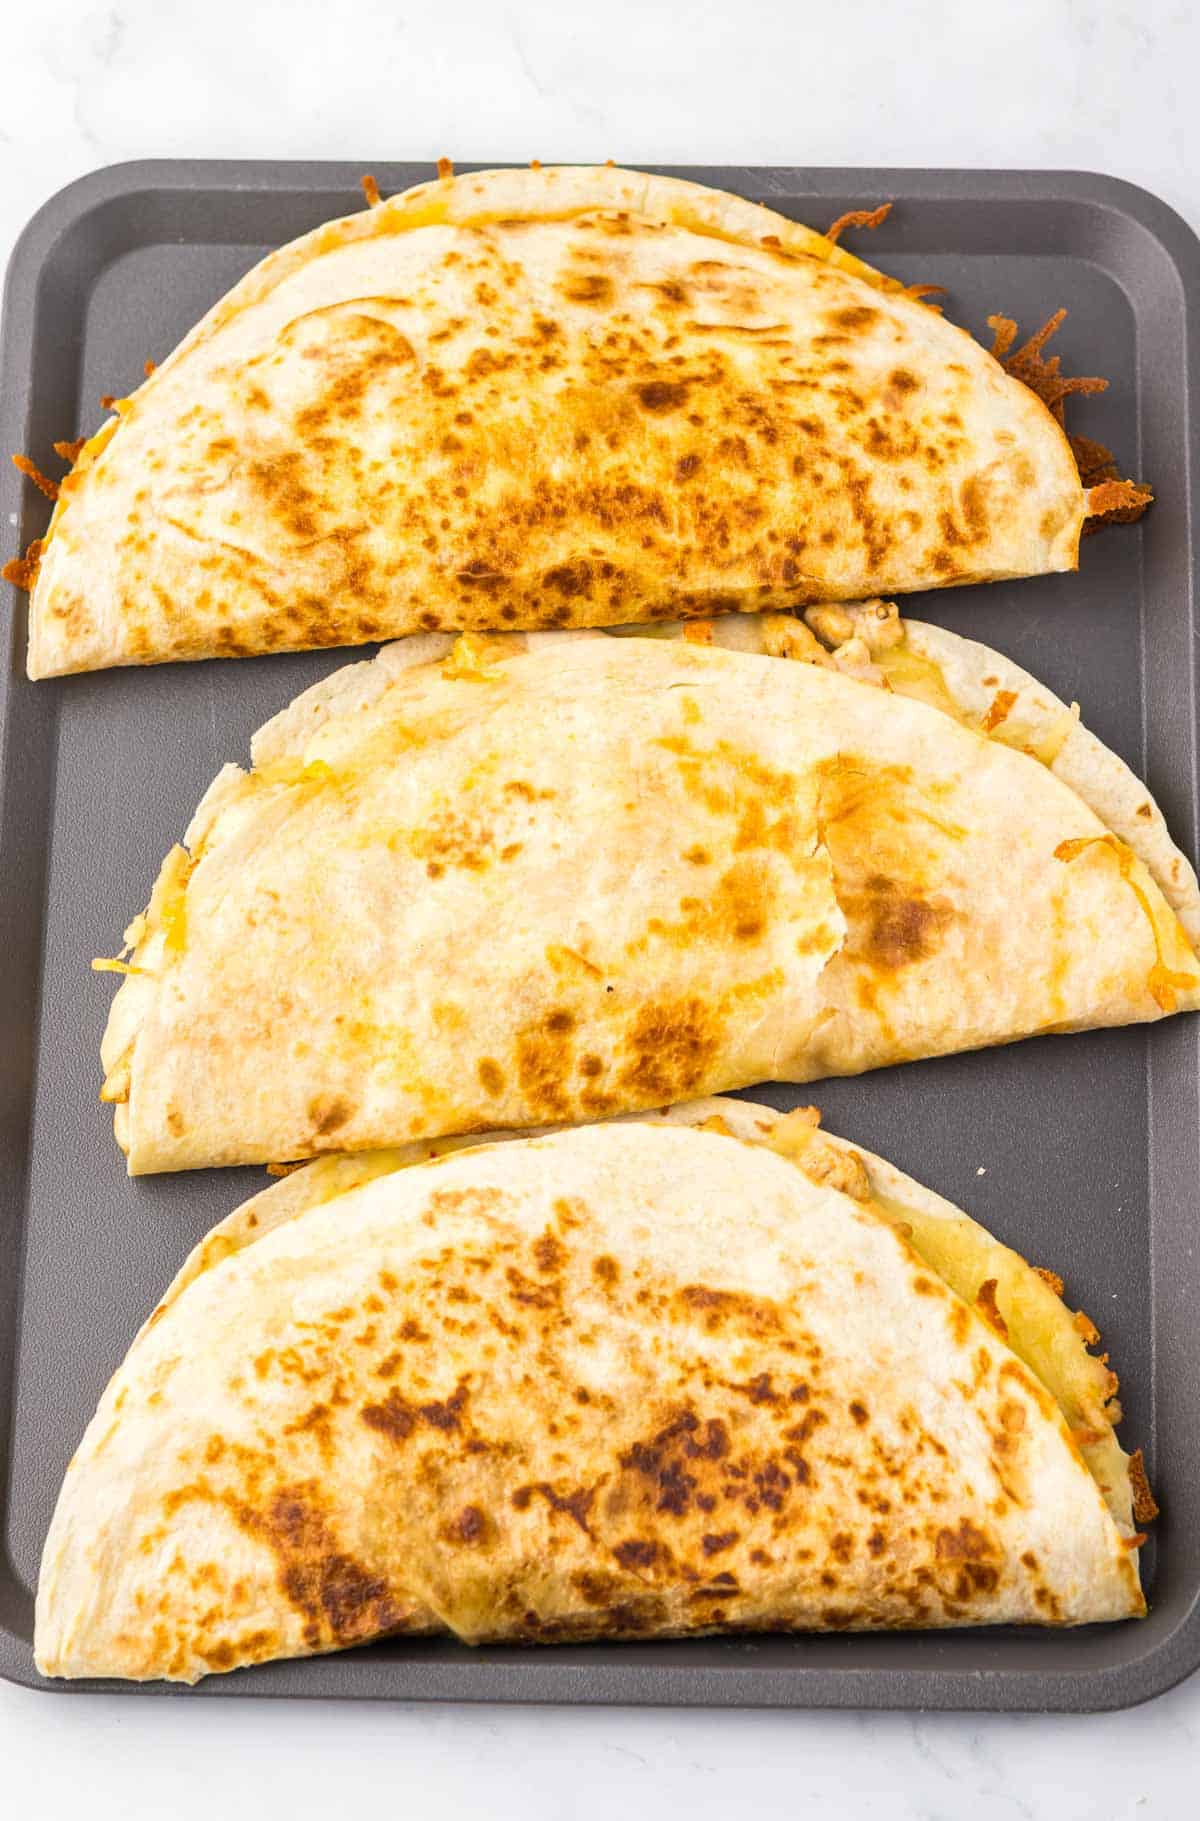
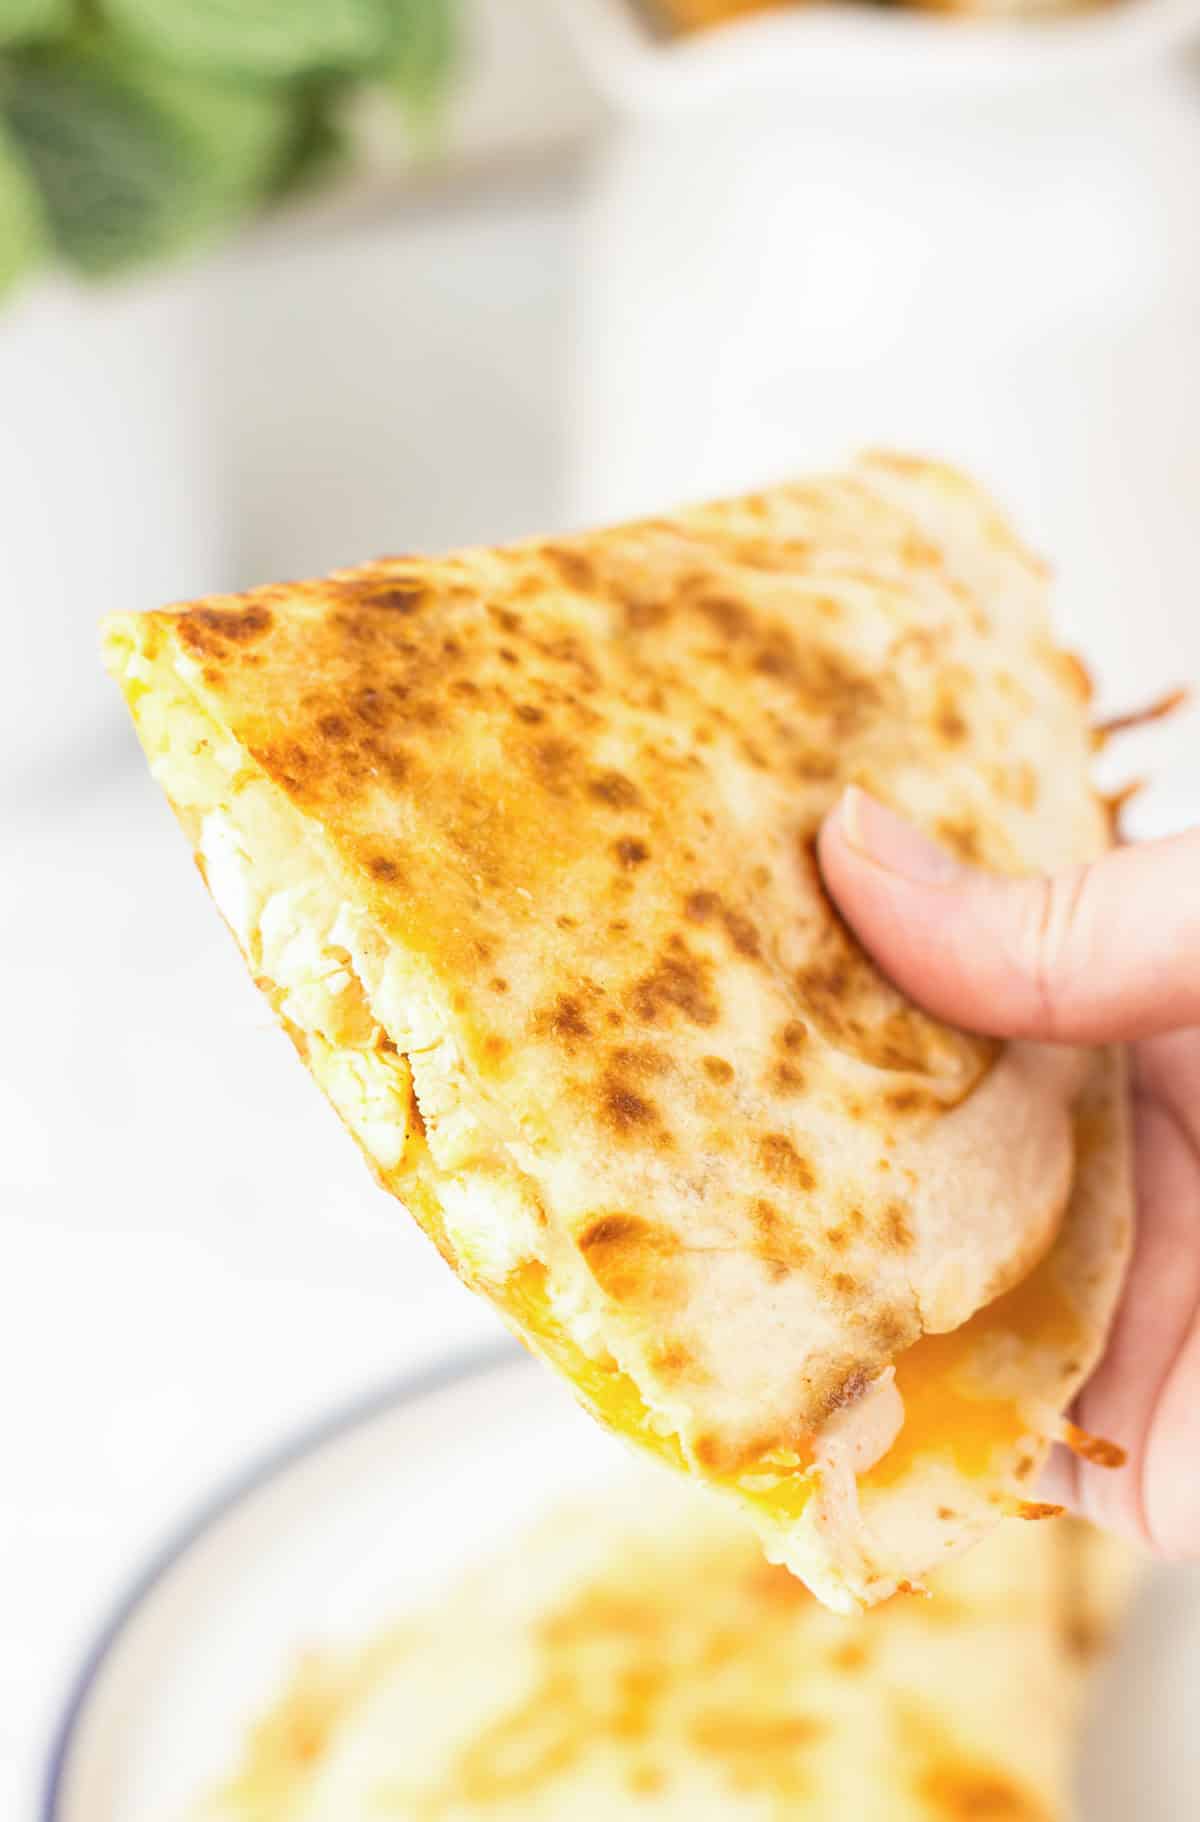
Remove from the oven and let it sit for a few minutes before serving. Serve the dish hot while the cheese remains melted and the layers are set.
Storage

Store leftovers in an airtight container in the refrigerator for up to 3–4 days. To reheat, warm individual portions in the microwave until heated through, or place the casserole in a 350°F oven for 10–15 minutes until hot and bubbly. Cover with foil if needed to prevent the cheese from over-browning.
Top Tips for King Ranch Chicken Casserole
Layer evenly: Spread the tortilla strips and chicken mixture in even layers so every bite has balanced flavor and texture.
Let it rest before slicing: Allow the casserole to sit for 5–10 minutes after baking so it sets up and slices more cleanly.
Use freshly shredded cheese: Pre-shredded cheese contains anti-caking agents and doesn’t melt as smoothly. Shredding your own gives a creamier finish.
Recipe
Tried and loved this recipe? Please leave a 5-star review below! Your reviews mean a lot to me, so if you've got any questions, please let me know in a comment.

King Ranch Chicken Casserole
Ingredients
- 3 cups cooked chicken shredded
- 12 corn tortillas cut into strips
- 1 can 10.75 oz cream of chicken soup
- 1 can 10 oz Rotel diced tomatoes with chilies
- 2 cups cheddar cheese shredded
- 1 onion diced
- 1 bell pepper diced
Instructions
- Preheat oven to 350°F. Grease 9x13-inch baking dish.
- Layer half the tortilla strips in dish.
- Combine chicken, soup, Rotel, onion, and bell pepper.
- Spread half the chicken mixture over tortillas, top with 1 cup cheese.
- Repeat layers with remaining tortillas, chicken mixture, and cheese.
- Bake 25-30 minutes until bubbly and cheese melts.
- Serve hot.