The 1960s gave us food that made people pause—and then grab a plate. From bold colors to unexpected ingredient pairings, these snacks made a statement before anyone took a bite. Some raised eyebrows, others raised appetites, but all 19 shocked their way onto tables. These foods weren’t just eaten—they were remembered.

Russian Potato Salad (Olivier Salad)

Russian-inspired potato salads became a curious addition to ’60s party spreads, with their heavy mayonnaise and tangy mix-ins. Pickles and peas added a surprising touch that could be polarizing. This snack reflects the bold flavors and eye-catching combinations of the 1960s. Bringing it back is like reviving a dish that had guests talking before they ever took a bite.
Get the Recipe: Russian Potato Salad (Olivier Salad)
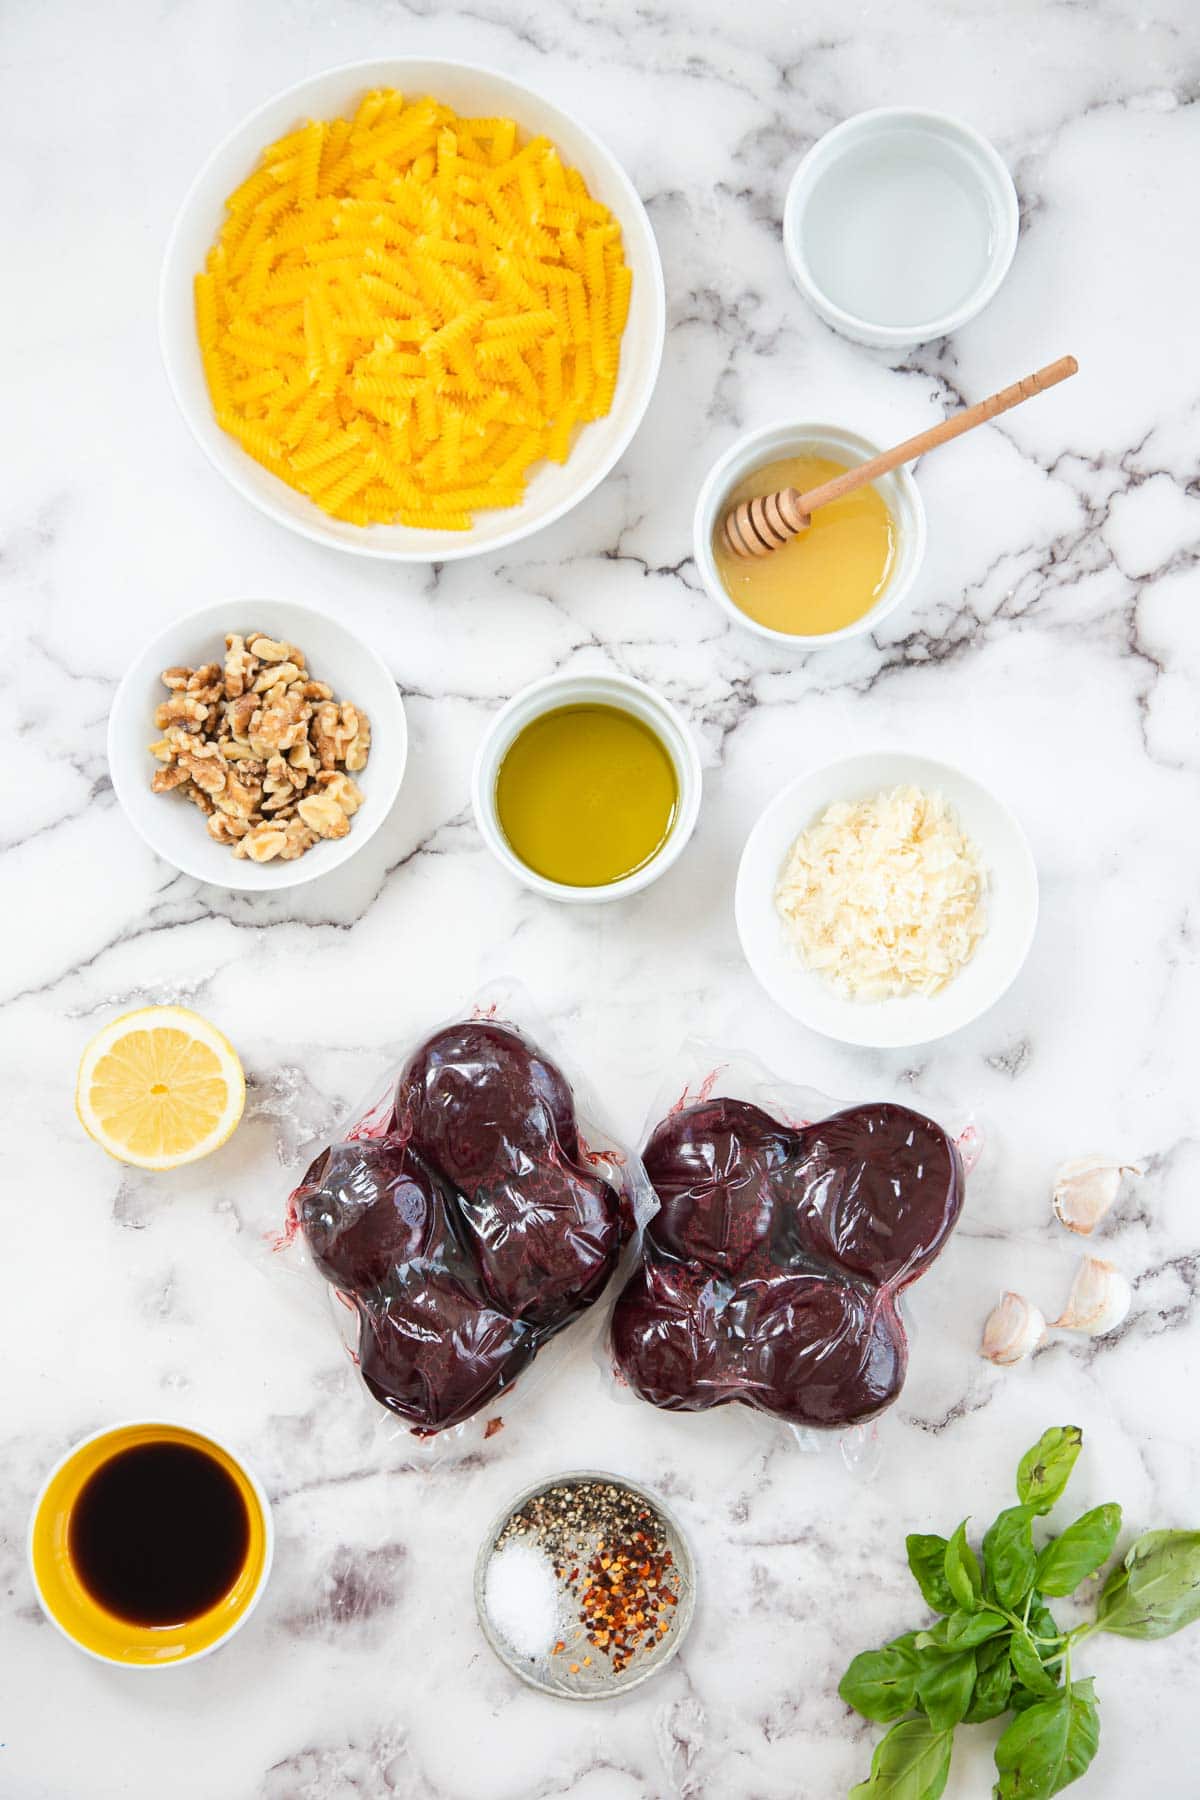
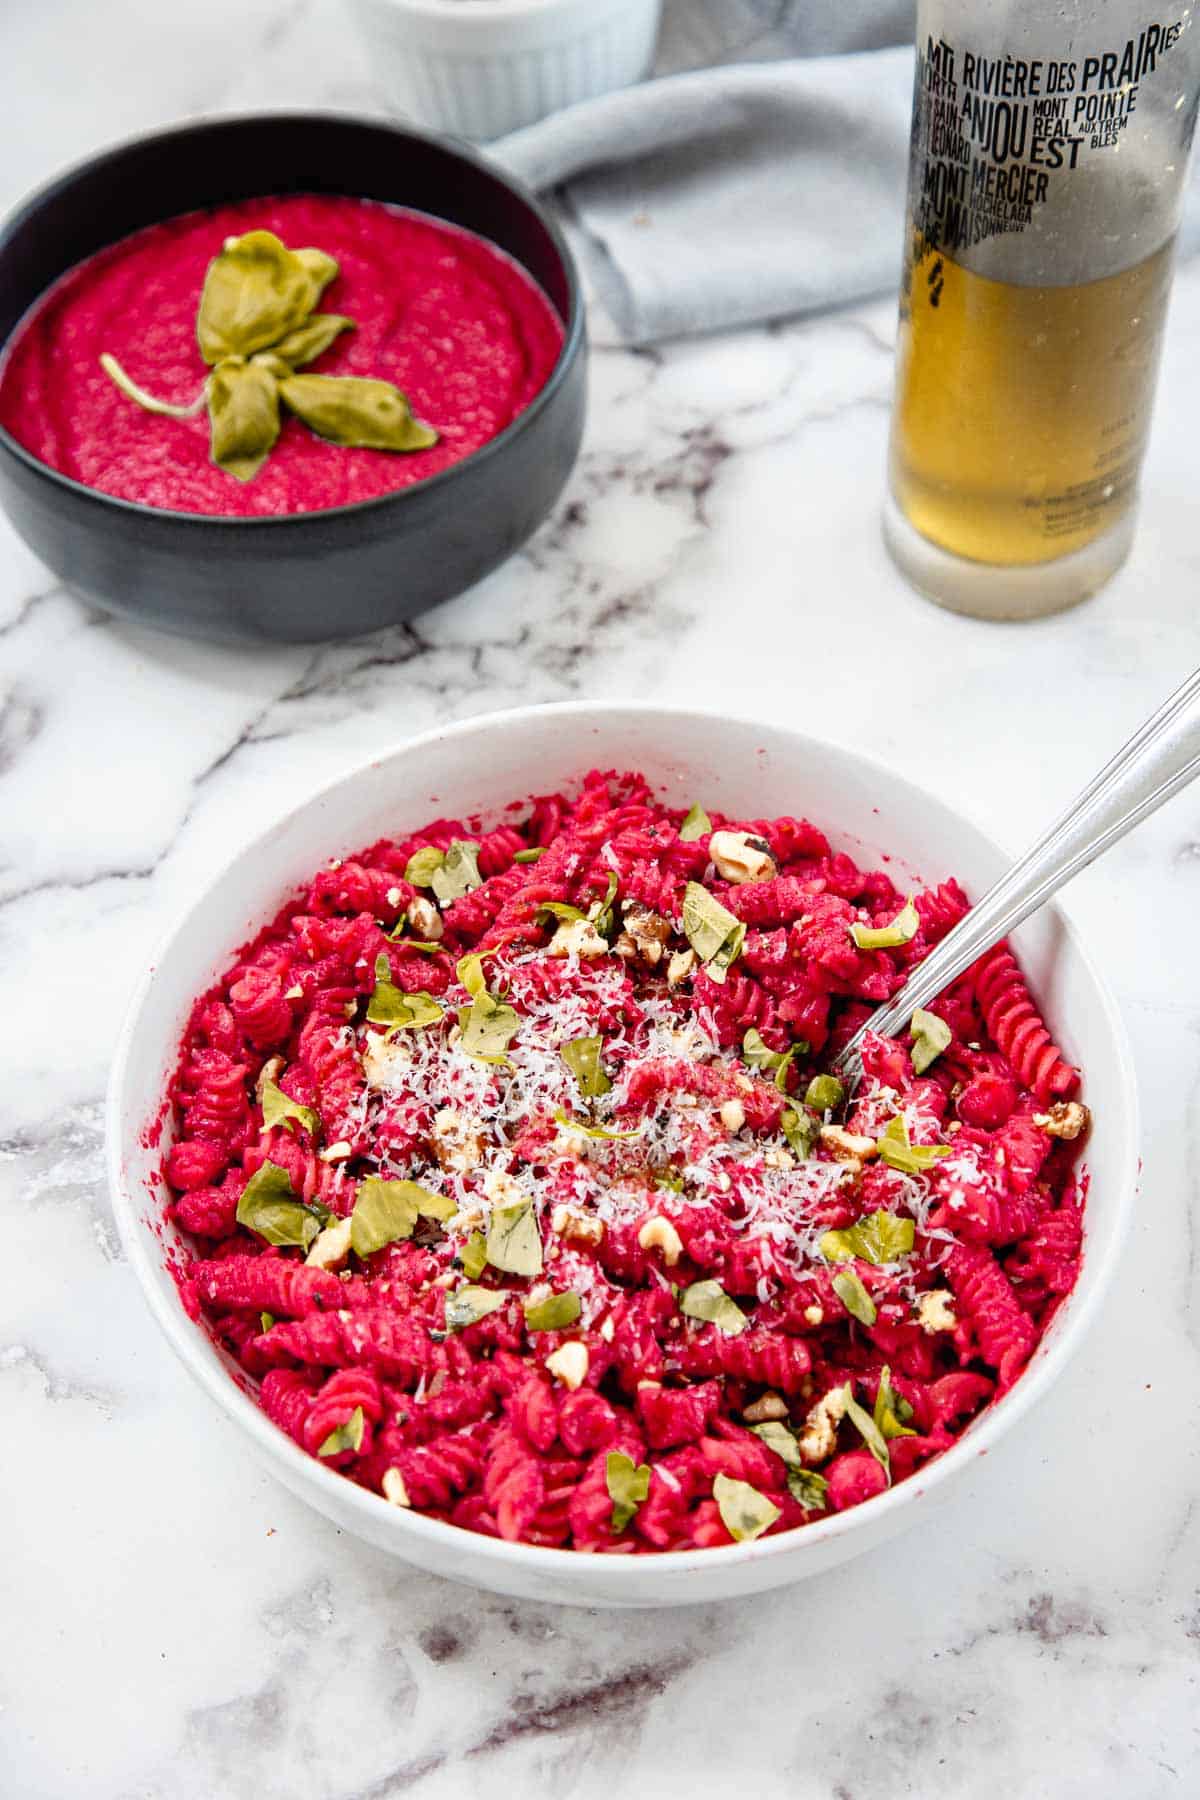
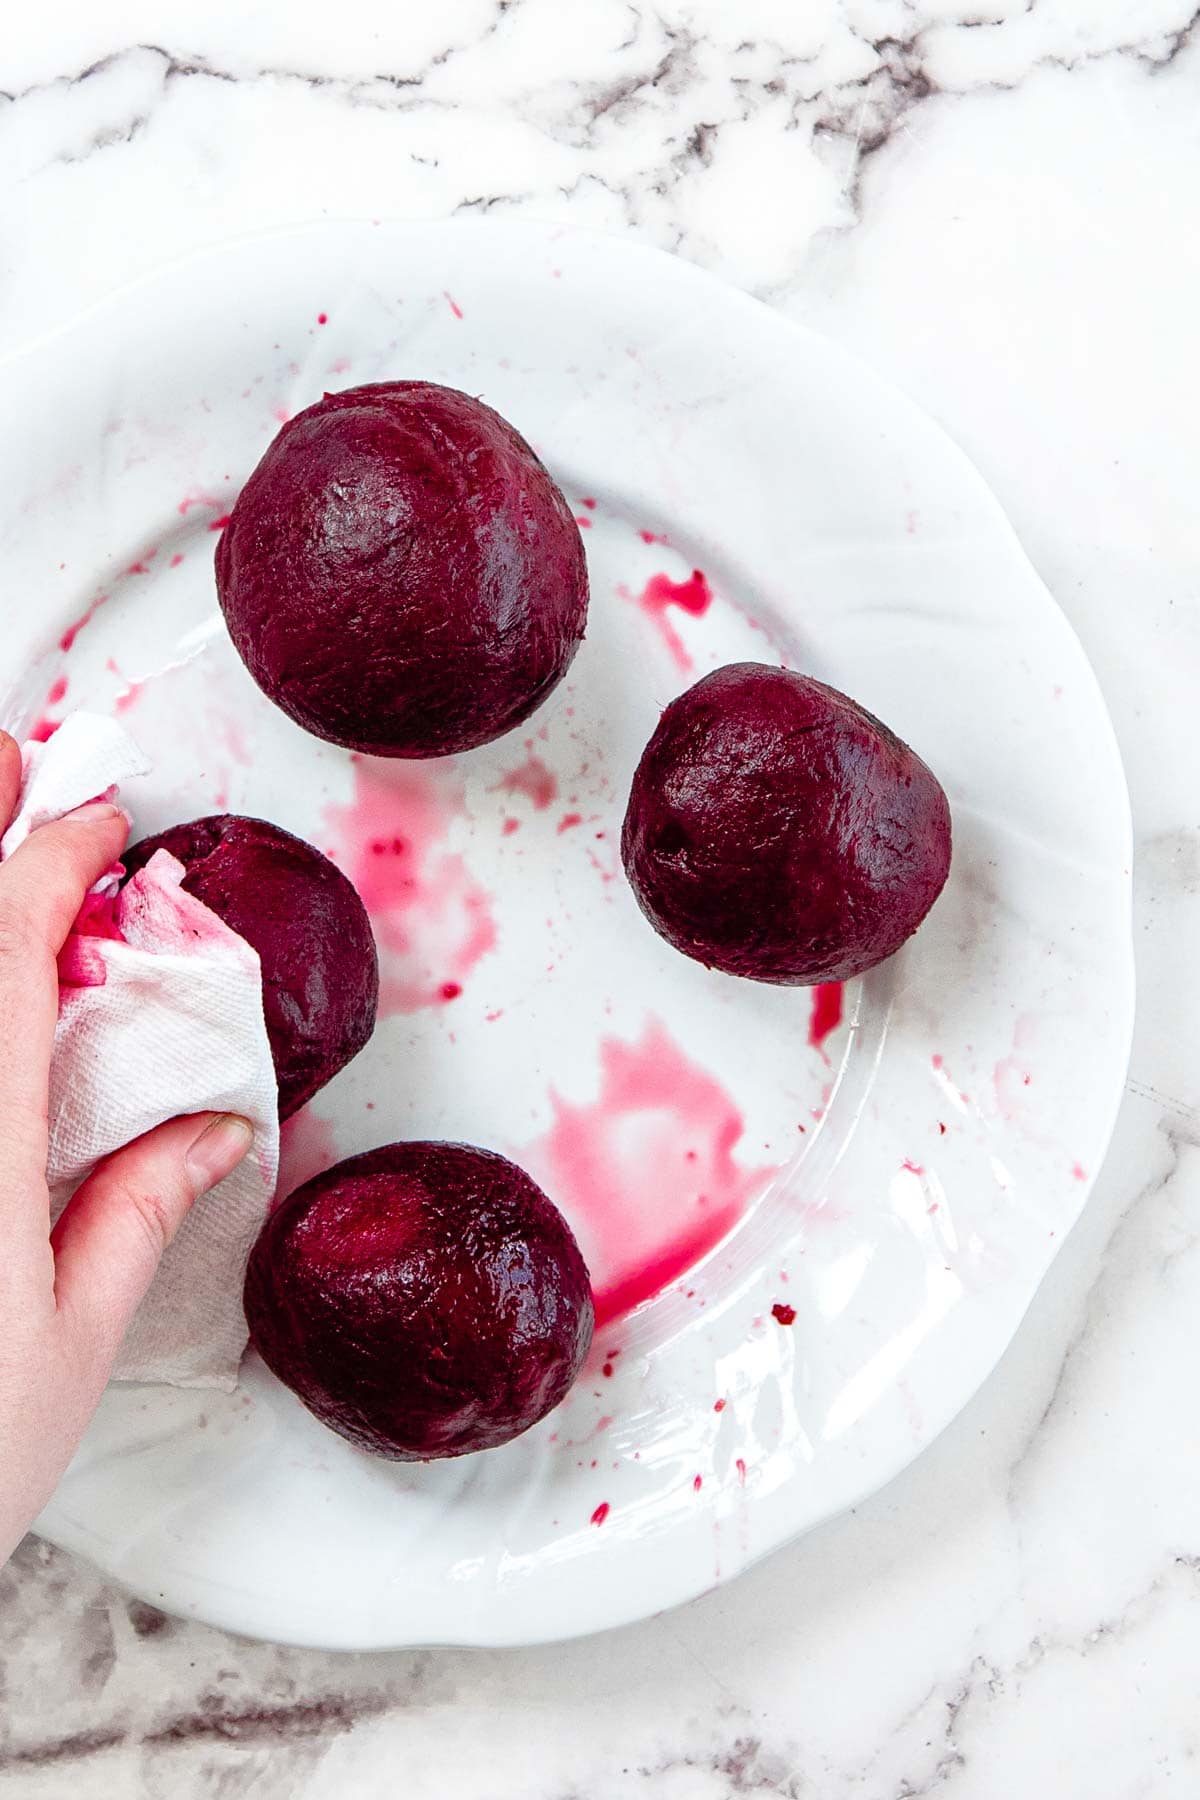
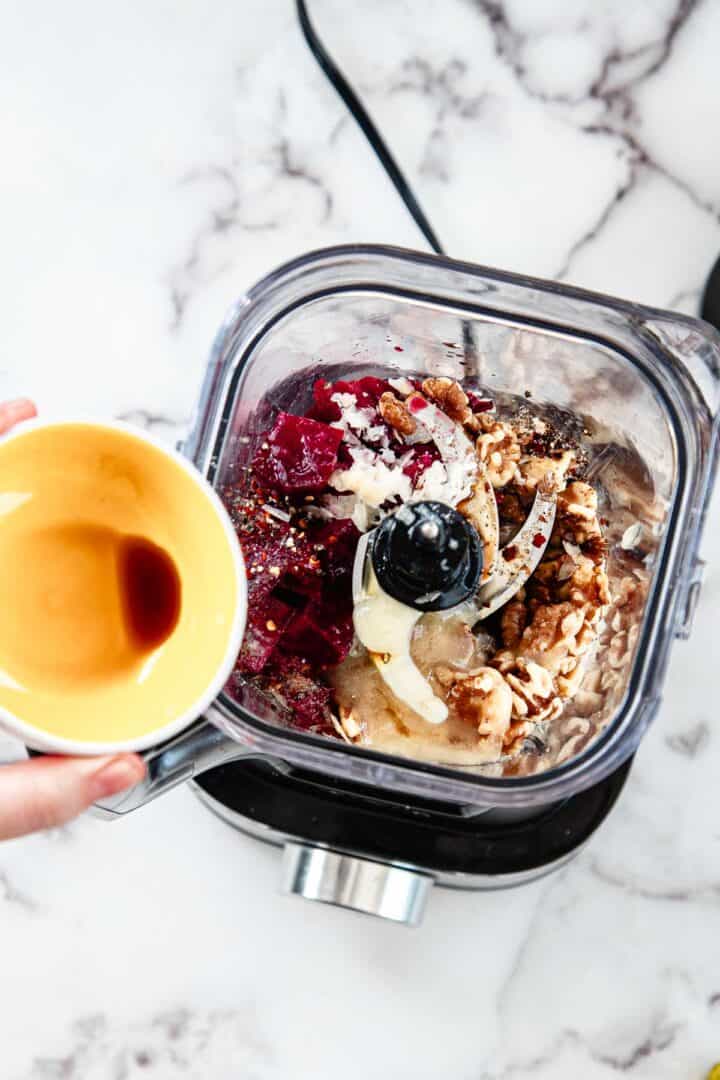
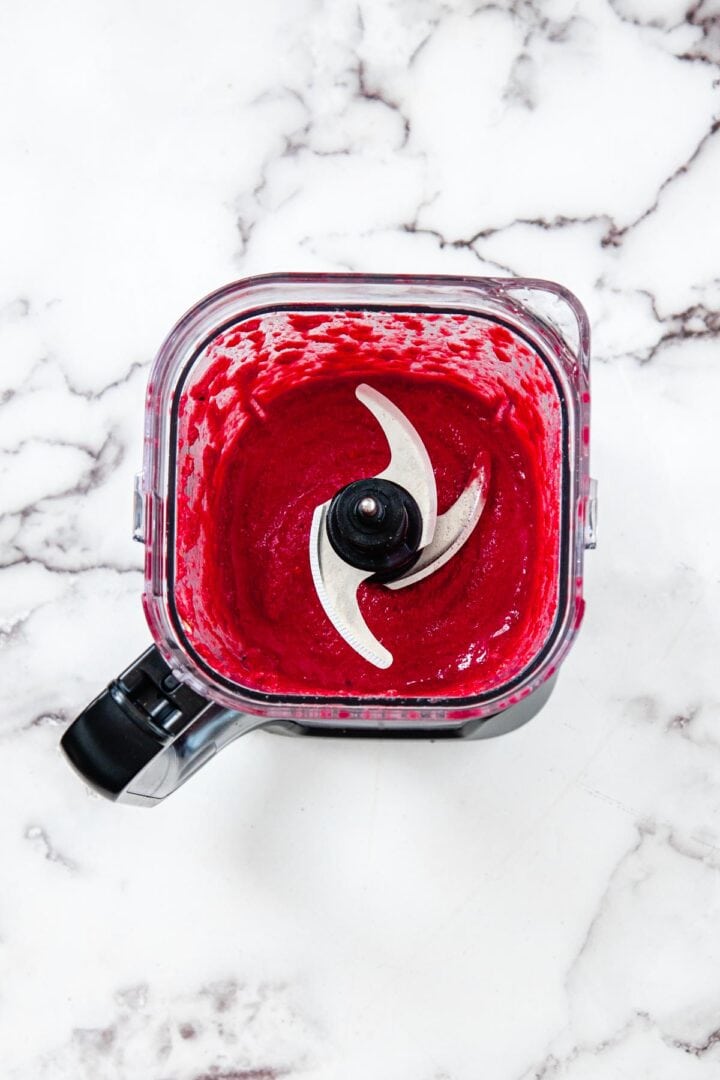
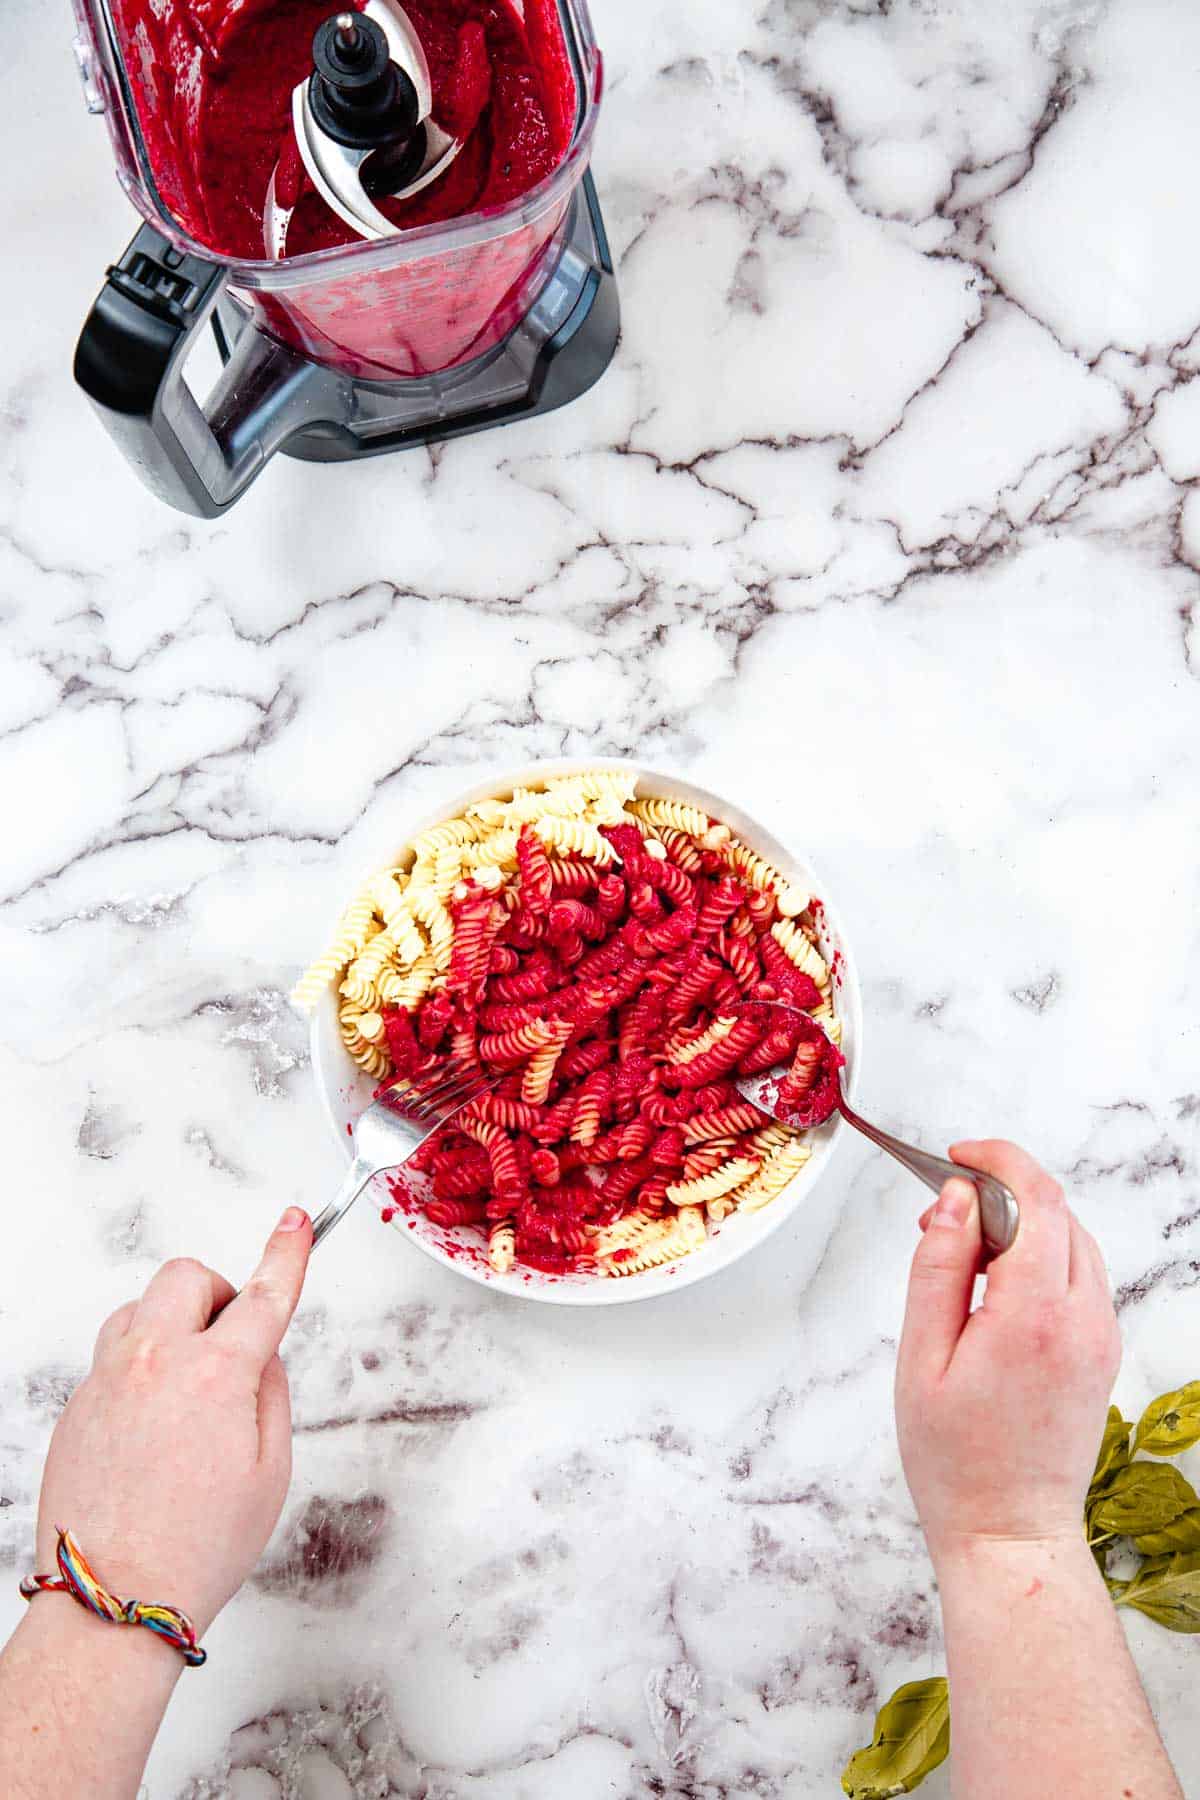
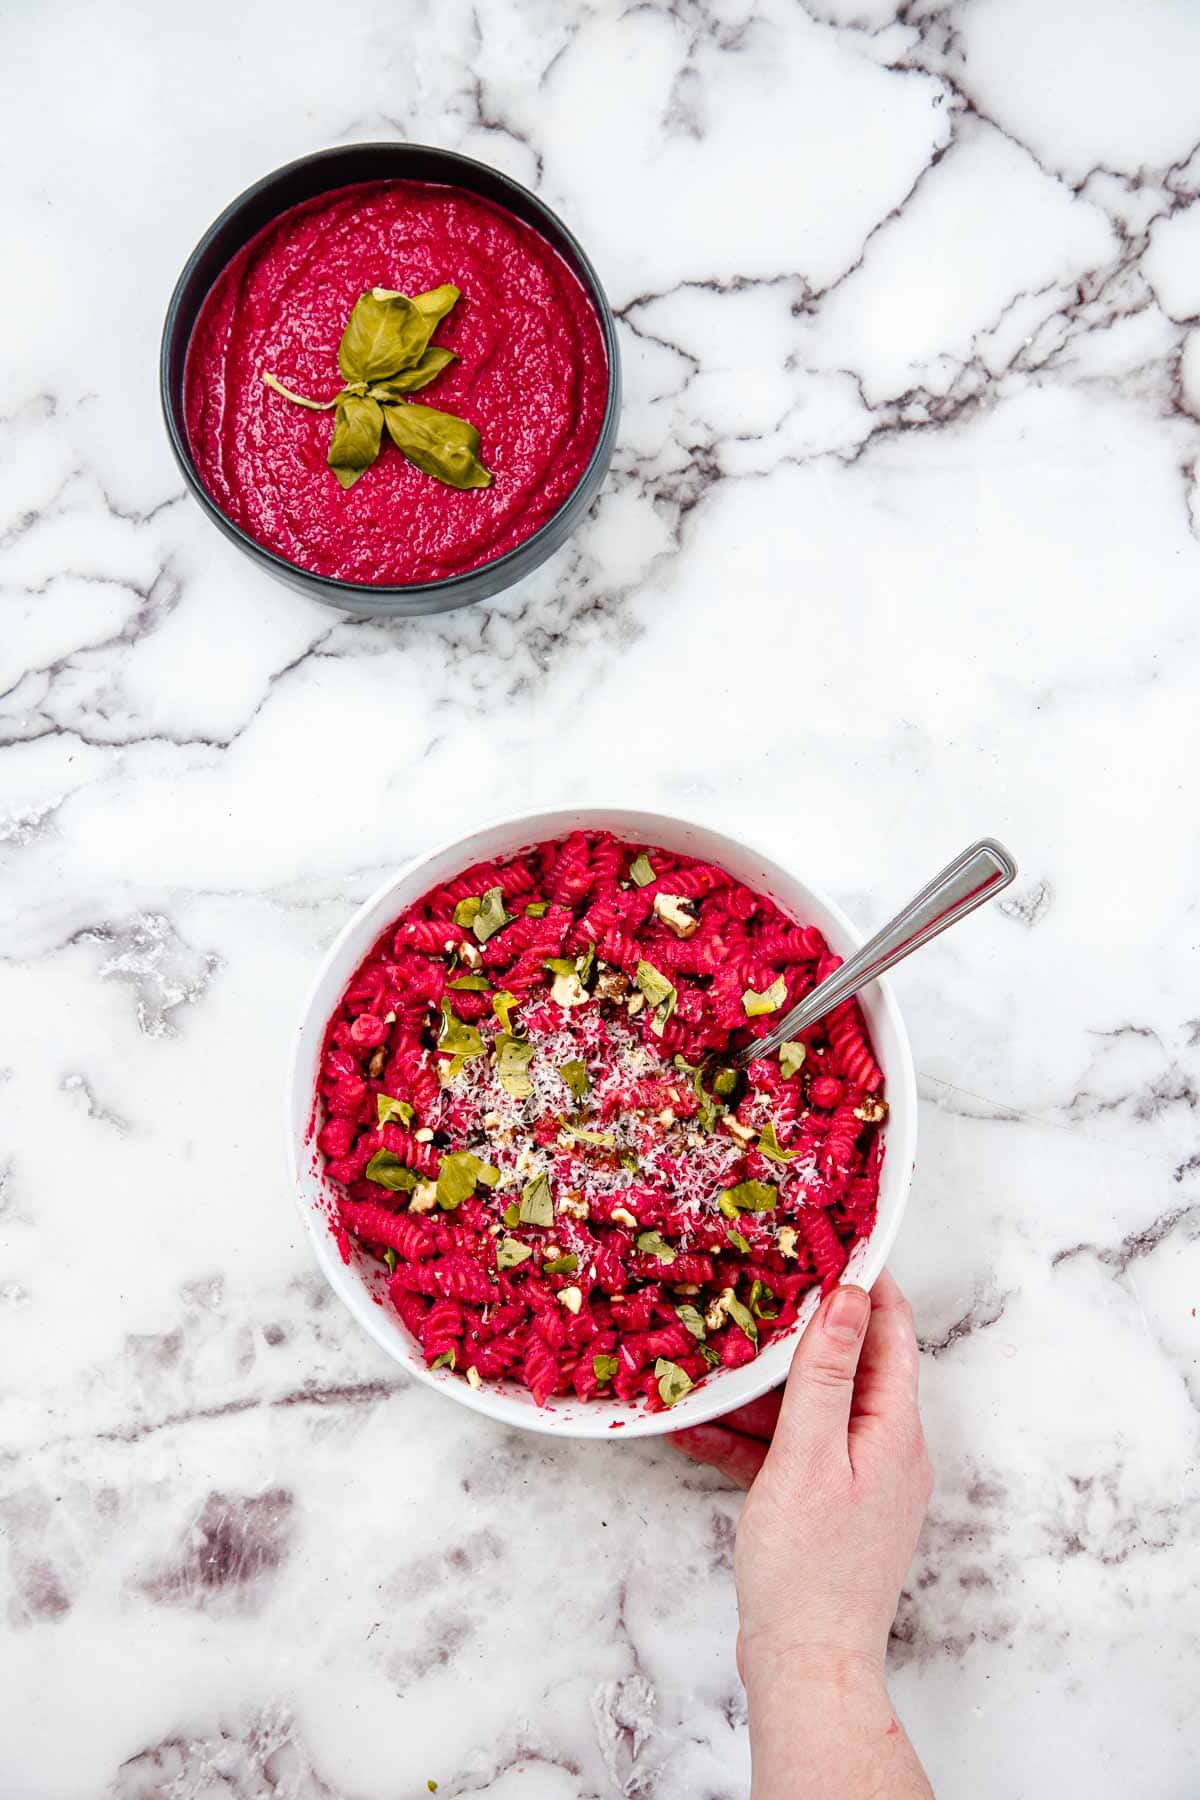
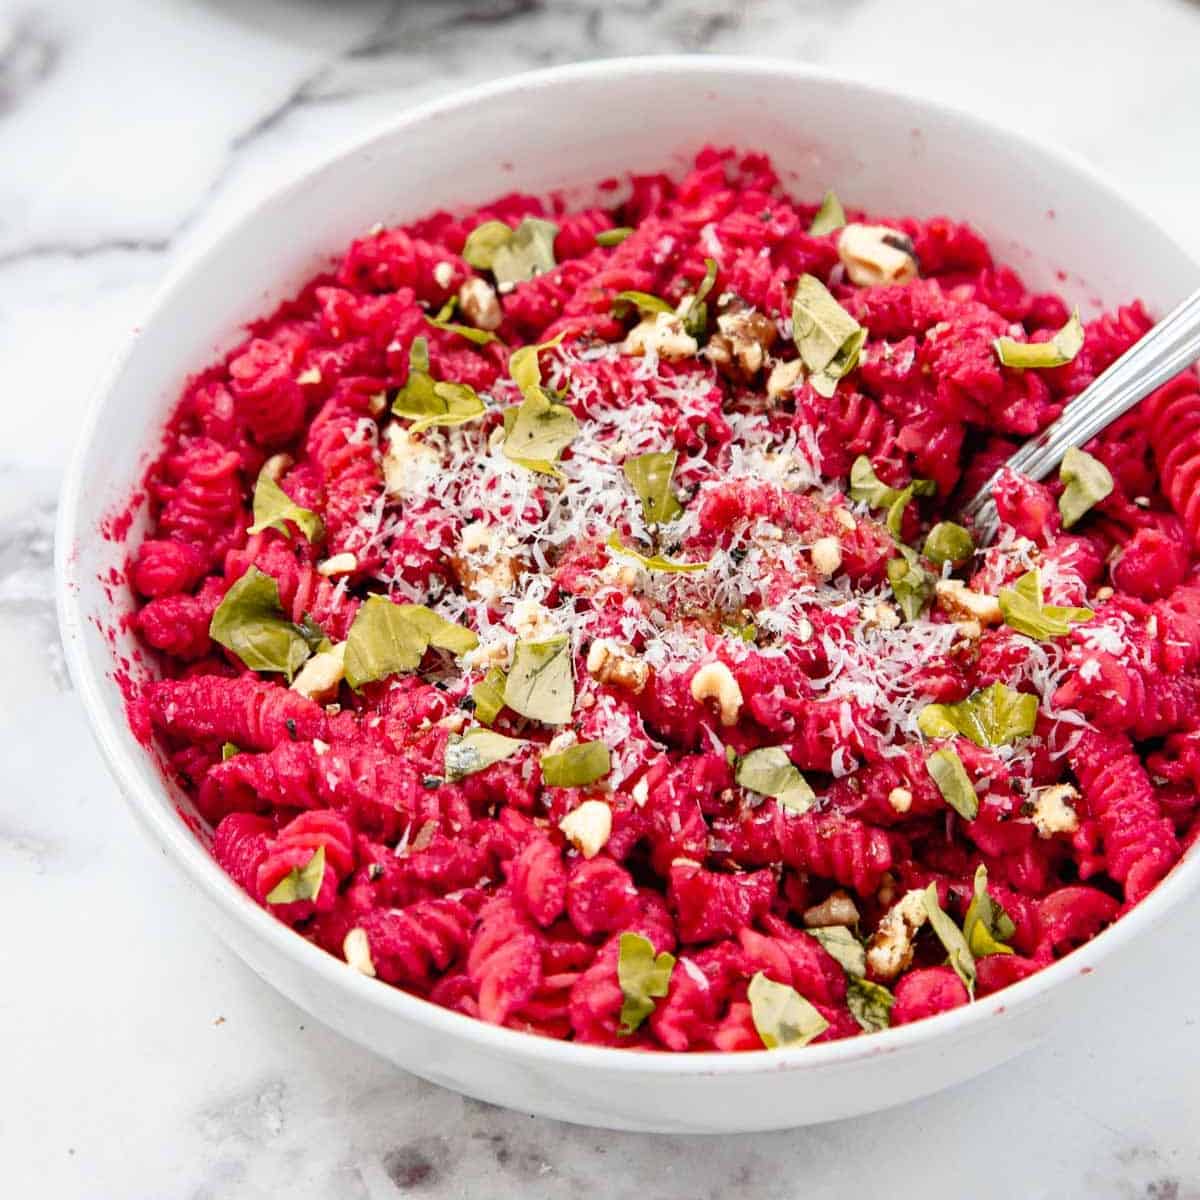
Russian Beet Salad

The vivid colors of beet salads made them a standout snack in ’60s potlucks and holiday gatherings. Combining earthy beets, tangy pickles, and creamy potatoes created a plate that sparked strong opinions. This snack is a snapshot of the daring food presentations that were bold enough to shock and charm. It’s proof that in the ’60s, your salad could look like modern art.
Get the Recipe: Russian Beet Salad
Cheesy Cabbage Casserole with Cracker Topping

Cheesy Cabbage Casserole with Cracker Topping was one of those ’60s snacks that didn’t need flashy ingredients to get attention. With creamy cabbage and a crisp topping, it checked every box for comfort and practicality. Its no-nonsense appearance still managed to draw curious looks from across the table. It’s the kind of snack that had folks wondering what it was—then asking for seconds.
Get the Recipe: Cheesy Cabbage Casserole with Cracker Topping
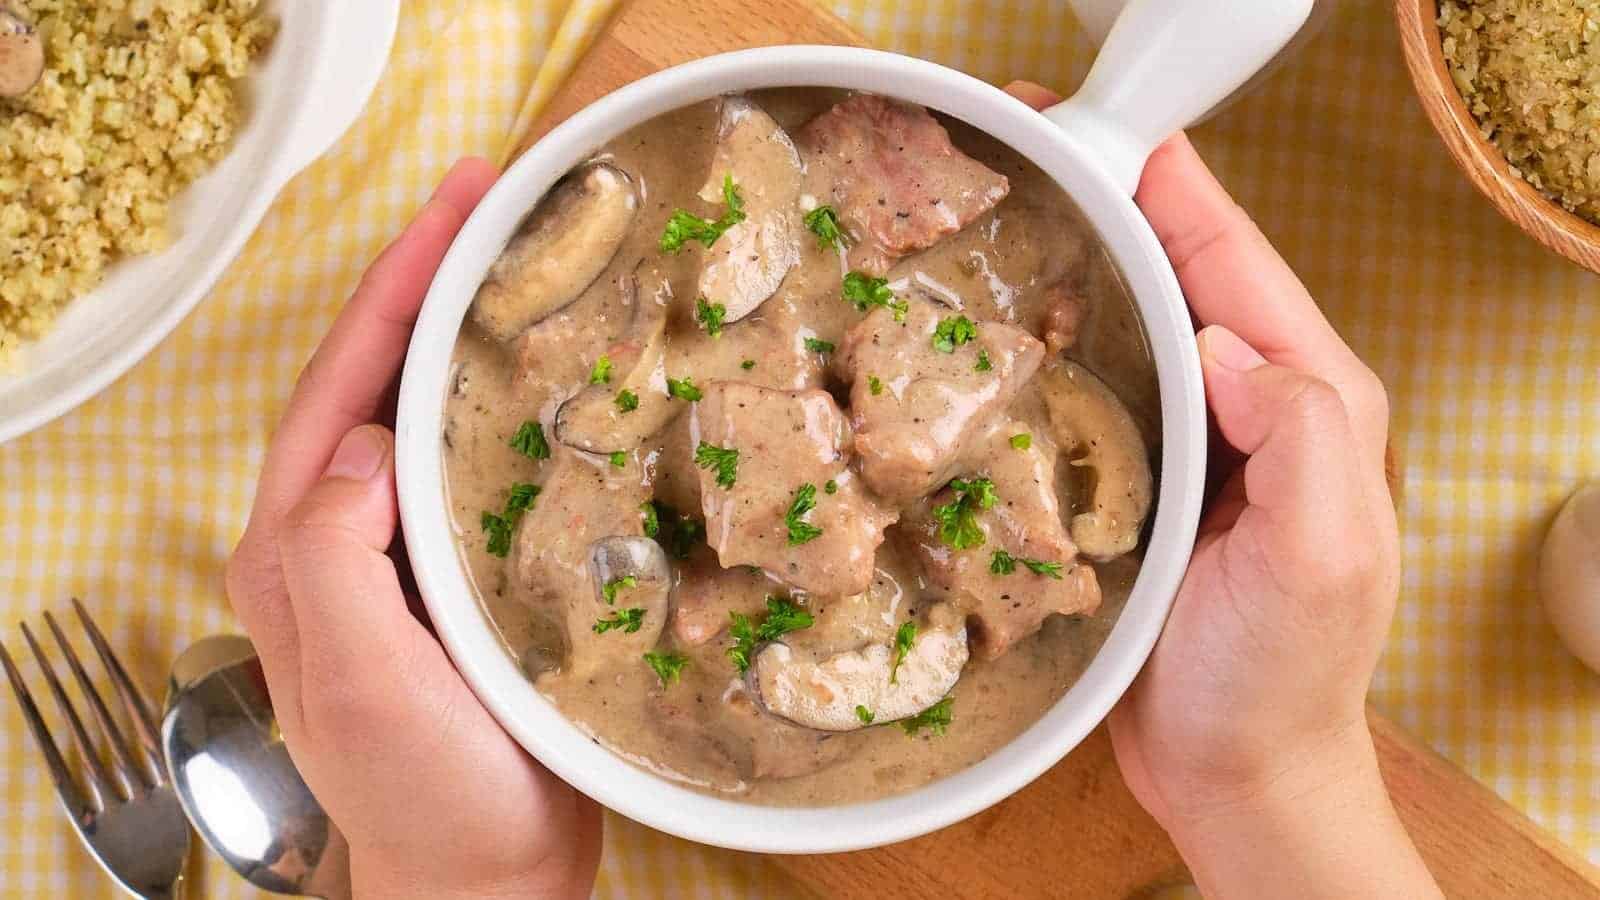
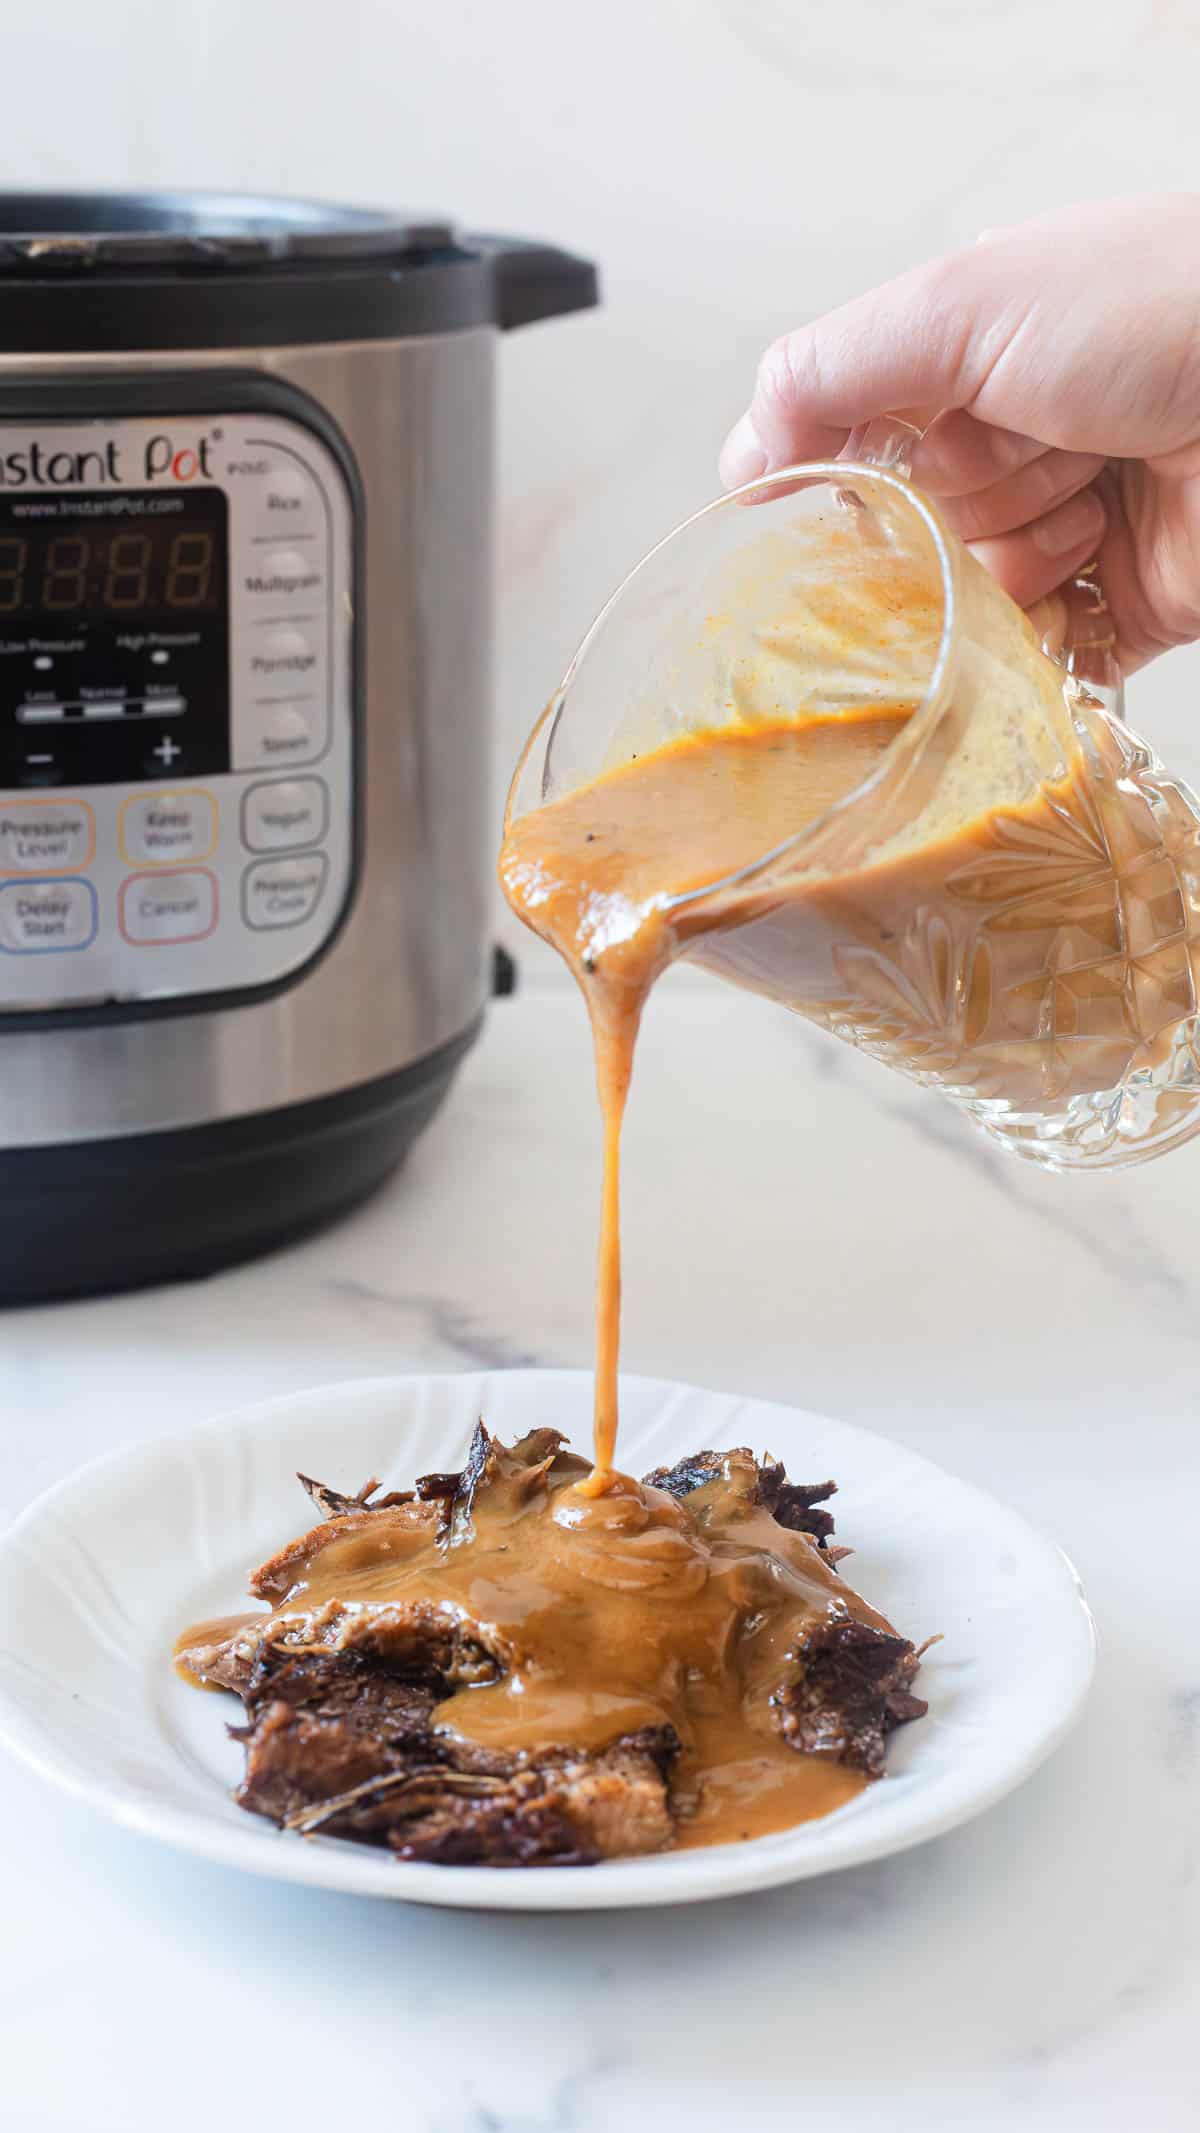
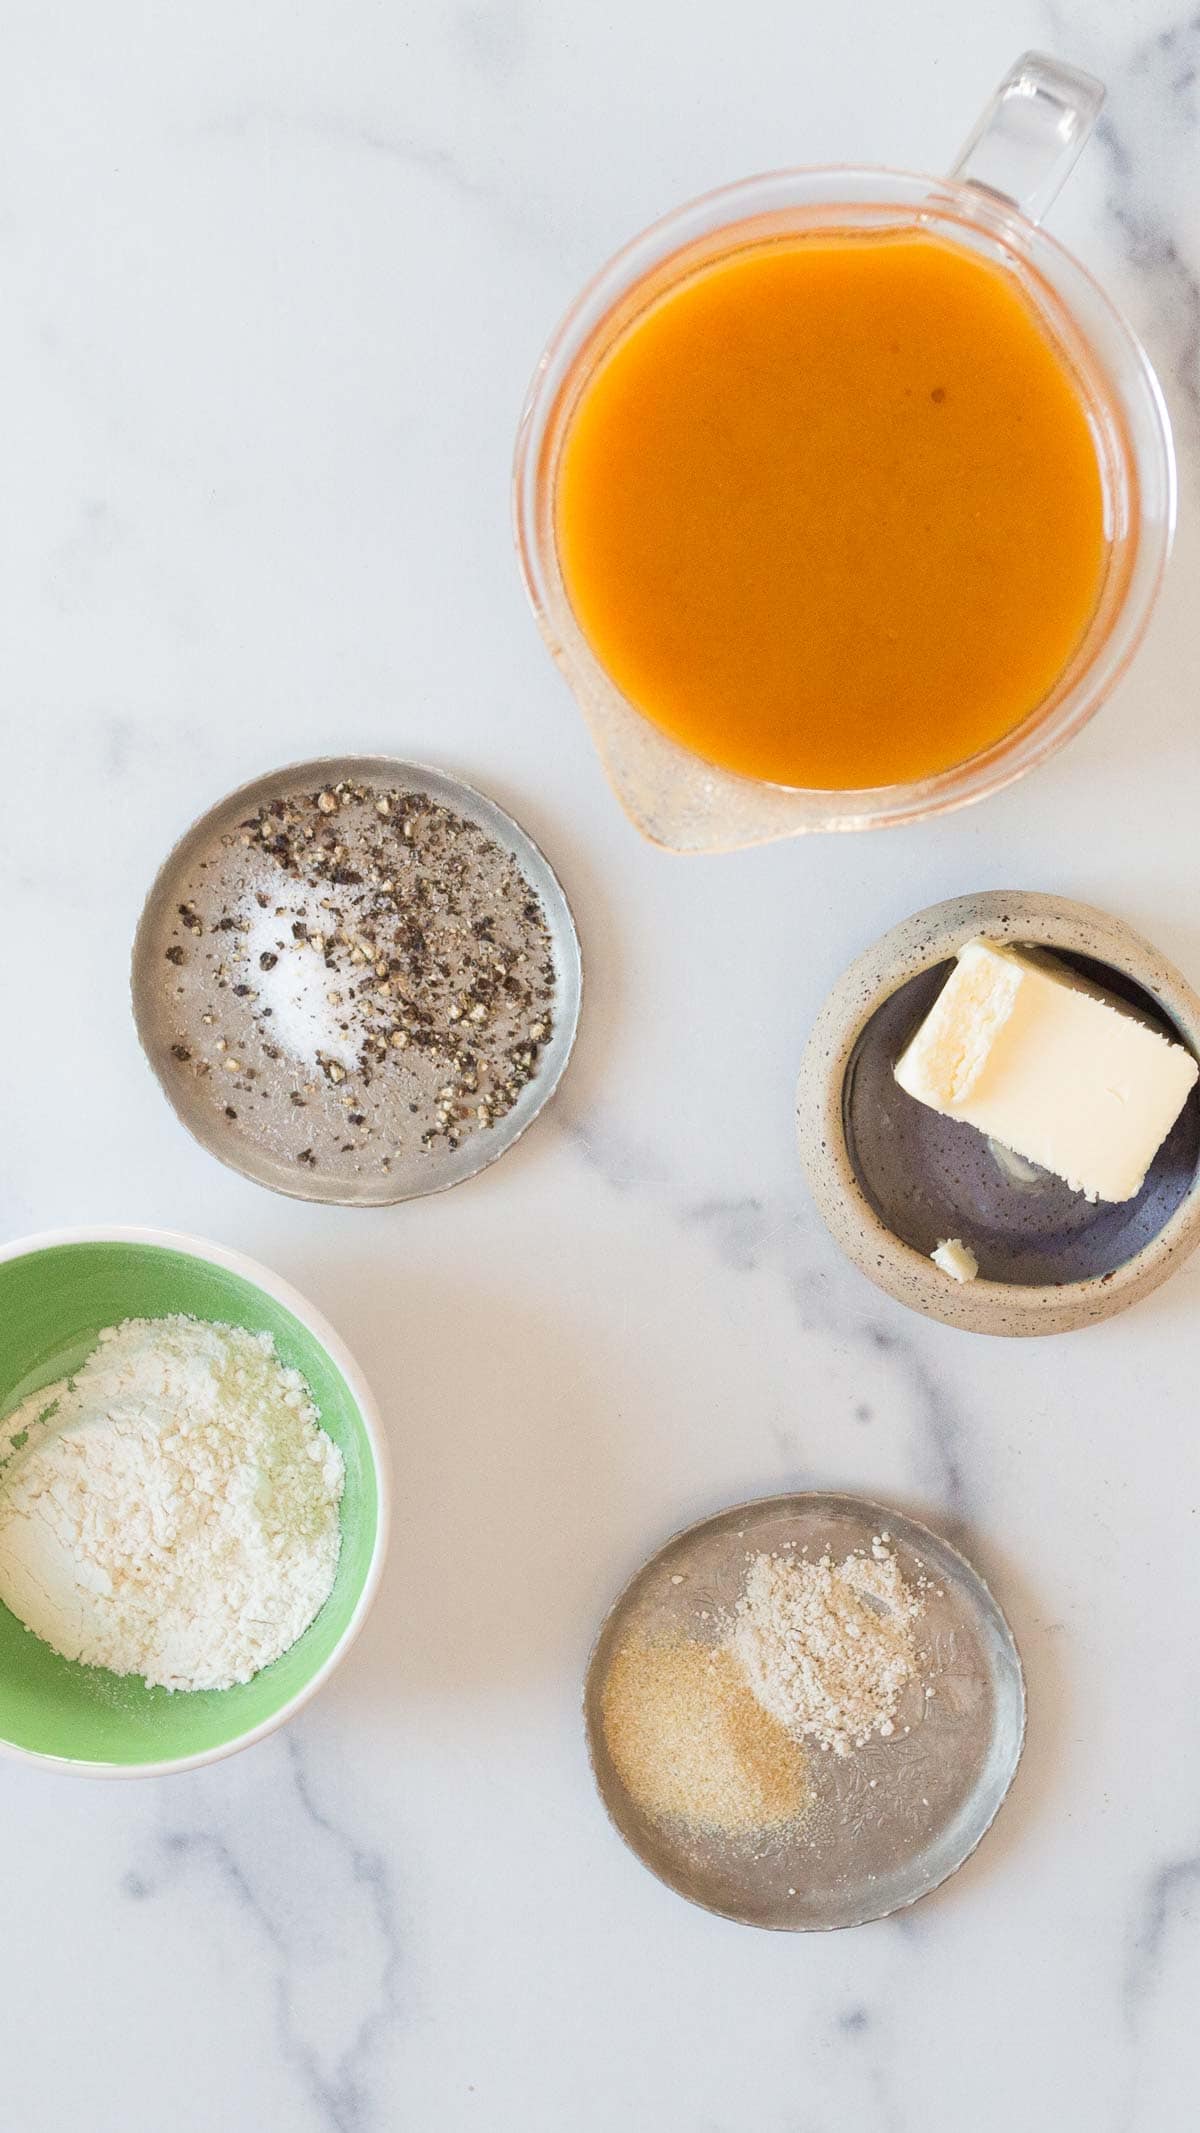
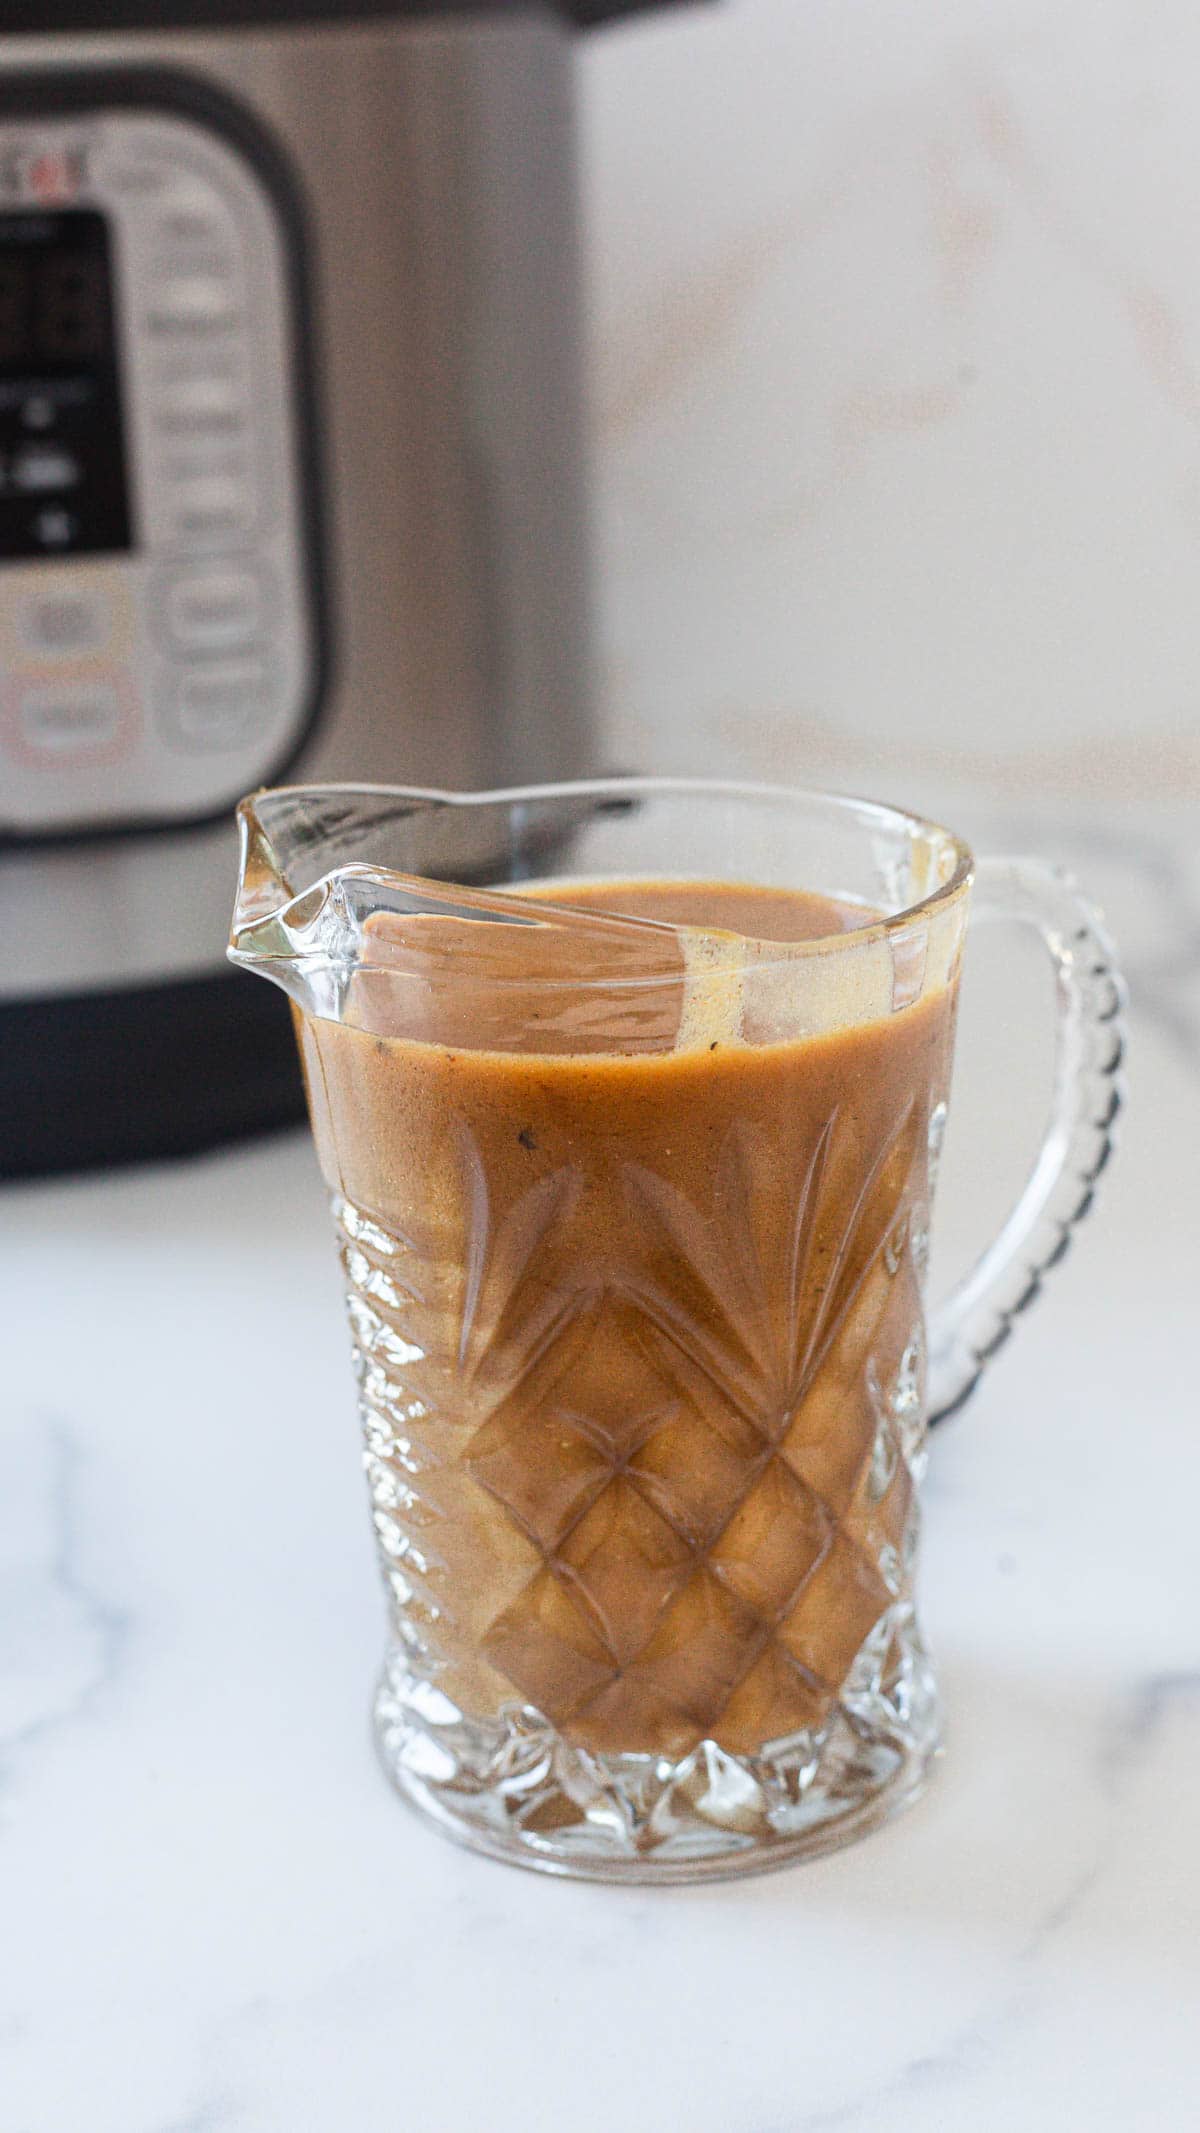
Salisbury Steak in the Slow Cooker

Salisbury steak was a ’60s dinner staple that became one of the decade’s most recognizable snacks in retro kitchens. Smothered in thick gravy, it was more about ease than freshness, making it a weeknight go-to. This snack reminds us how processed could still feel homemade back then. It was the kind of meal that made you raise an eyebrow, then clear your plate.
Get the Recipe: Salisbury Steak in the Slow Cooker
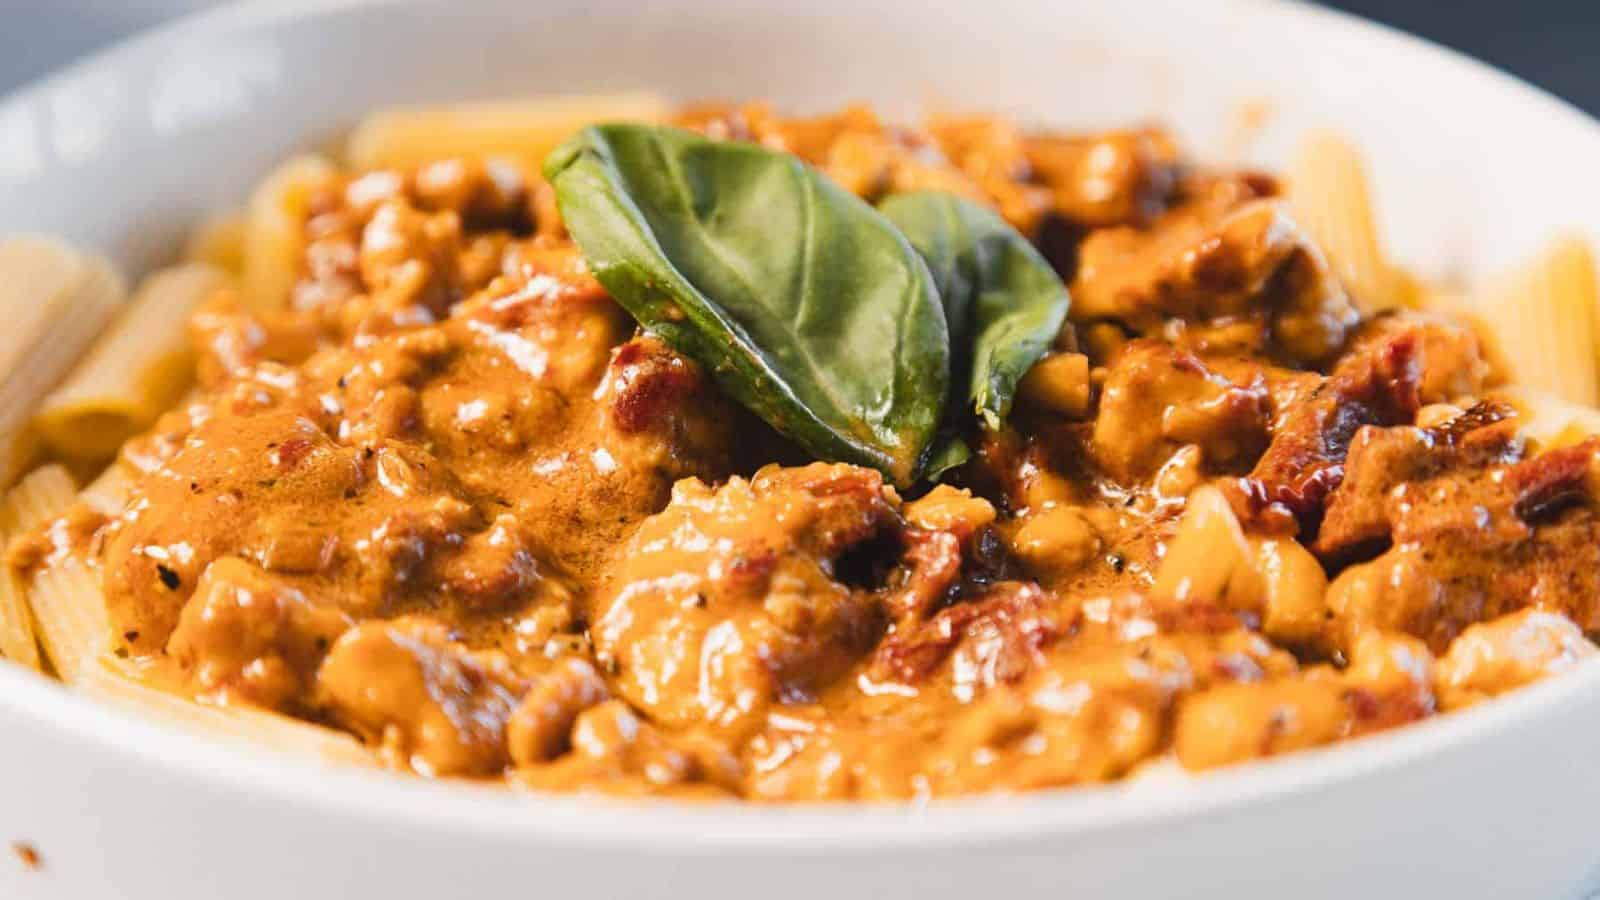
Amish Macaroni Salad
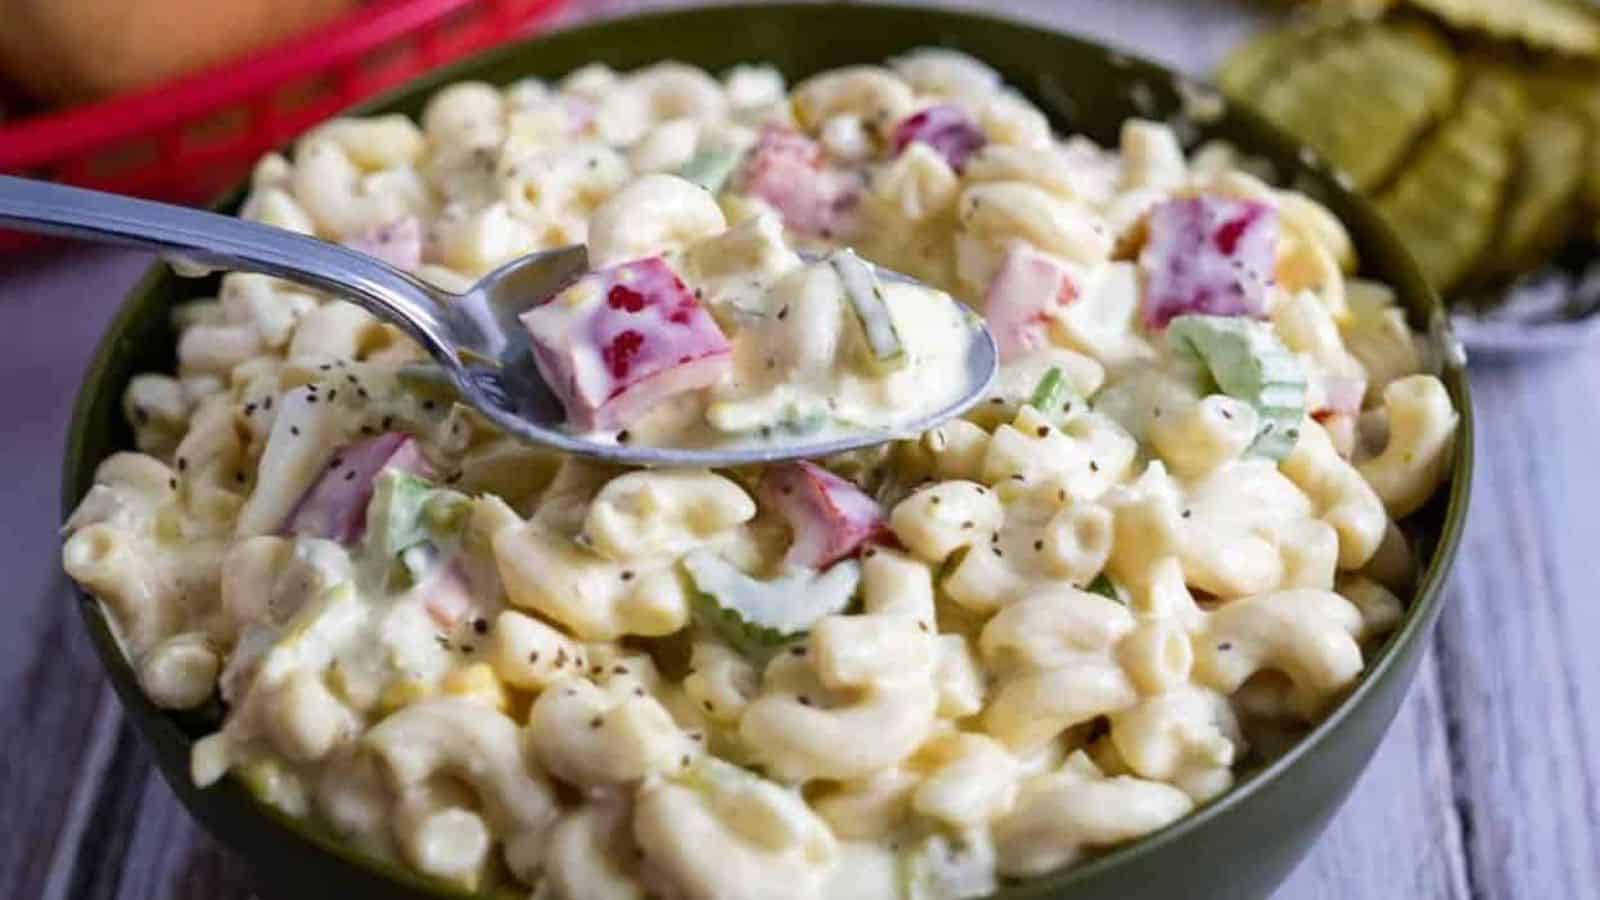
Macaroni salad in the ’60s leaned sweet, and the Amish version took that even further with its sugar-tinged dressing. Served chilled and scooped onto every plate, it was a picnic snack with a twist that made you pause. Its creamy texture and unexpected flavor made it a conversation piece. Bringing it back brings that “wait—what’s in this?” moment all over again.
Get the Recipe: Amish Macaroni Salad
Chicken à la King

Chicken à la King was one of those snacks that looked fancy on the surface but came straight from the pantry. With canned soup and diced chicken over toast, it gave mid-century families a shortcut to something that seemed special. It captured the convenience-first mindset of the ’60s. Bringing it back feels like pulling out a dusty recipe card that still works.
Get the Recipe: Chicken à la King
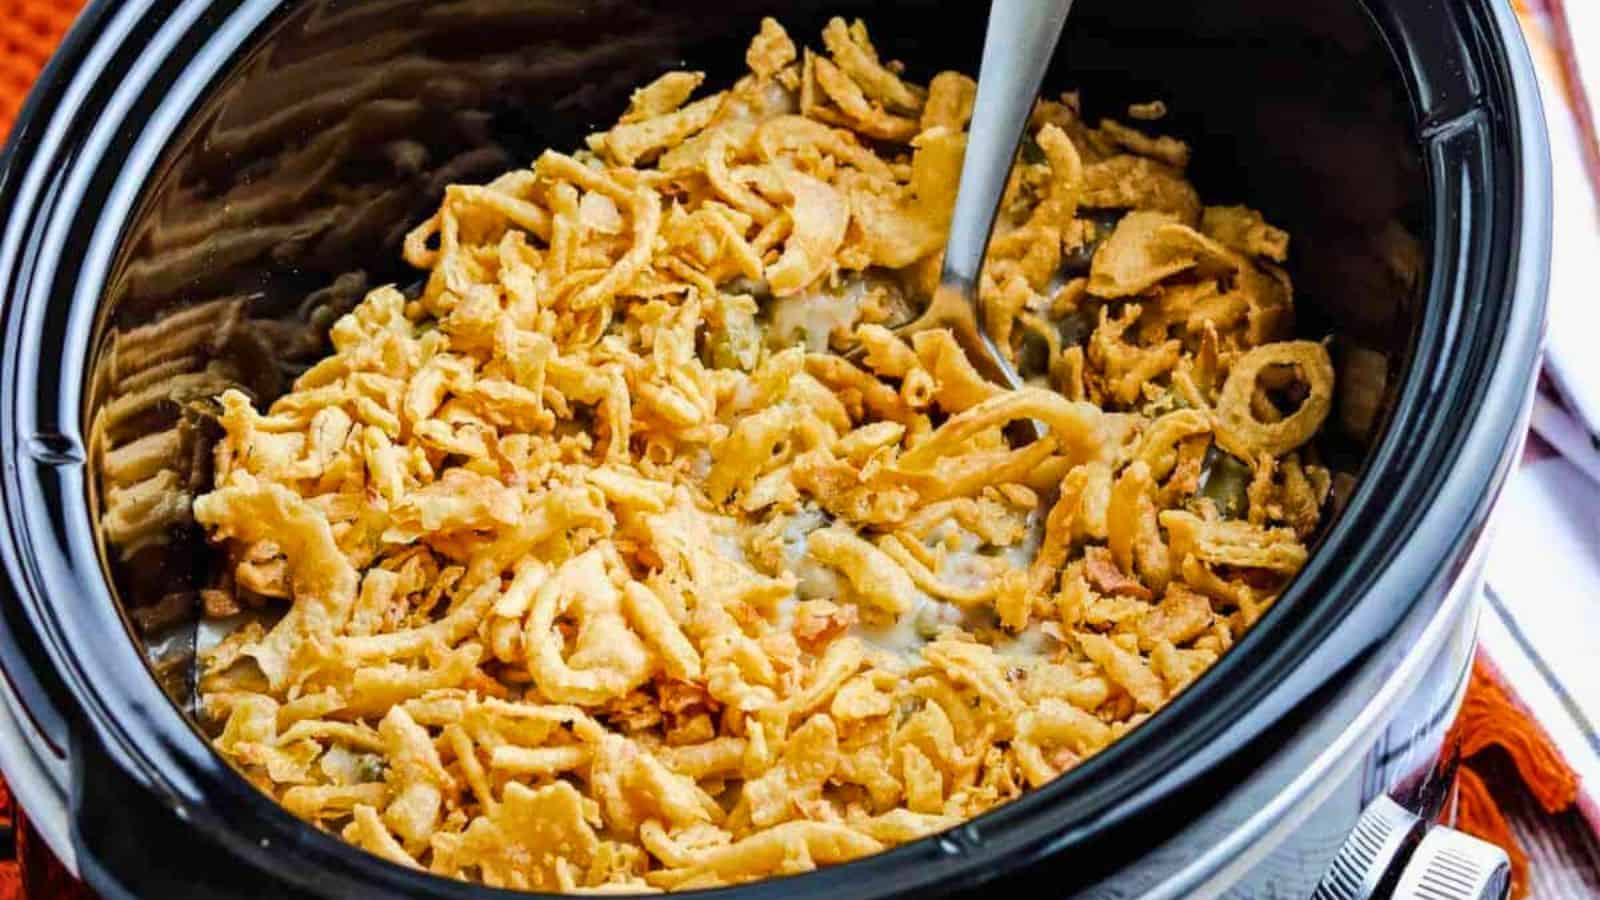
Crock Pot Mac and Cheese

Crock Pot Mac and Cheese was one of the decade’s most practical snack creations, made even more appealing by its gooey, thick texture. In the ’60s, this dish leaned heavily on processed cheese, which raised eyebrows and drew kids to the table. It was a snack that screamed comfort, even if the ingredients weren’t fresh. Reintroducing it today is like opening a time capsule in your slow cooker.
Get the Recipe: Crock Pot Mac and Cheese
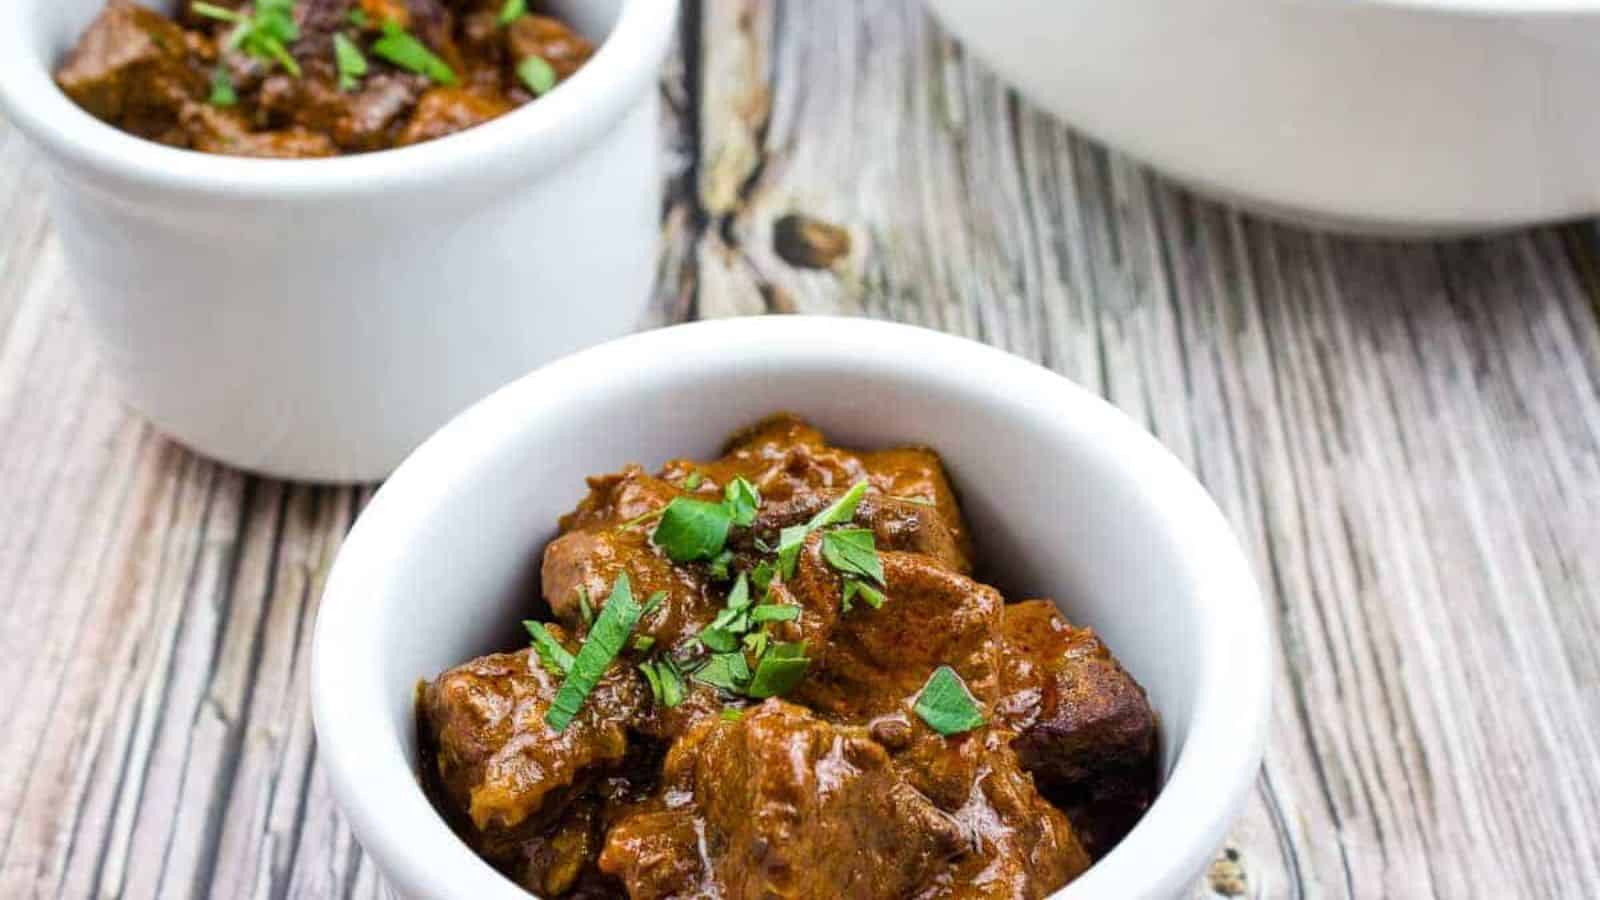
Pulled Pork Deviled Eggs

Deviled eggs were everywhere in the ’60s, and stuffing them with pulled pork pushed them from traditional snack to shocking surprise. It was the kind of bold party food that drew both curiosity and side glances. This snack showed the decade’s fearless approach to mix-and-match entertaining. It’s exactly the kind of strange-yet-memorable idea that made guests remember what was on the tray.
Get the Recipe: Pulled Pork Deviled Eggs
Slow Cooker Porcupine Meatballs

Porcupine meatballs, studded with rice, were a thrifty snack that made their way onto many ’60s dinner tables. Their quirky name and quirky look made them one of the more memorable comfort foods of the time. Cooking them in a slow cooker only made them more appealing to busy families. You didn’t need a fancy spread when you had these oddball crowd-pleasers.
Get the Recipe: Slow Cooker Porcupine Meatballs
Lime Jello Salad

Lime Jello Salad was one of the brightest and most eyebrow-raising snacks of the 1960s. With fruit, marshmallows, and sometimes even veggies inside, it was the kind of dish people stared at before taking a bite. It looked more like a craft project than food. Yet somehow, it became a potluck legend you still remember by color.
Get the Recipe: Lime Jello Salad
Golumpki Stuffed Cabbage Rolls
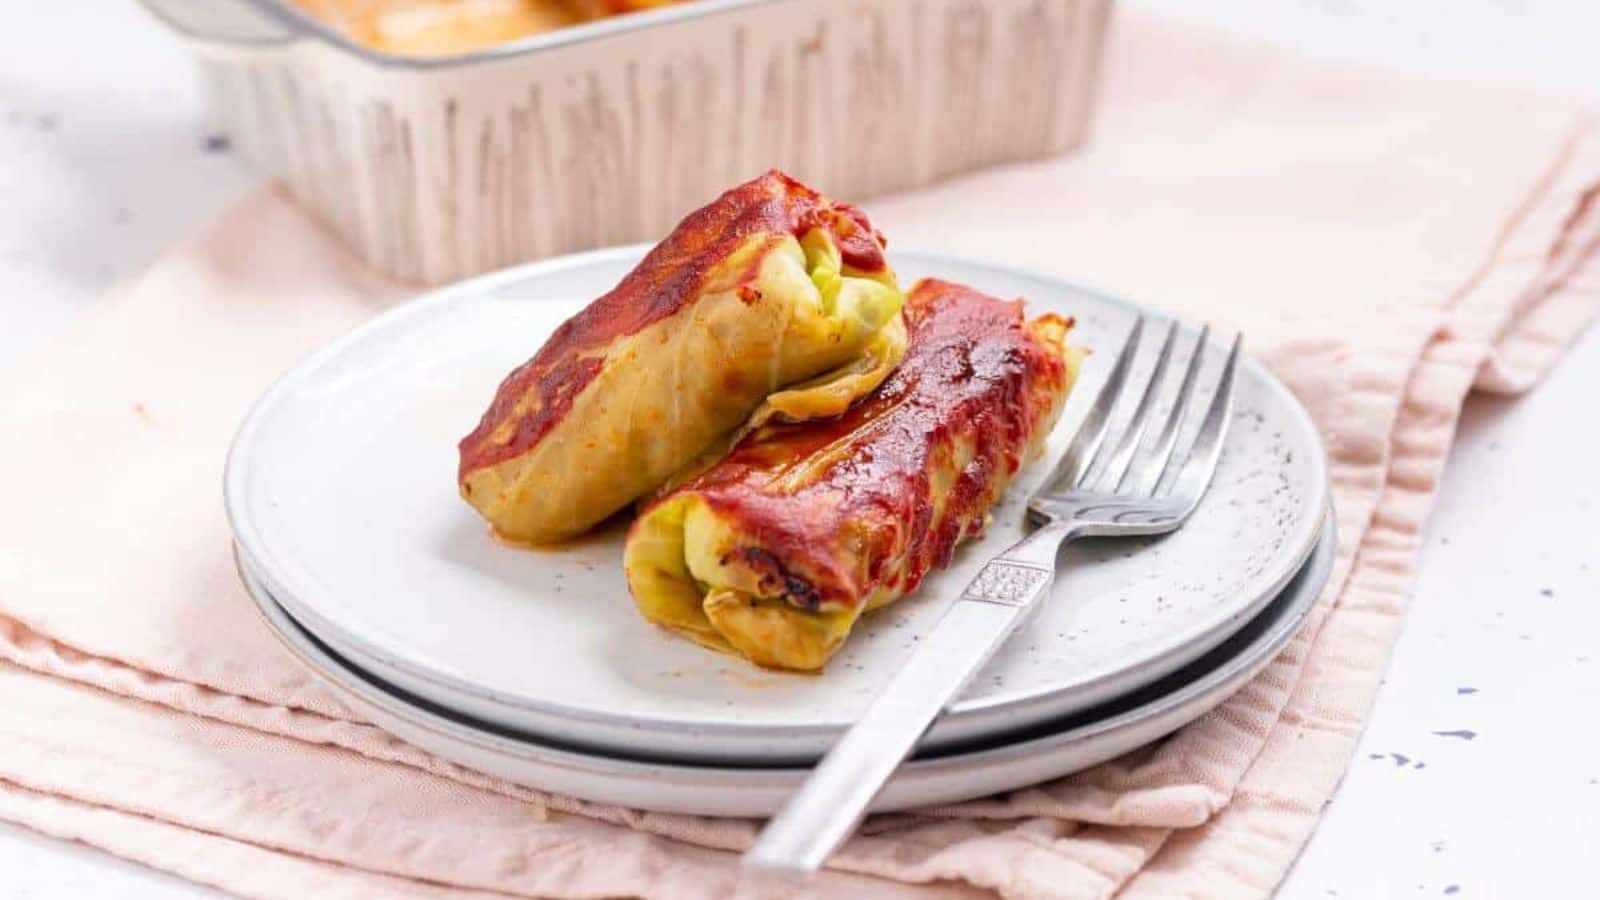
Golumpki rolls were the kind of labor-heavy ’60s snack that showed just how much effort went into everyday meals. Meat, rice, and cabbage rolled into neat bundles looked plain—but packed flavor that made up for their appearance. They weren’t flashy but they were reliable on the plate. Bringing them back is like passing a retro food test—and still getting an A.
Get the Recipe: Golumpki Stuffed Cabbage Rolls
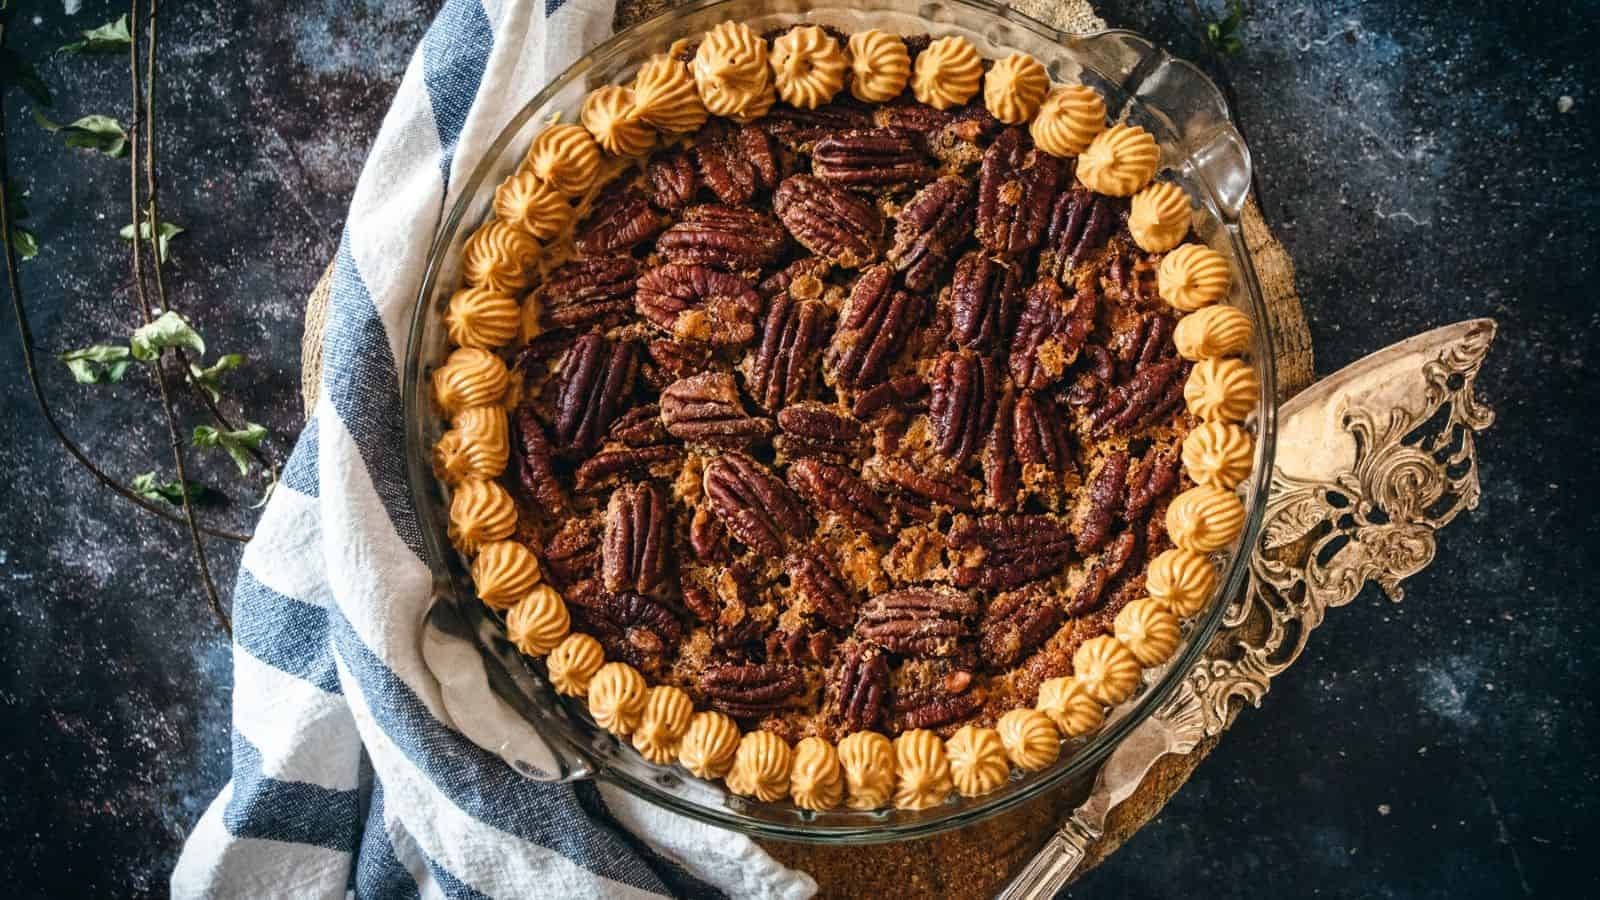
Grasshopper Pie

Grasshopper pie was a bold mint-flavored dessert that popped up at every other ’60s gathering. Its neon green hue made it more snack spectacle than dessert. This pie didn’t aim to be subtle—it wanted your attention. And once it had it, it didn’t let go.
Get the Recipe: Grasshopper Pie
Easy Squash Casserole

Easy Squash Casserole was one of those snacks that didn’t grab attention right away, but held its own at every table. Made from garden extras and baked until golden, it fed everyone and kept things simple. It may not have been flashy, but it was always present. Like a quiet cousin at the party—you miss it when it’s gone.
Get the Recipe: Easy Squash Casserole
Easy Banana Pudding

Banana pudding with cookies, bananas, and whipped topping was a go-to snack that stood tall at every ’60s dessert table. Served cold in big dishes, it was messy in all the best ways. You didn’t need a garnish when every scoop looked like comfort. The only thing shocking was how fast it disappeared.
Get the Recipe: Easy Banana Pudding
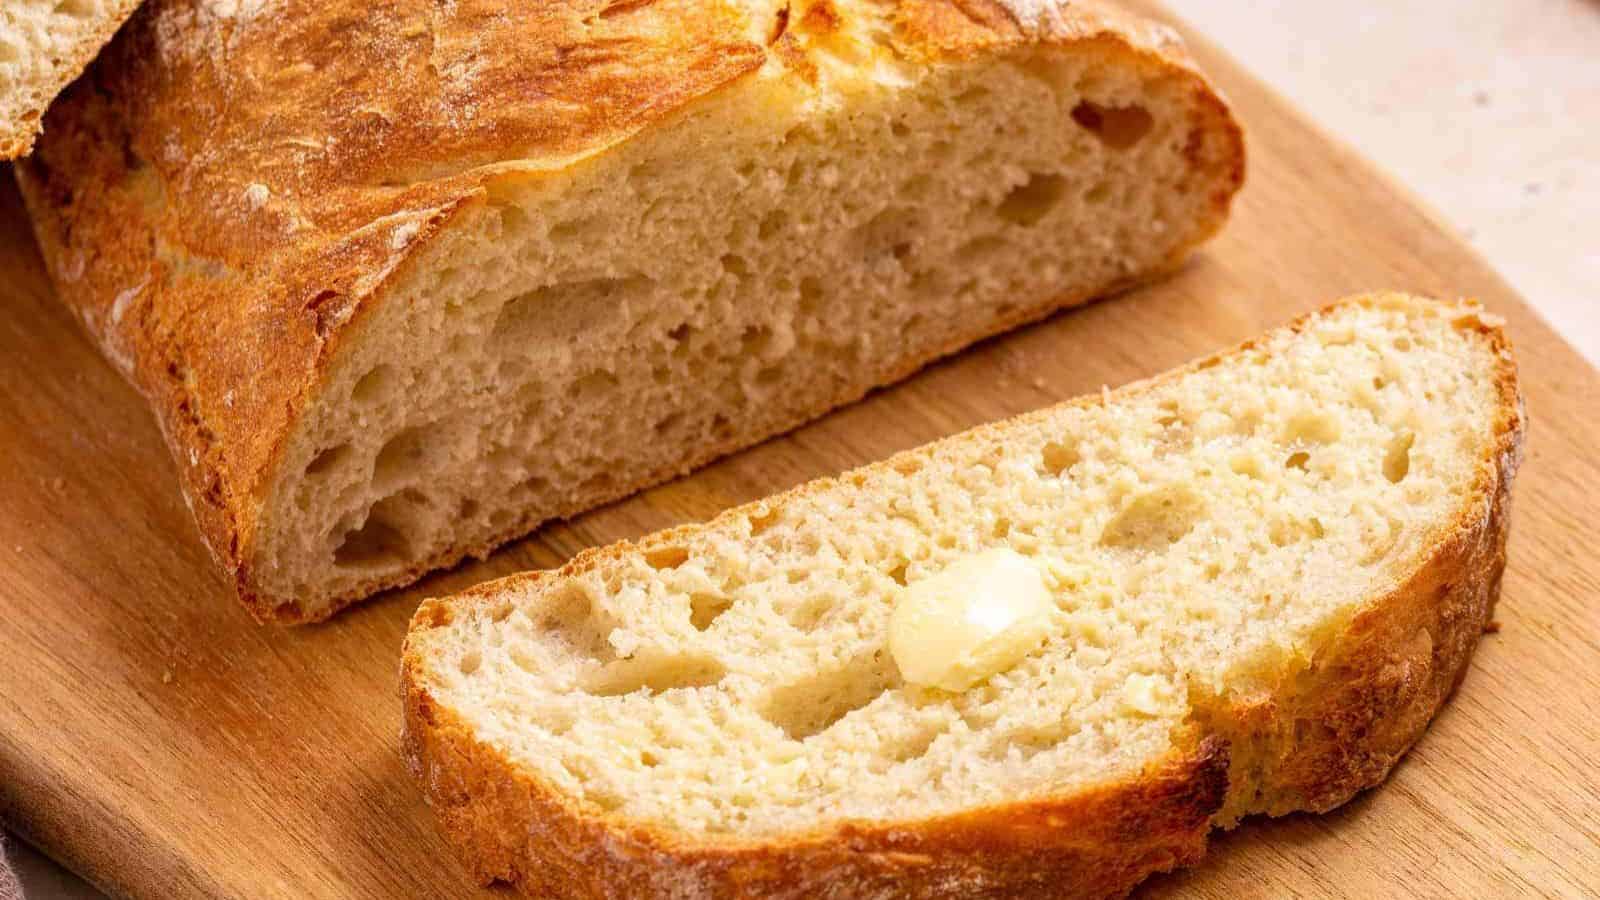
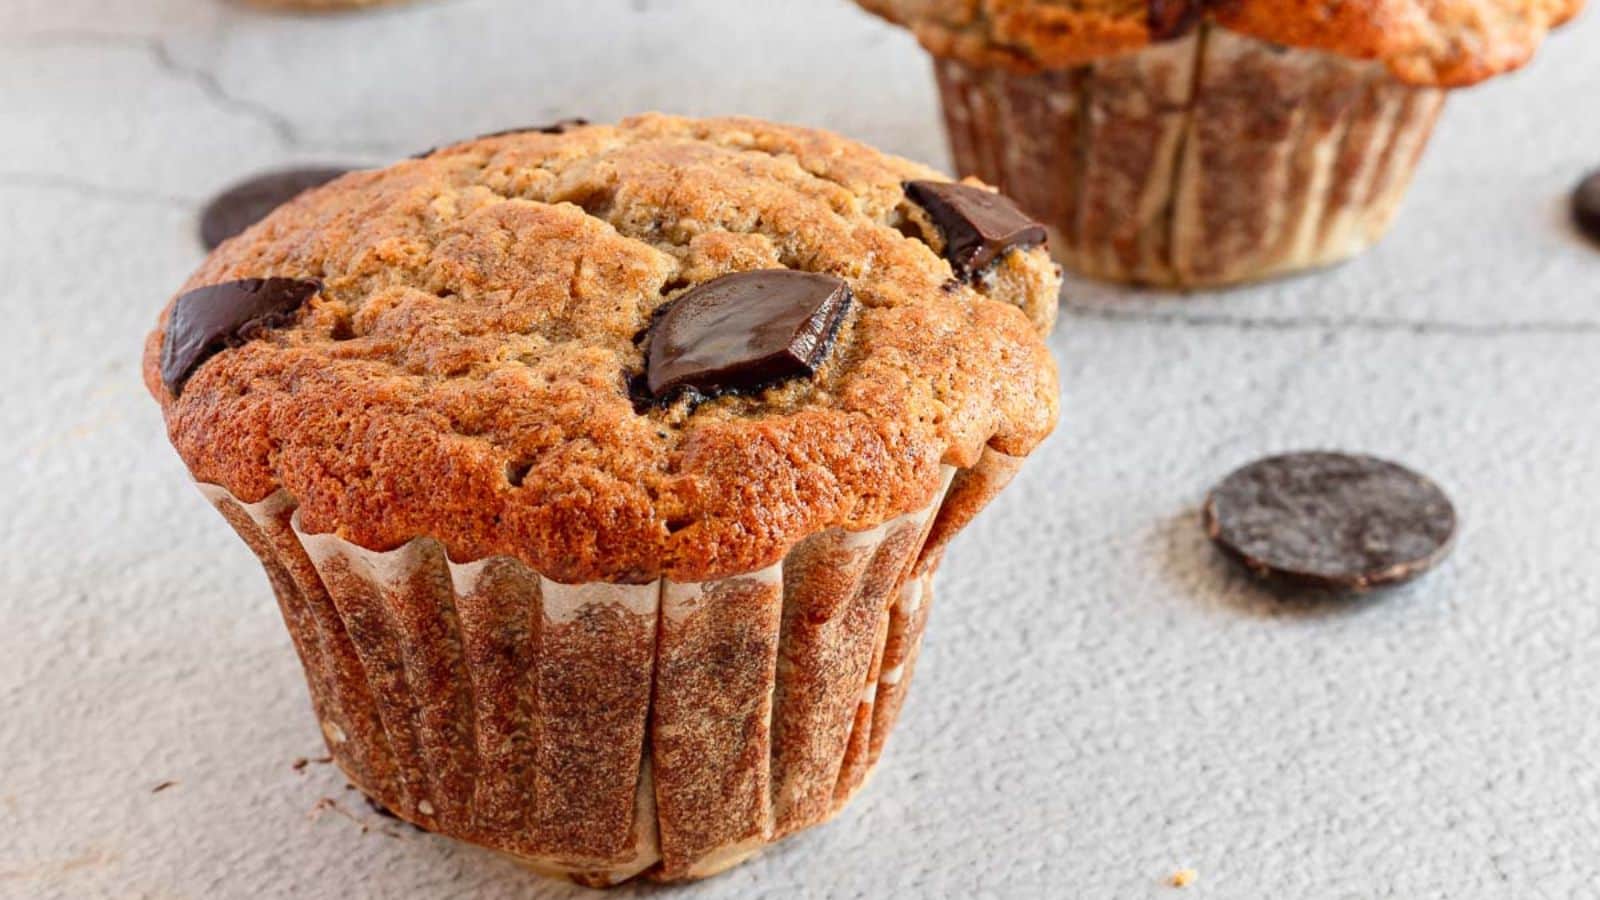
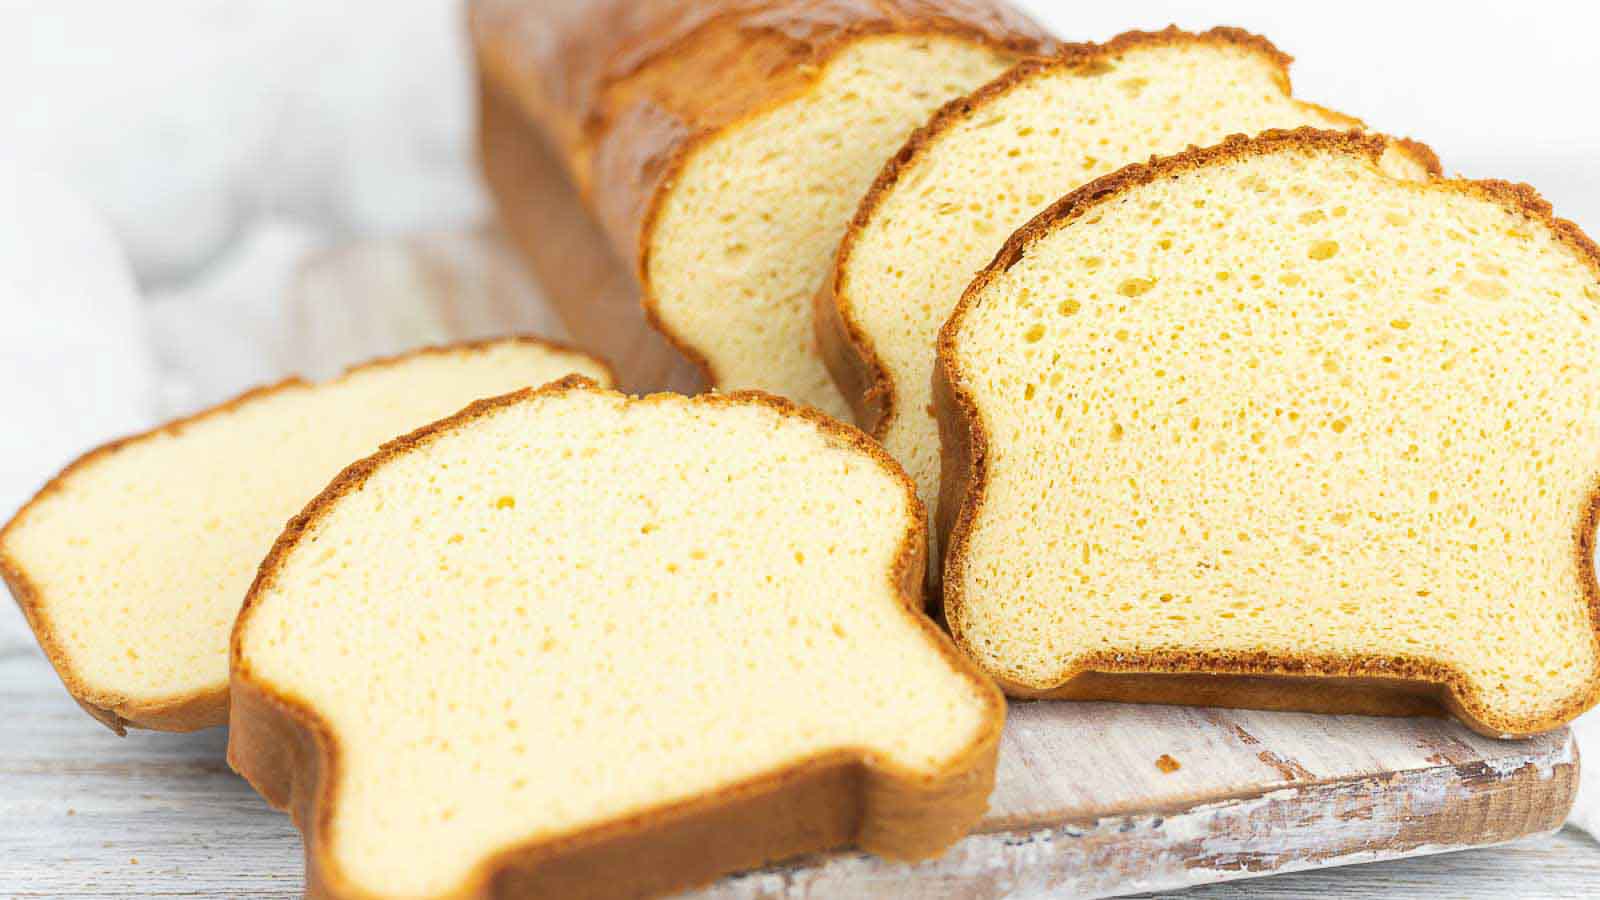
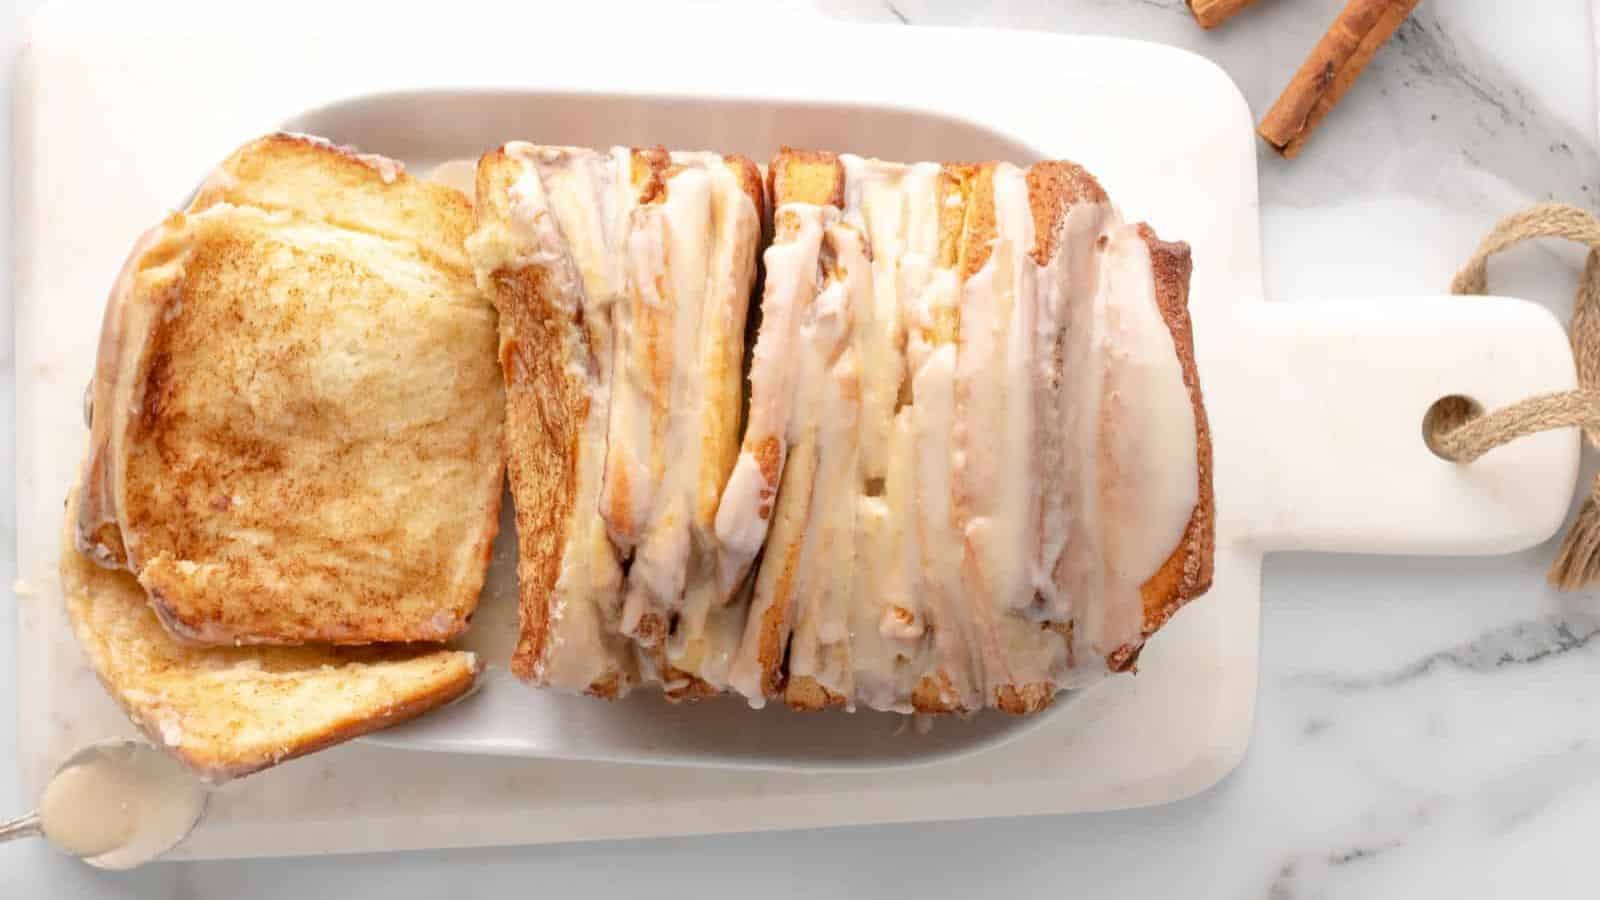
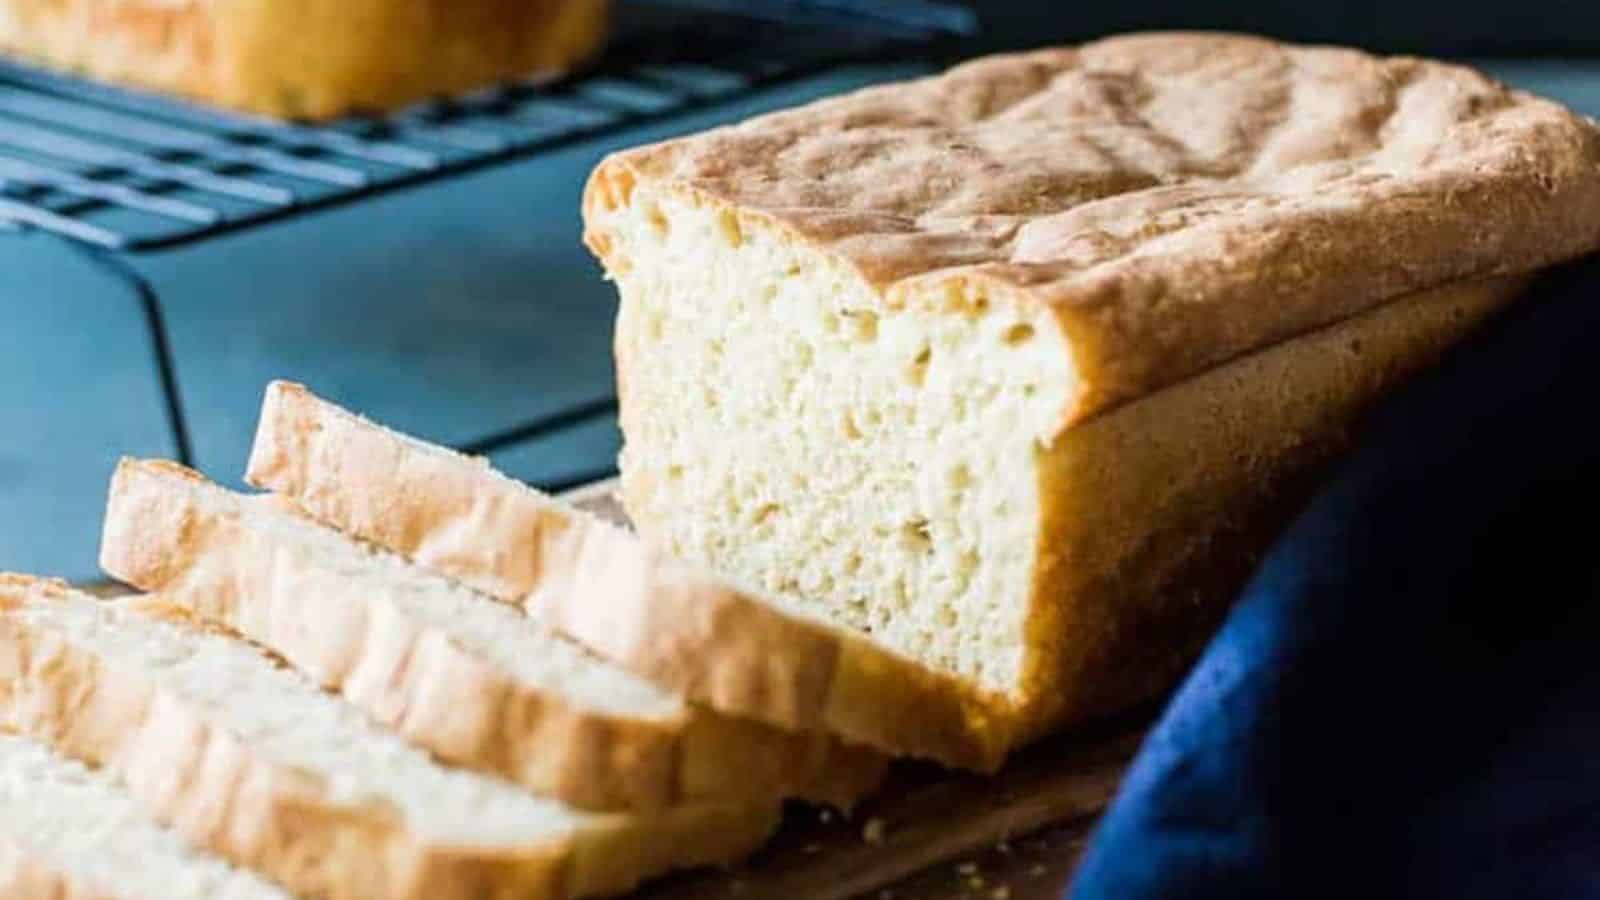
Nutmeg and Pecan Braided Bread
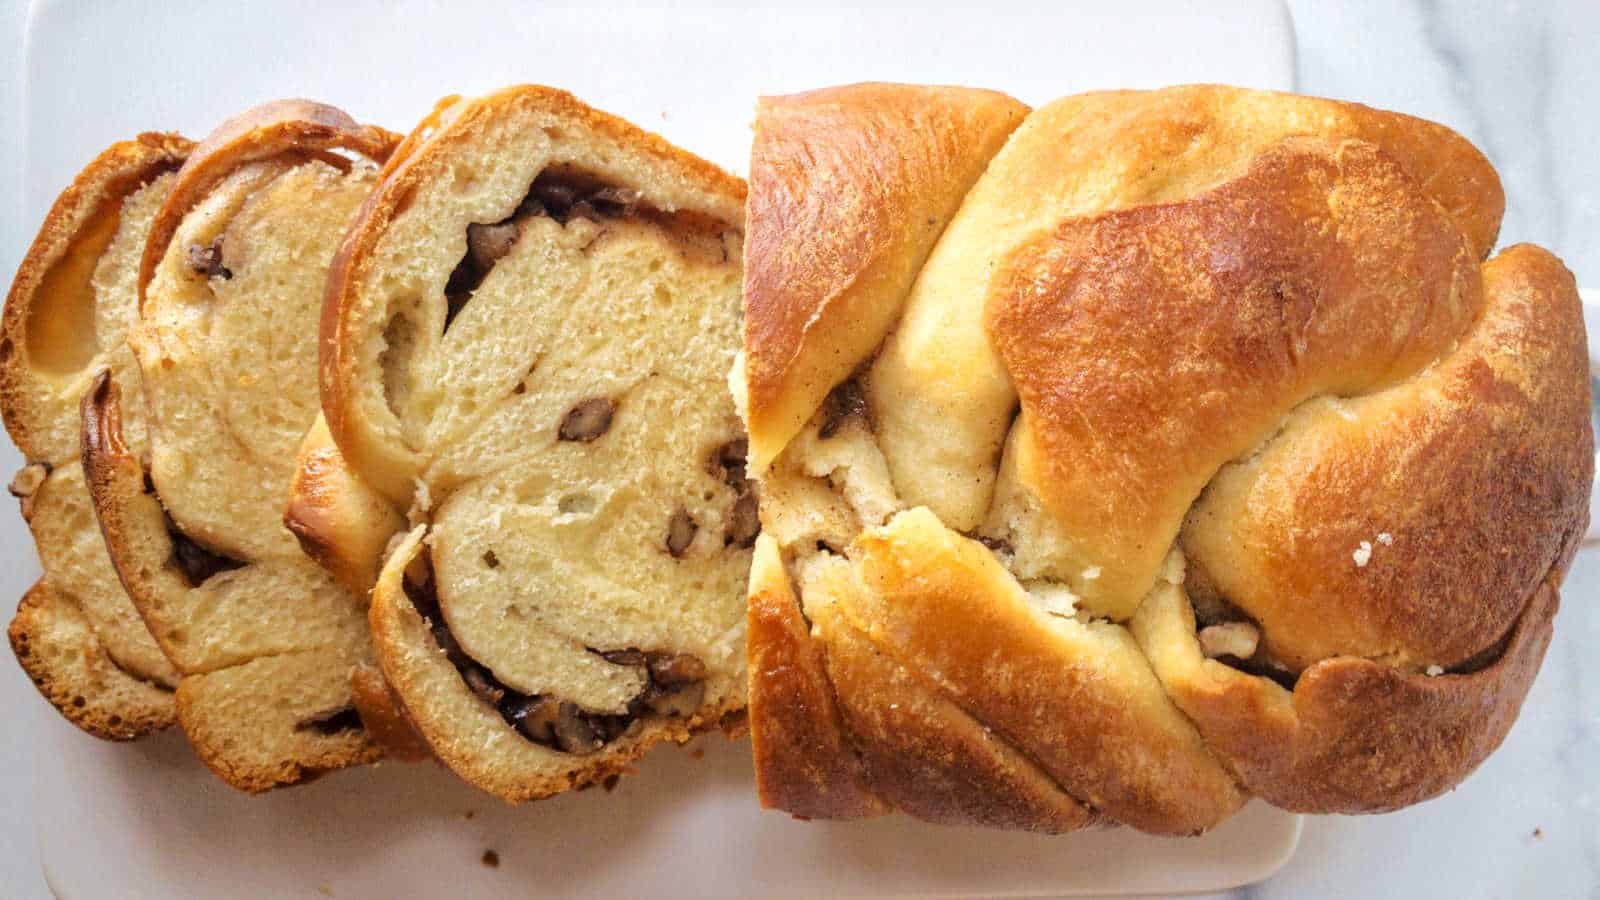
Nutmeg and Pecan Braided Bread was a ’60s snack that didn’t need frosting to impress. Its golden crust and sweet filling made each slice more interesting than the last. It felt homemade and store-bought all at once. It was the kind of bread you sliced at the table just to hear someone say, “Wait, you made that?”
Get the Recipe: Nutmeg and Pecan Braided Bread
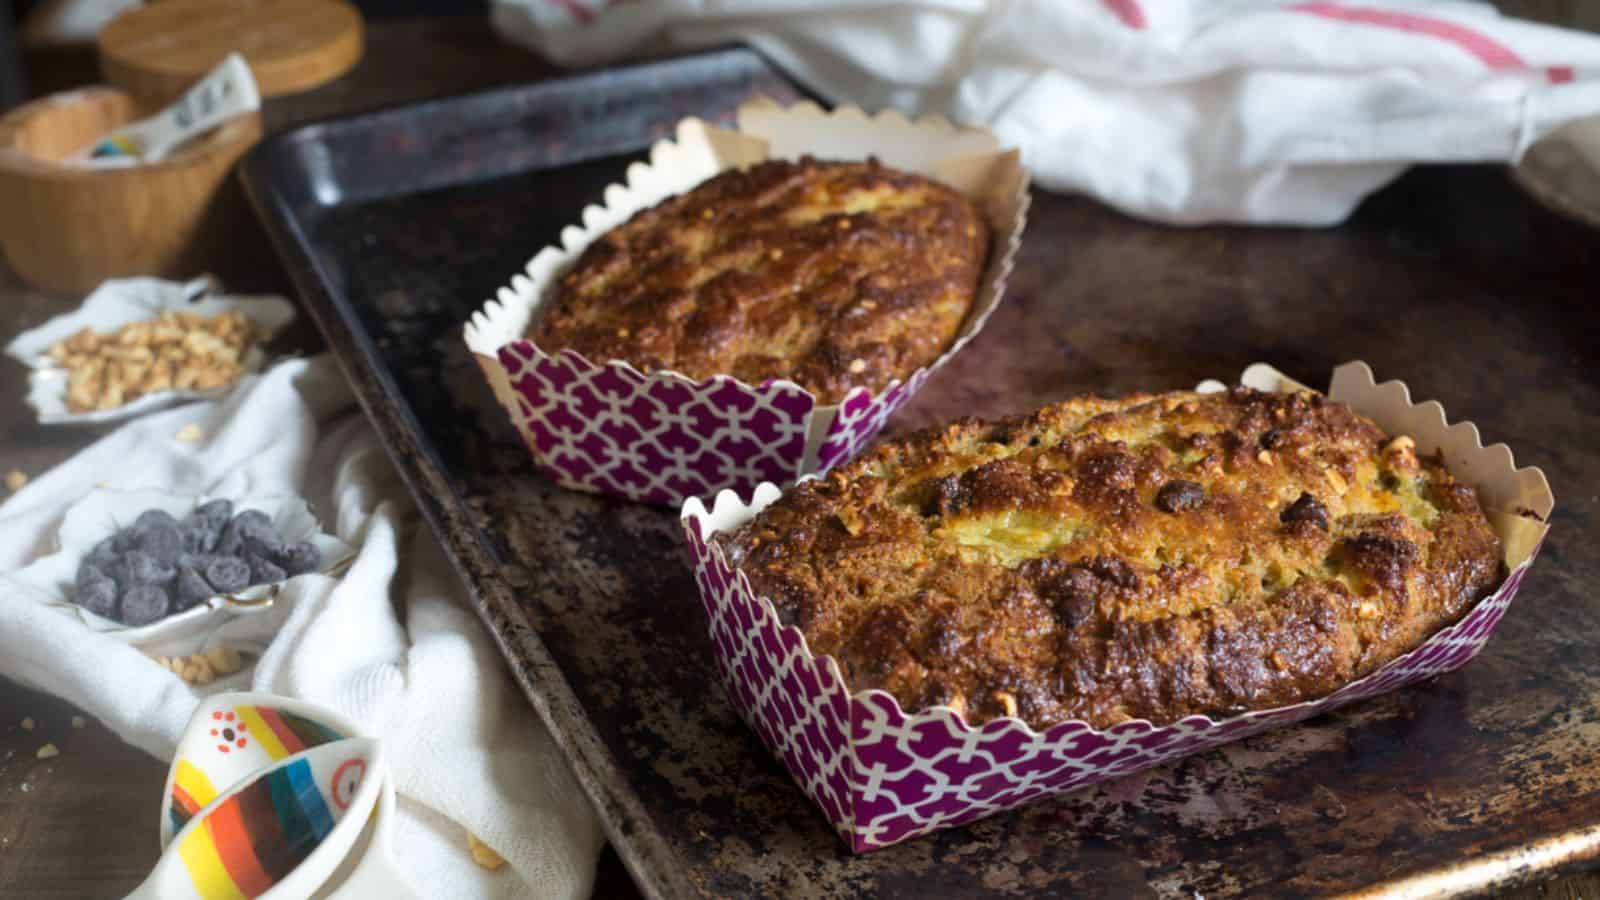
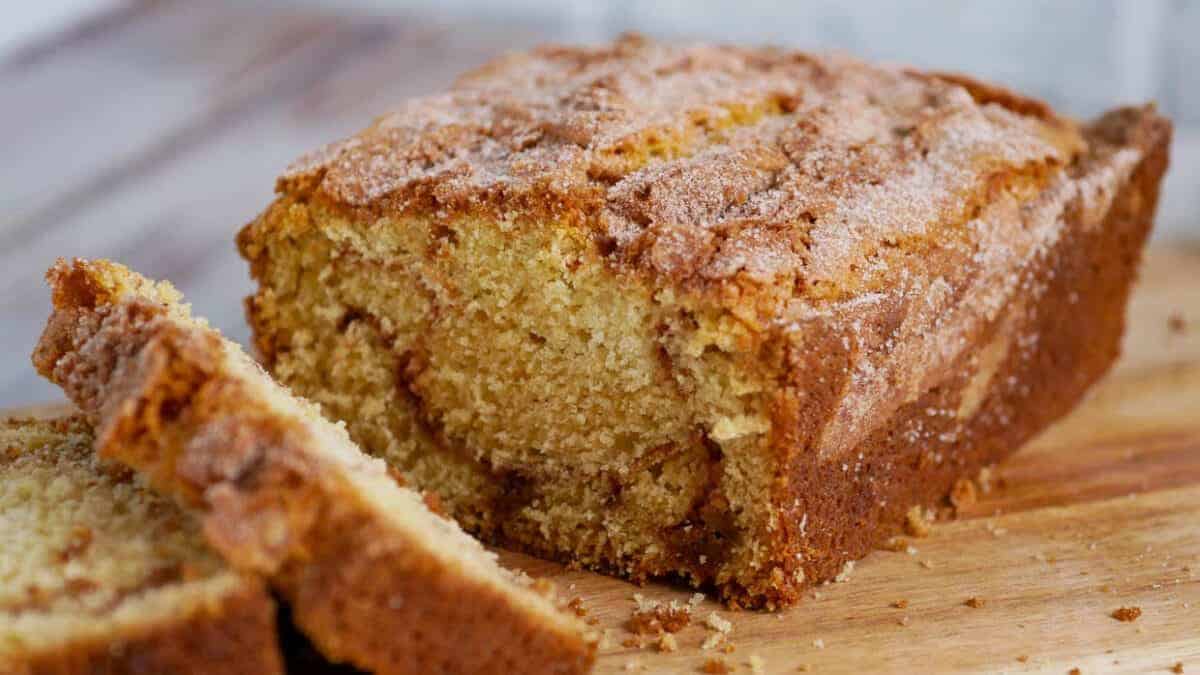
Tomato Soup Cake

Tomato Soup Cake turned one of the most unexpected pantry items into a moist, spiced snack that has lived on in memory. In the ’60s, it raised eyebrows and drew curiosity—especially when it worked. It was thrifty, surprising, and undeniably memorable. Every bite is a lesson in making something out of nothing.
Get the Recipe: Tomato Soup Cake
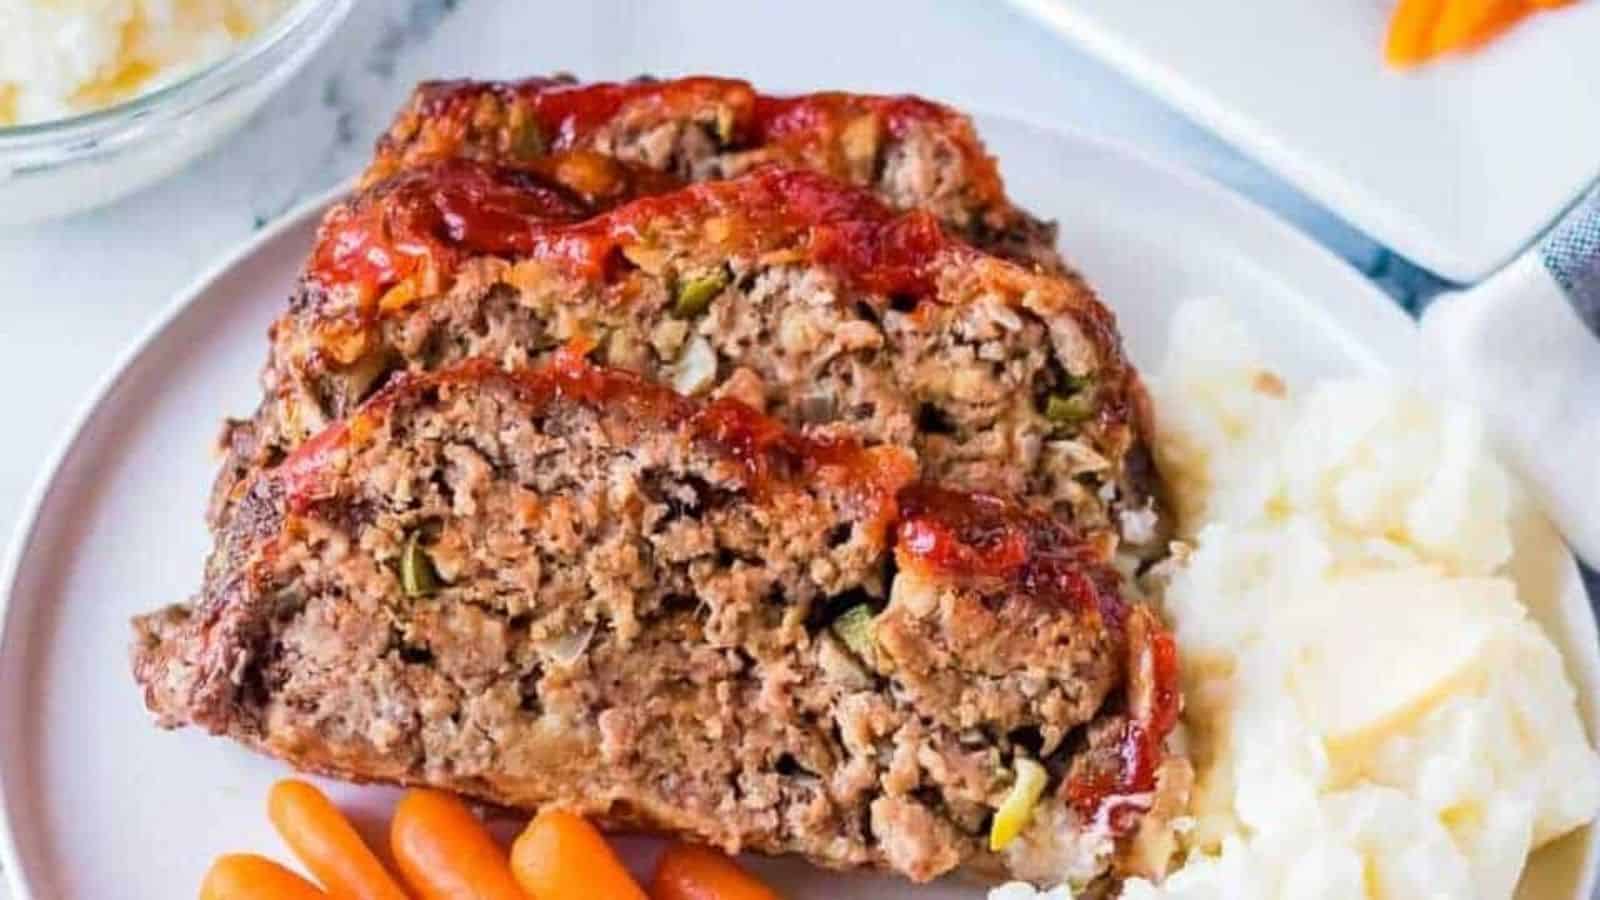
Sloppy Joe Casserole
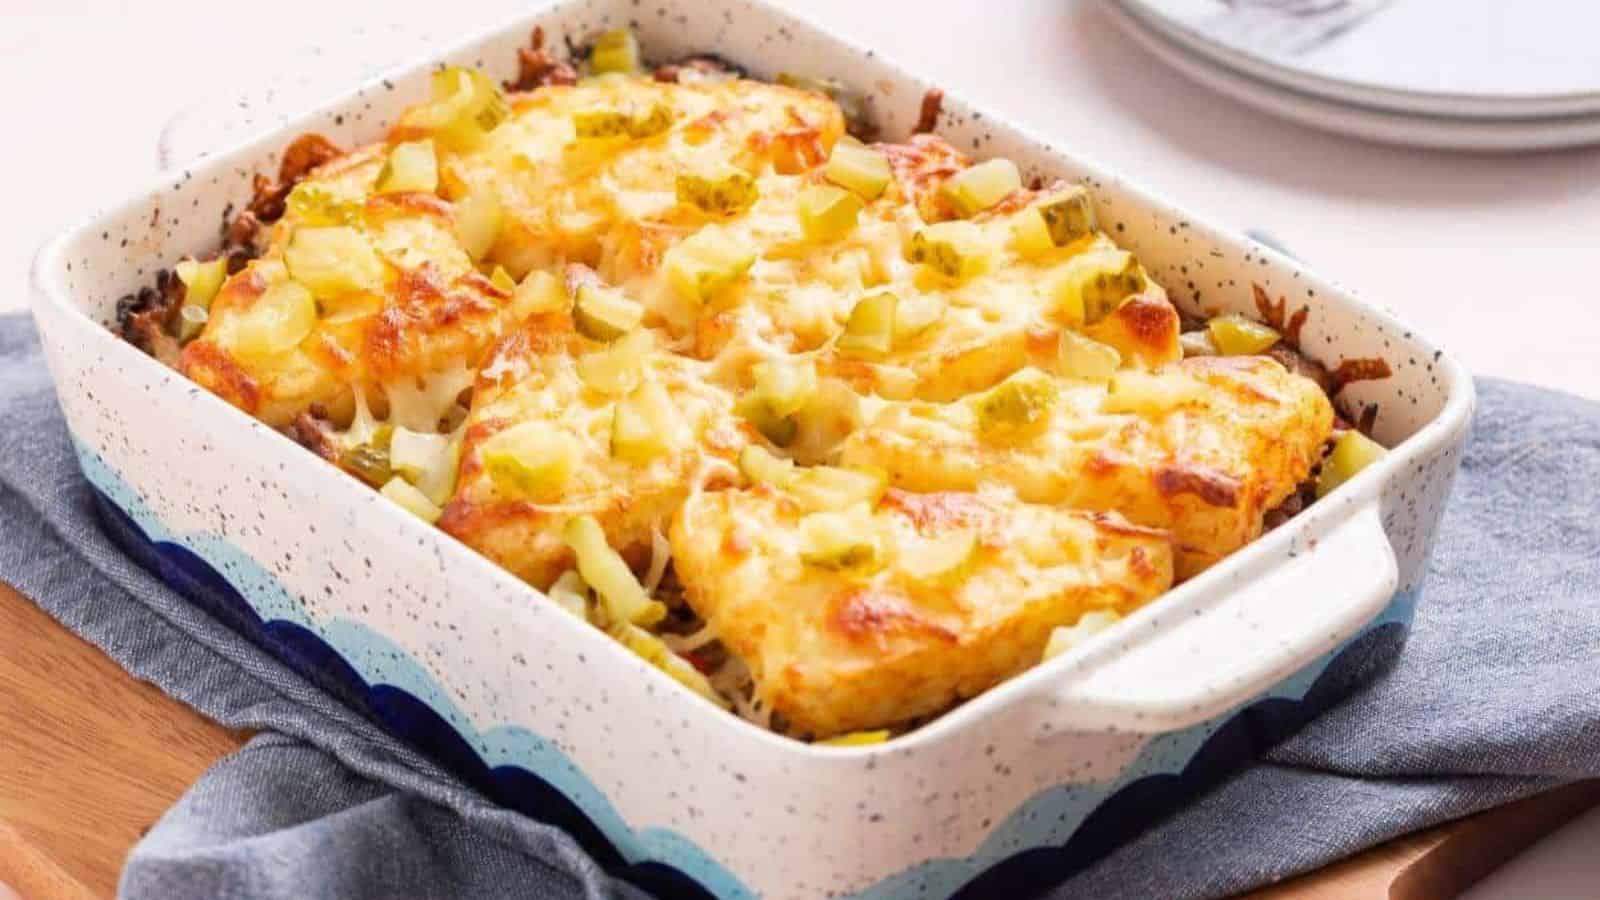
Sloppy Joe Casserole turned the sandwich into a hearty snack fit for feeding a crowd. Layered with meat and tater tots, it combined familiar flavors in an unfamiliar form. That’s exactly the kind of playful kitchen logic the ’60s was full of. It was the food equivalent of a shortcut that still got applause.
Get the Recipe: Sloppy Joe Casserole
Classic Banana Pudding

Classic Banana Pudding was a snack that stood the test of time because it didn’t need fixing. Bananas, cookies, and pudding came together in the kind of way that didn’t photograph well—but got eaten anyway. It was always last to be set down and first to be scraped clean. Every scoop felt like bringing back something worth keeping.
Get the Recipe: Classic Banana Pudding
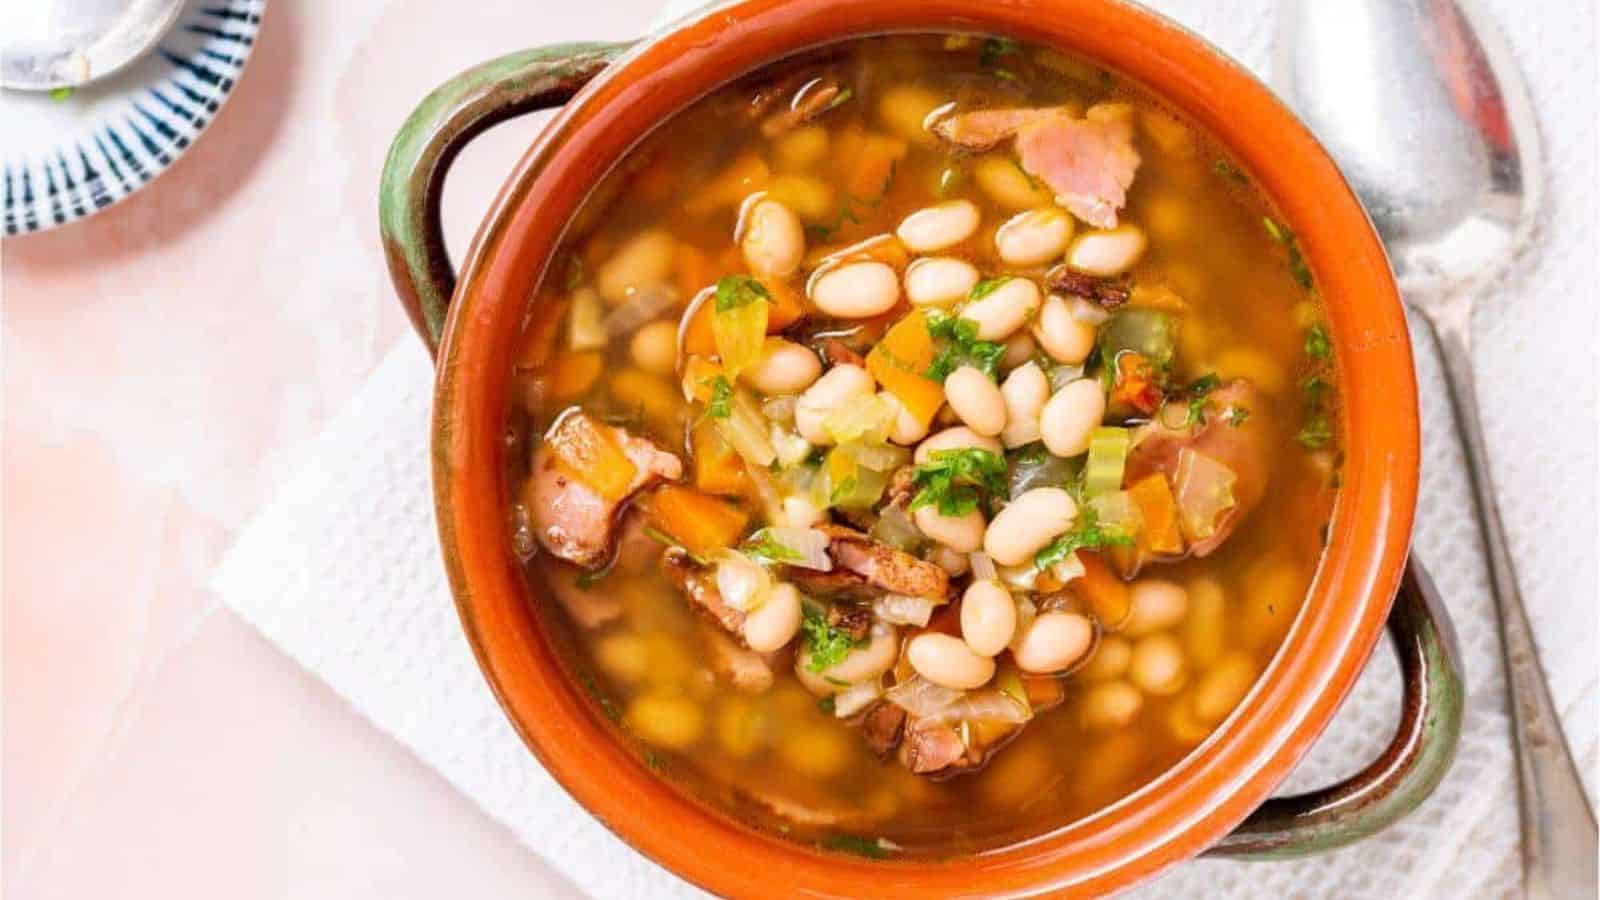
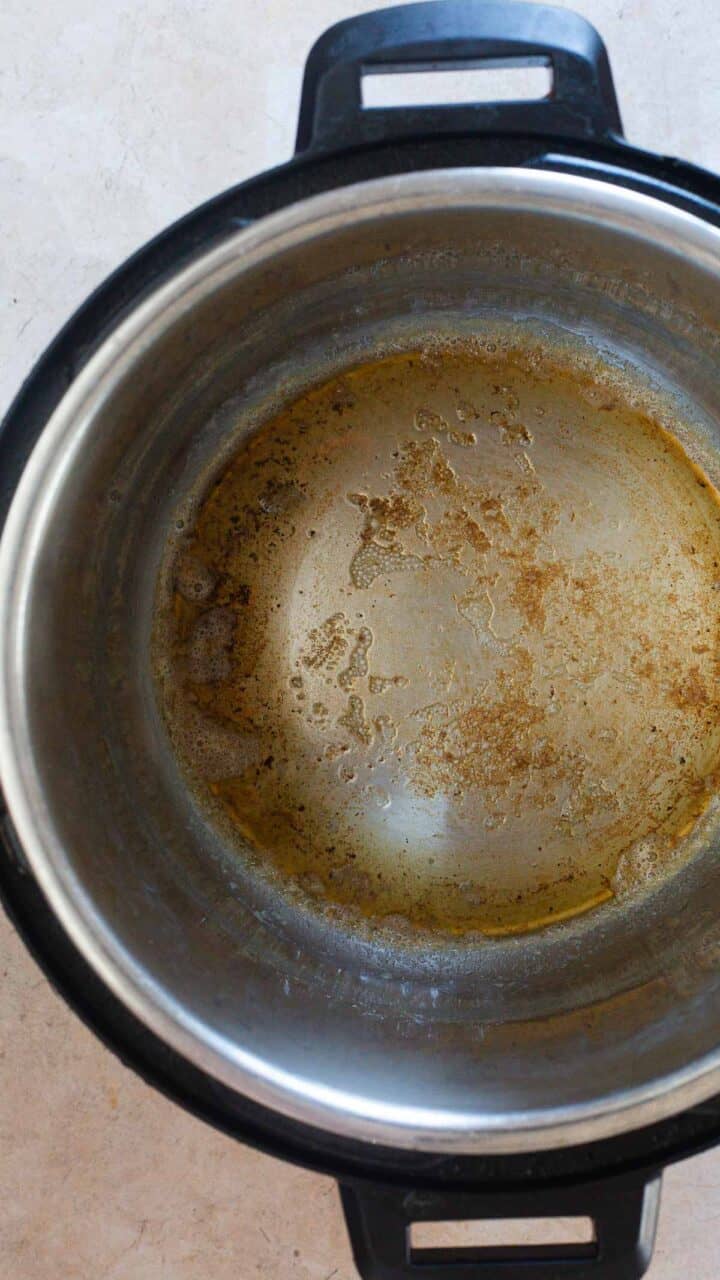
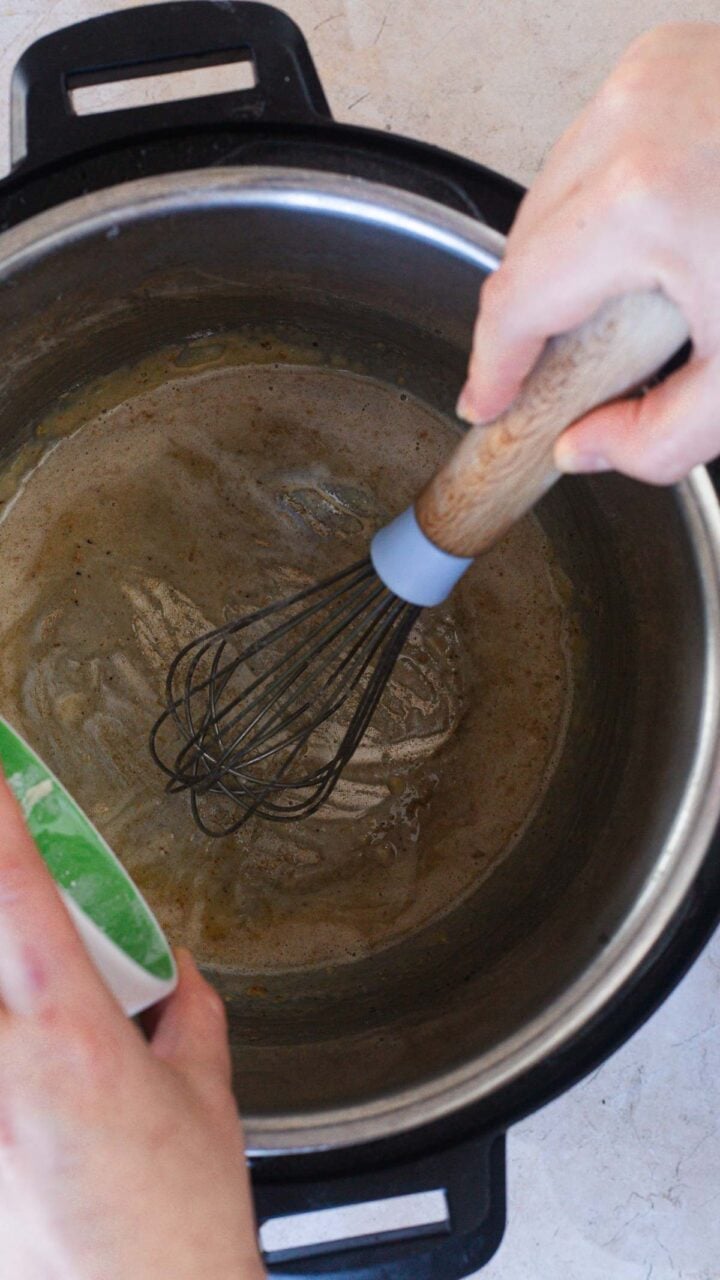
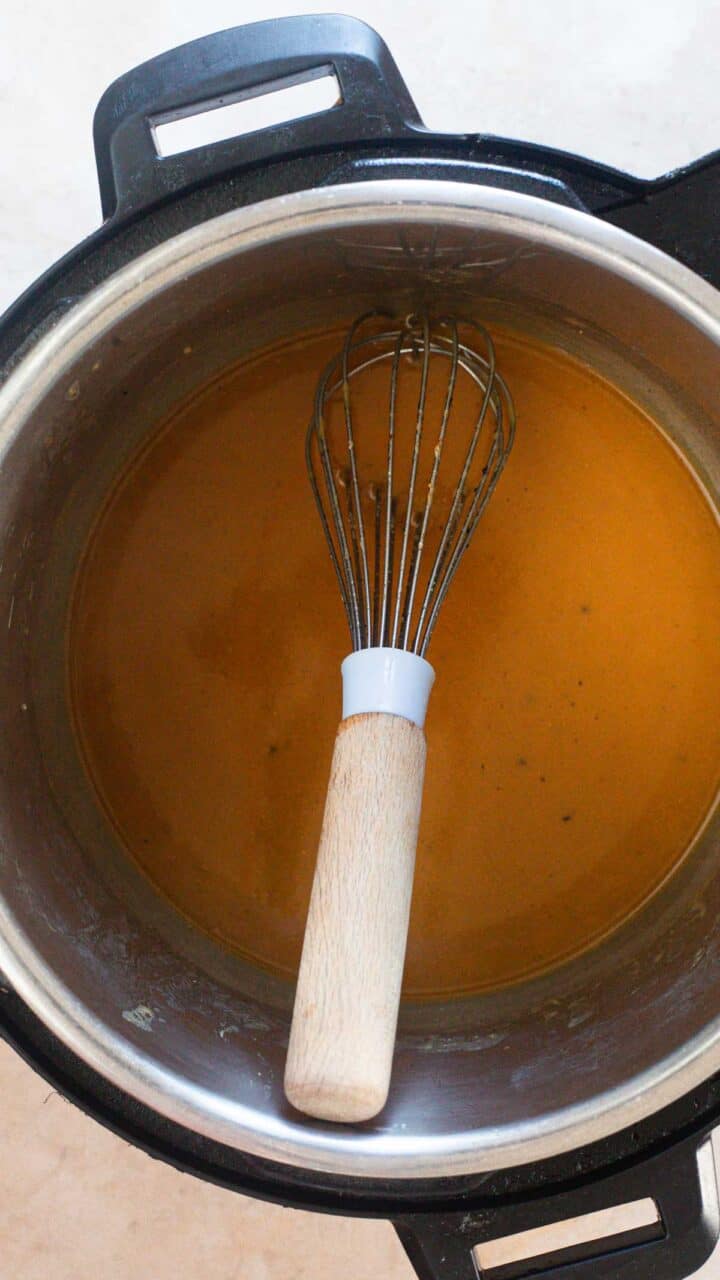
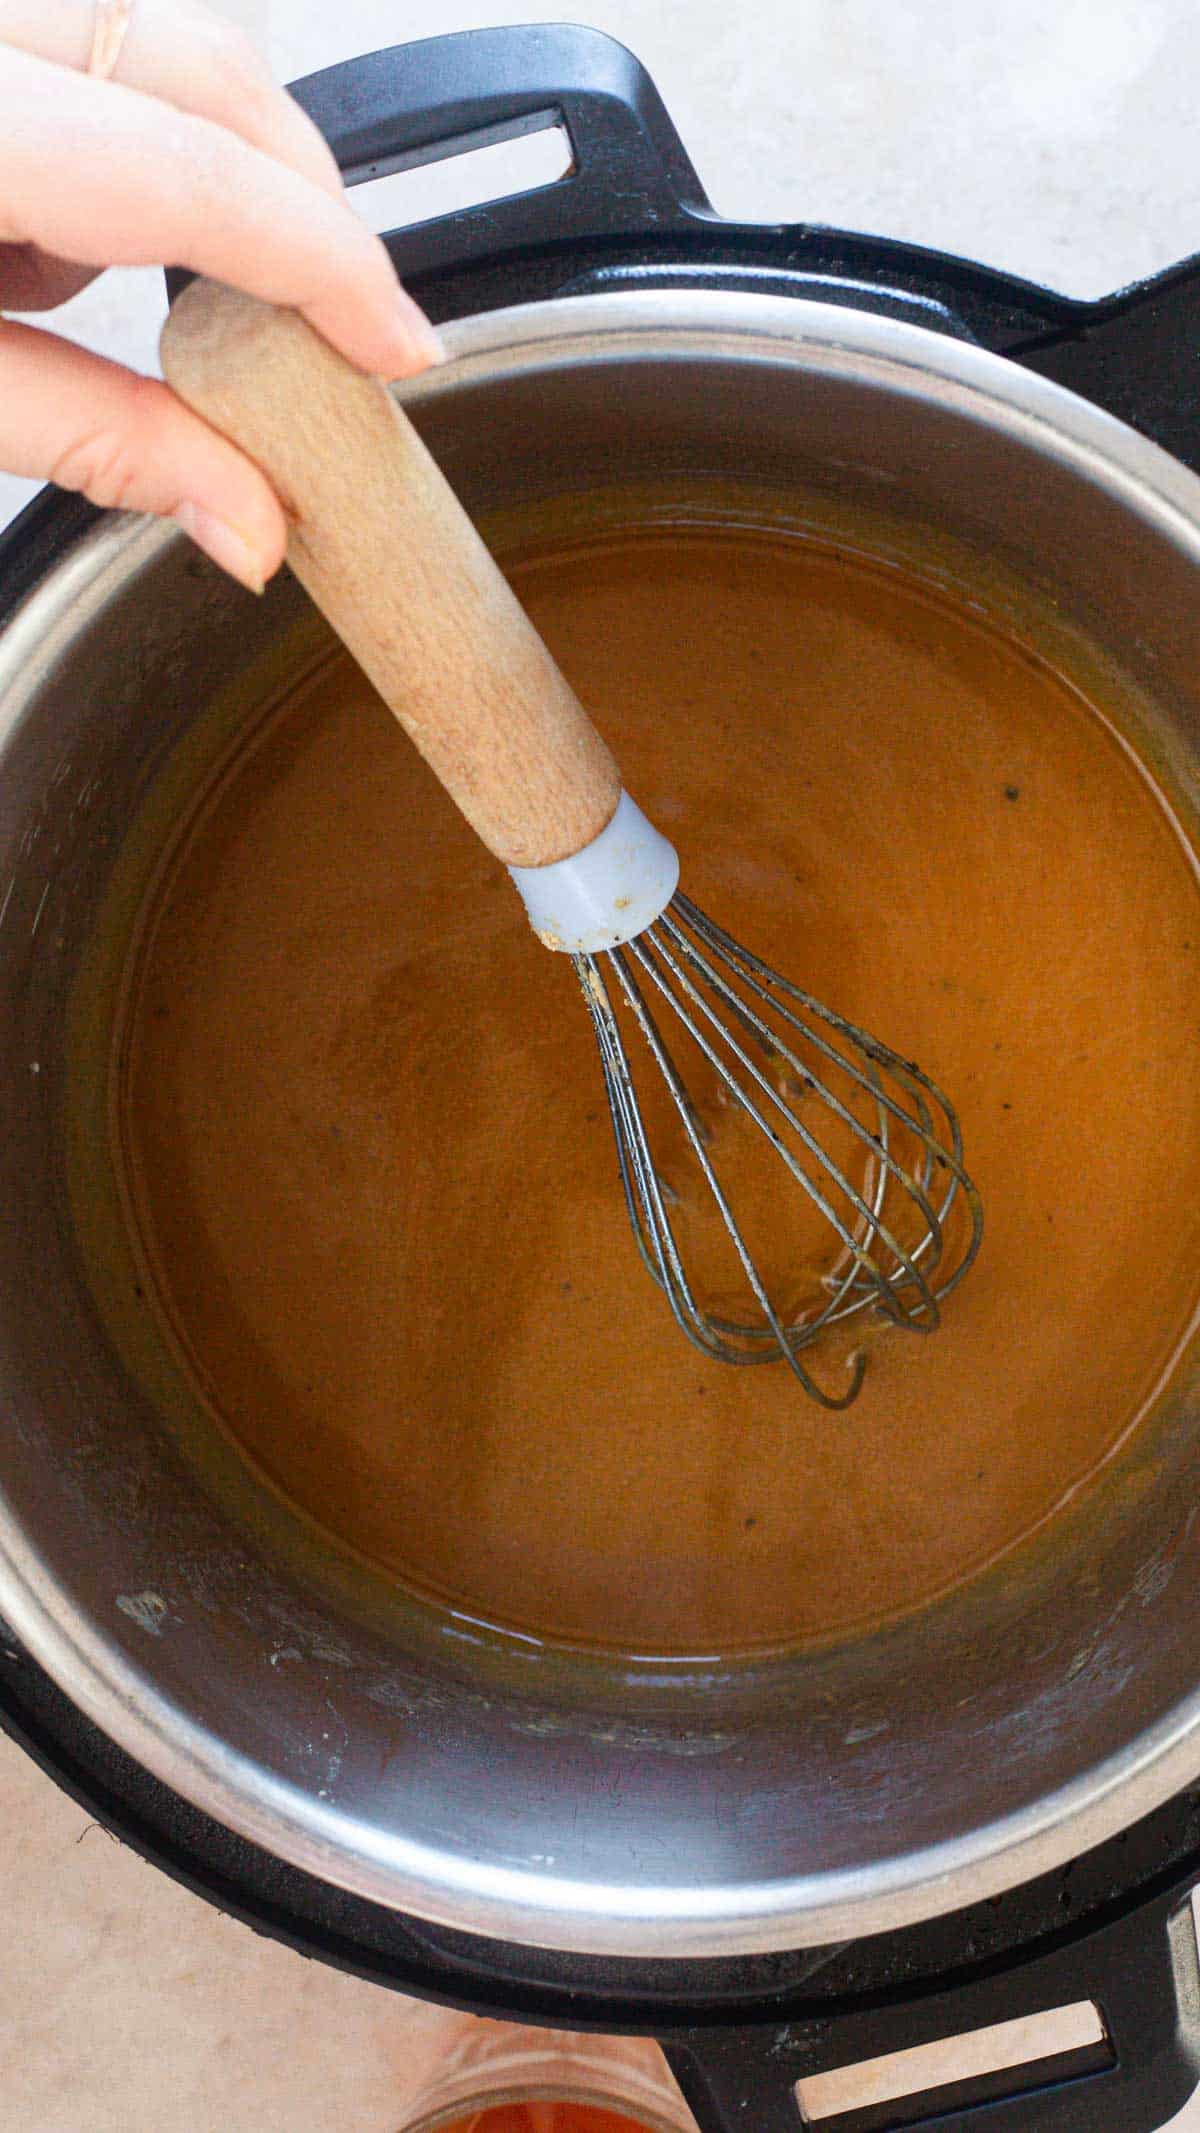
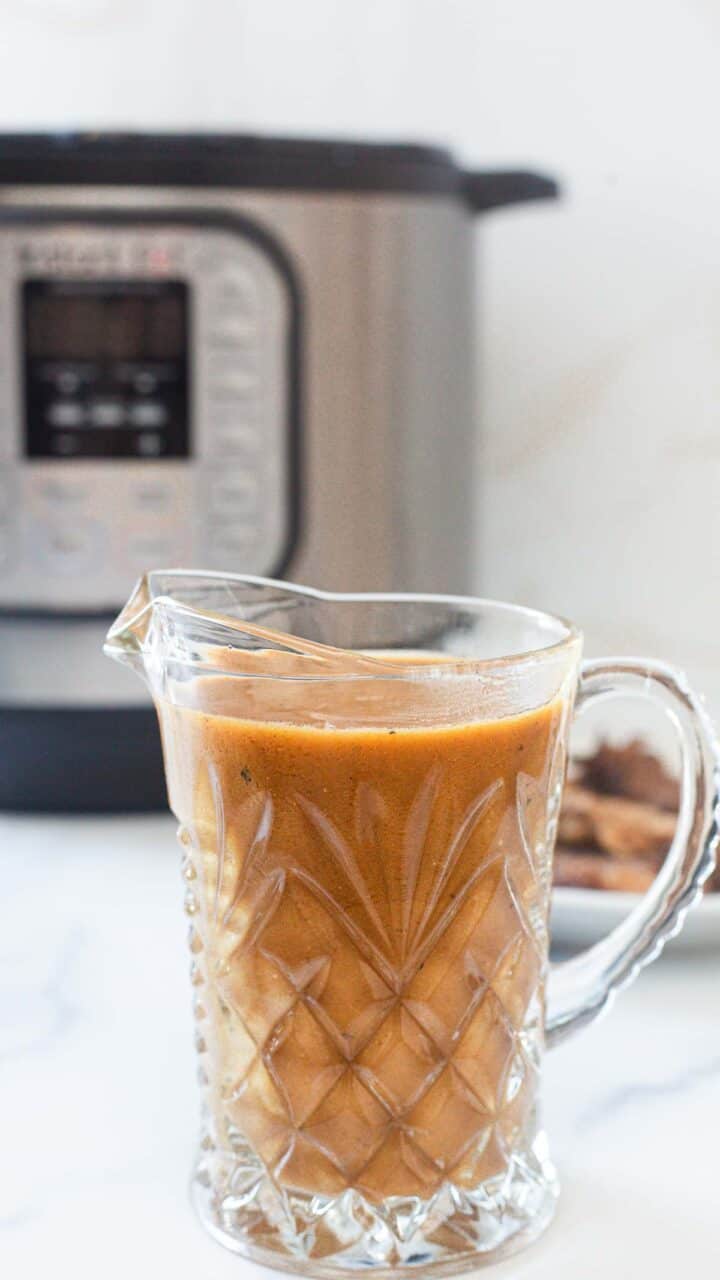
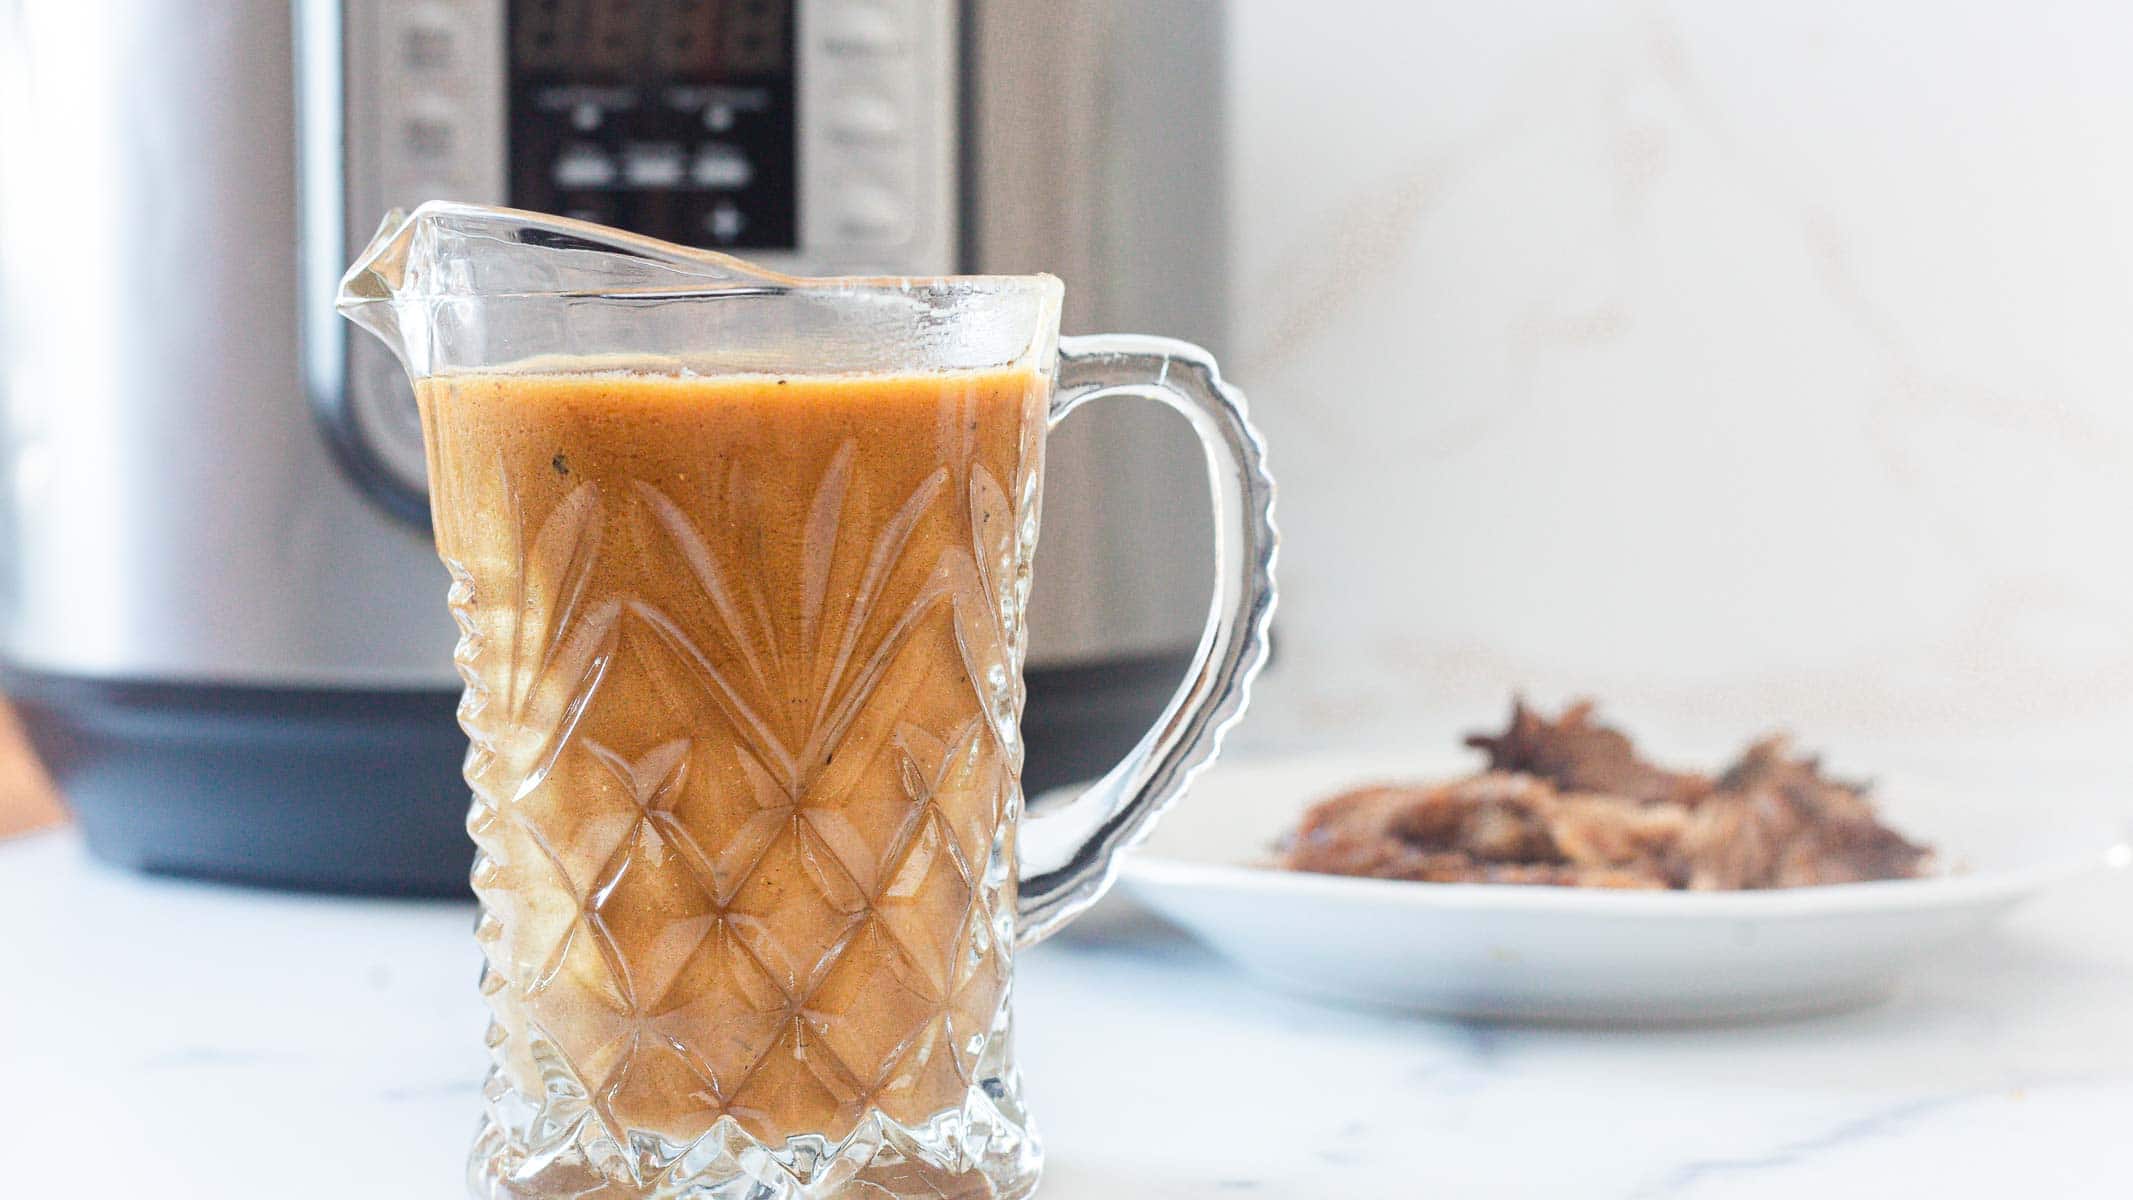
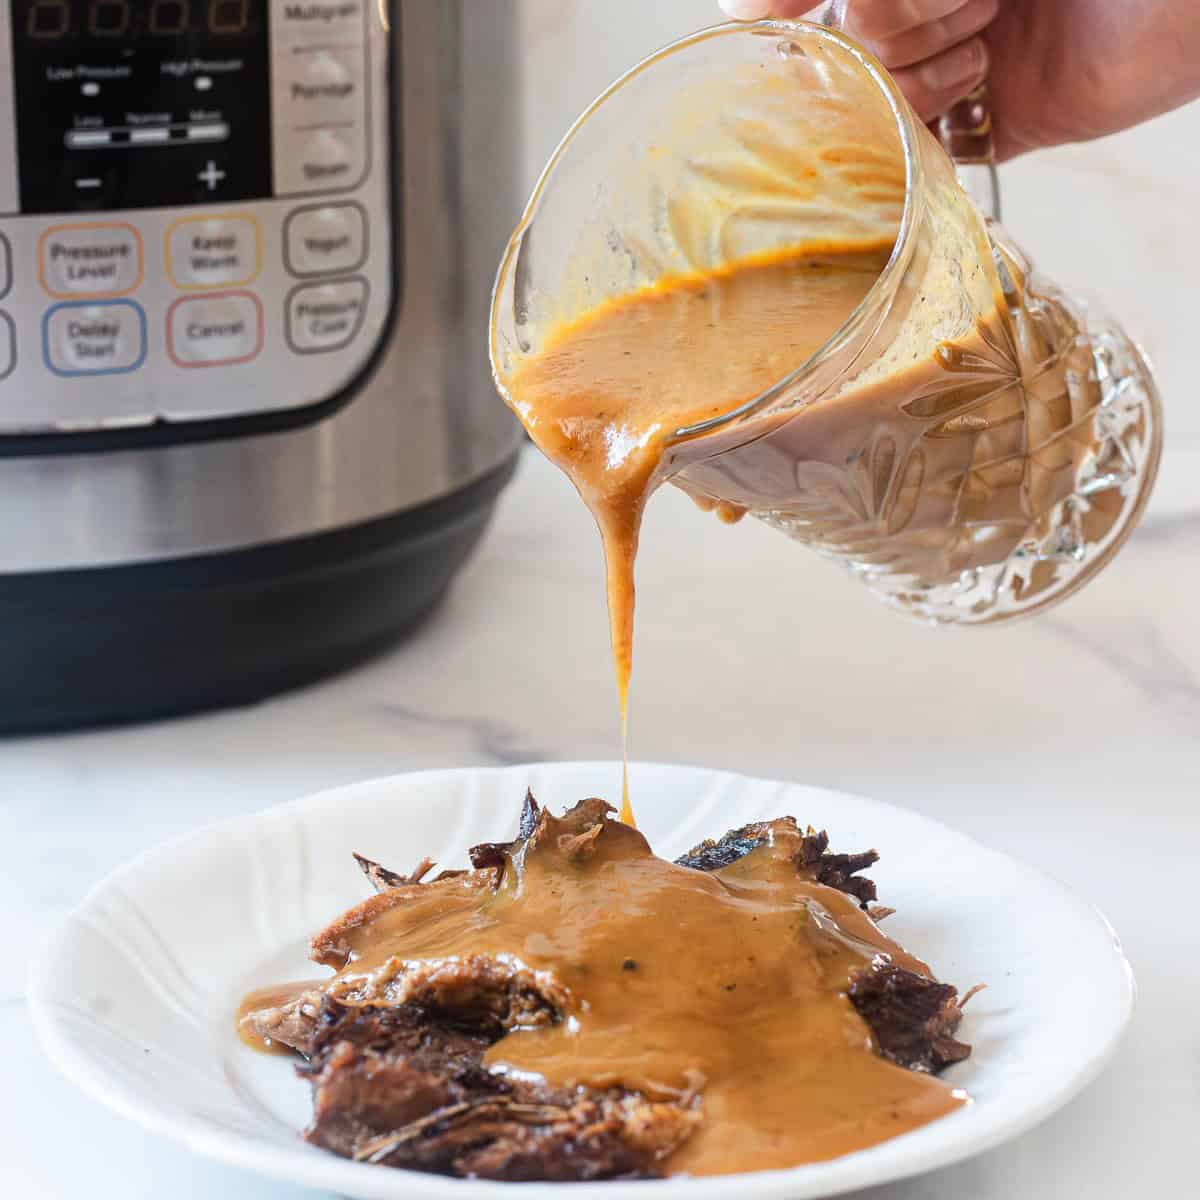
Best Southern Ham Gravy with Cheesy Biscuits and Eggs
Ham gravy with biscuits and eggs was the kind of hearty ’60s snack that didn’t pretend to be delicate. It was rich, heavy, and served with pride. Every bite felt like it could anchor a day’s worth of chores. It was the kind of food that didn’t whisper—it announced itself with a full plate.
Get the Recipe: Best Southern Ham Gravy with Cheesy Biscuits and Eggs